#1: cube farm
I can’t stop opening this game every 7 hours to harvest & replant crops. Help me.
Review
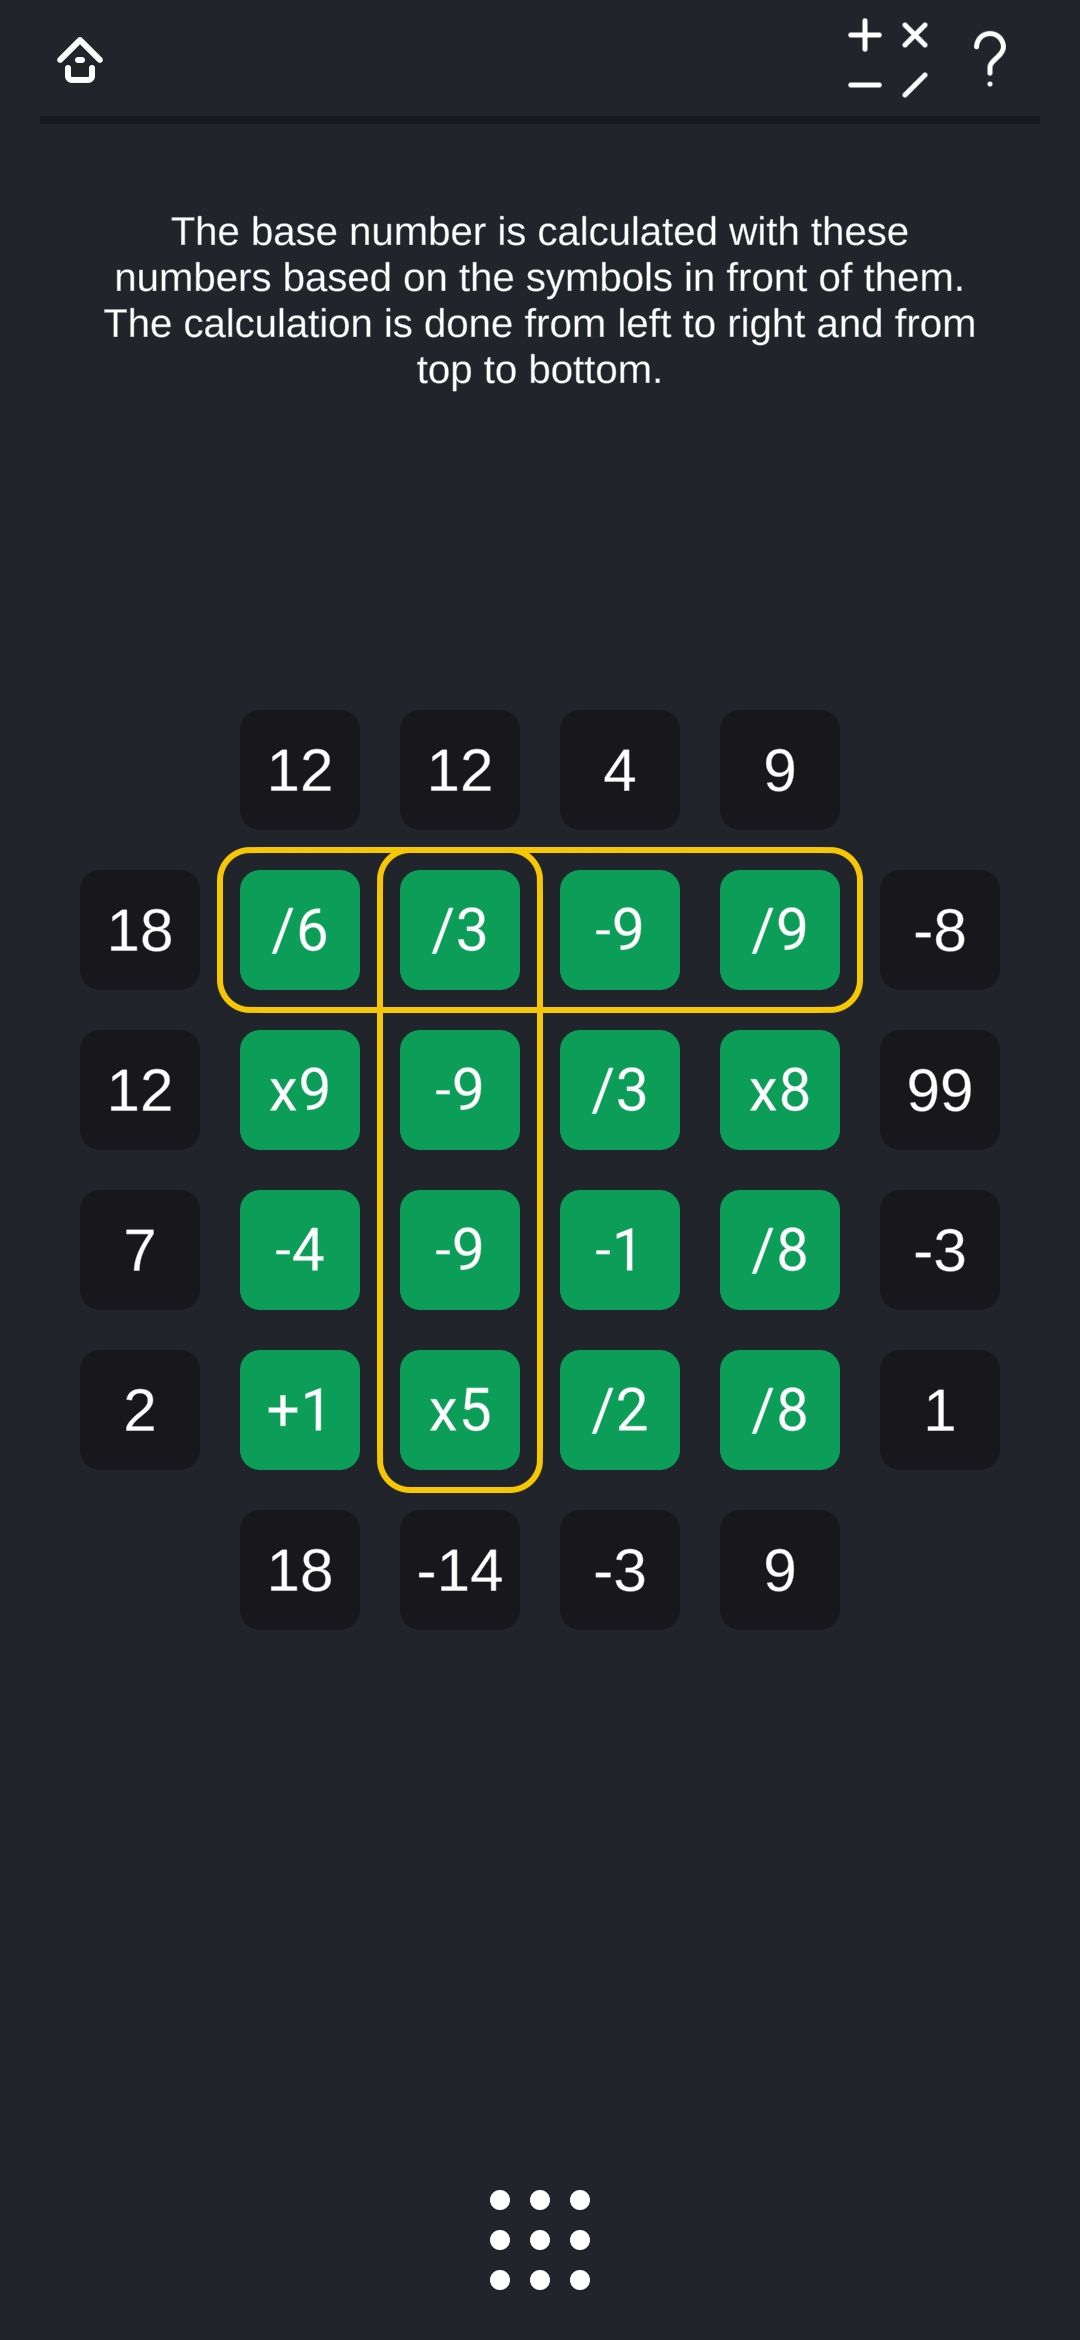
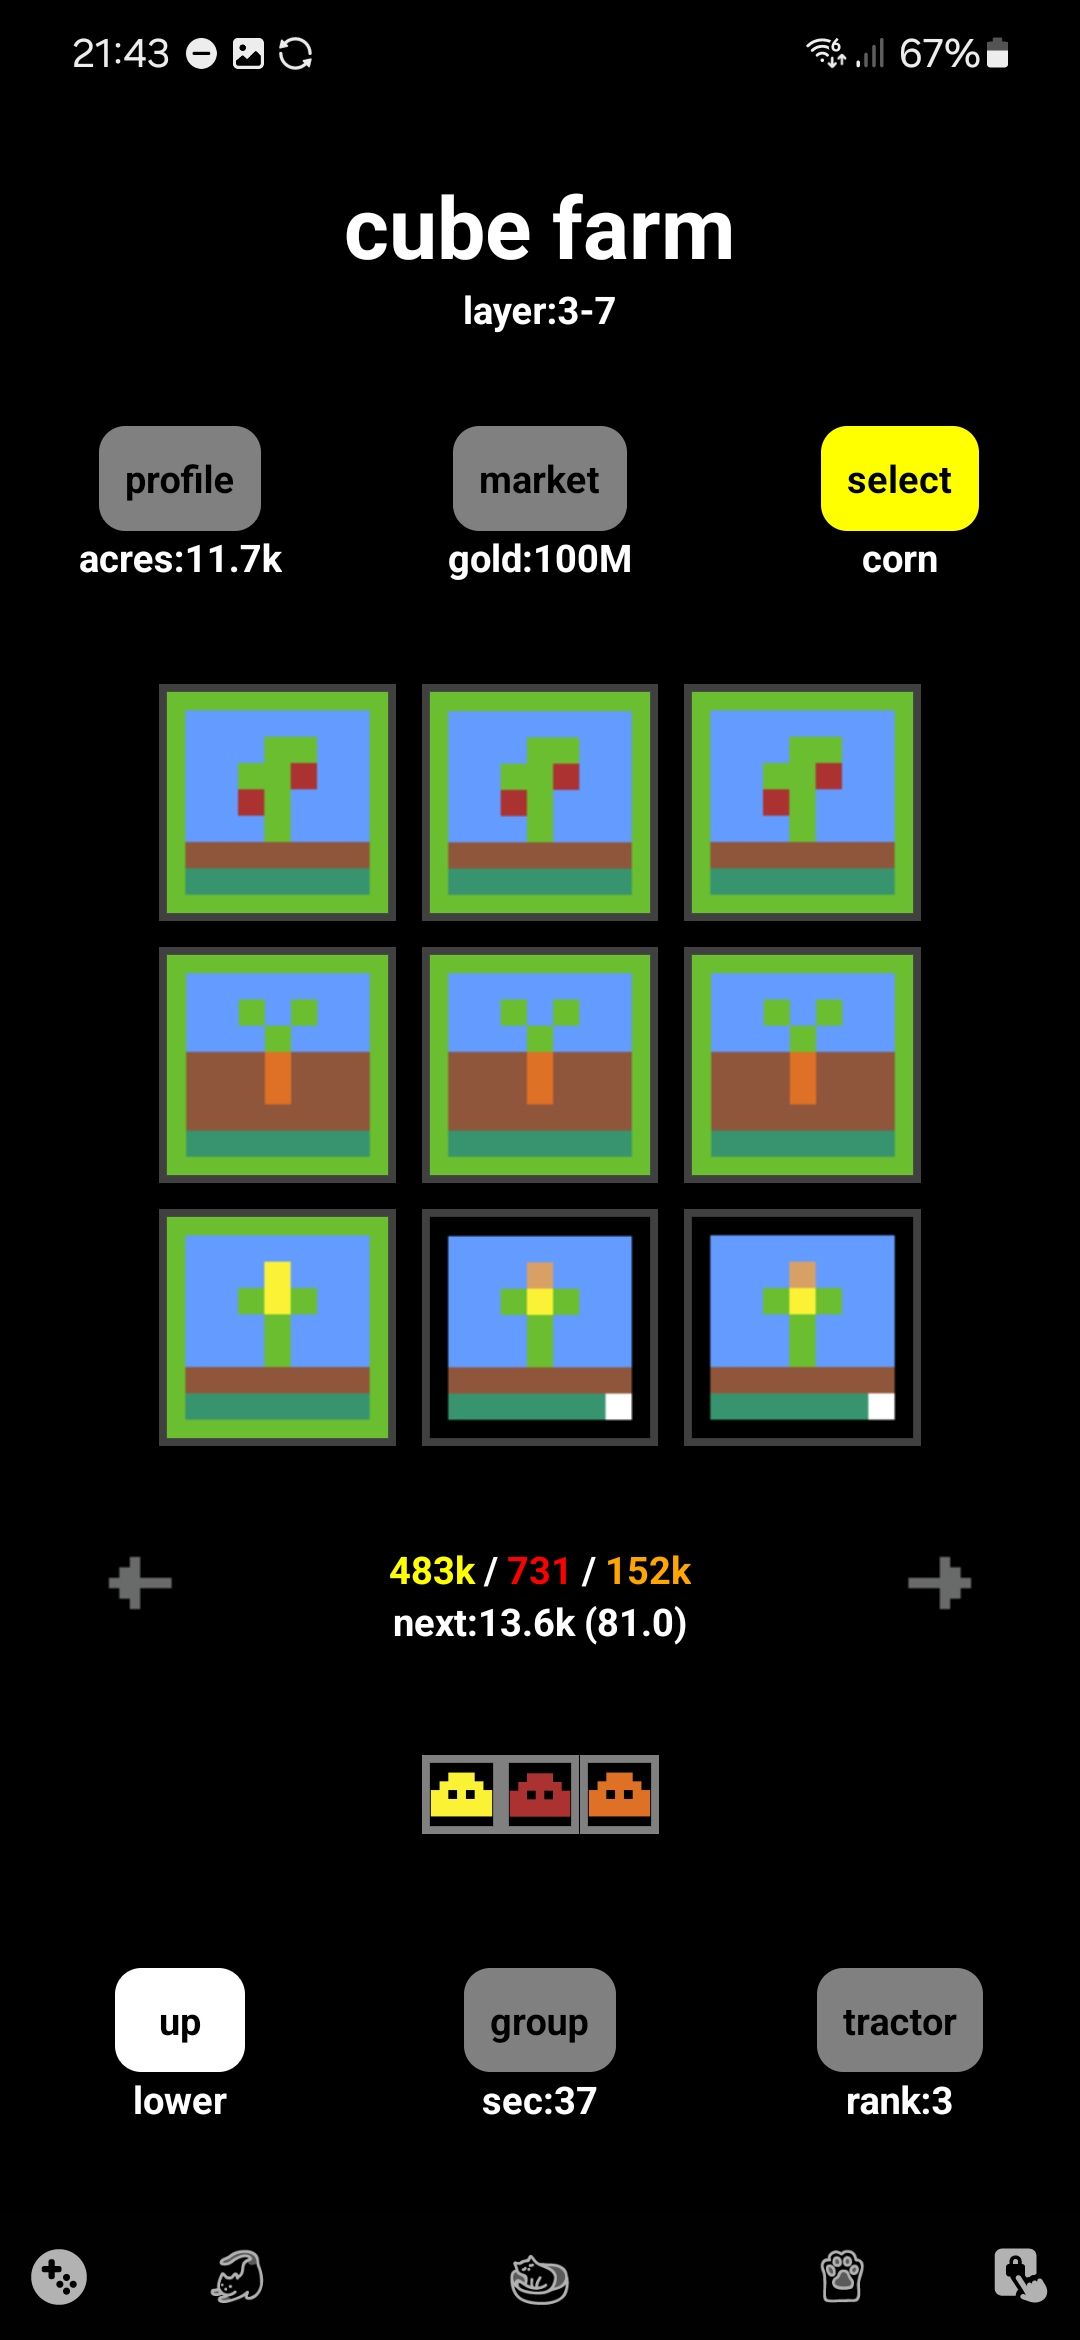
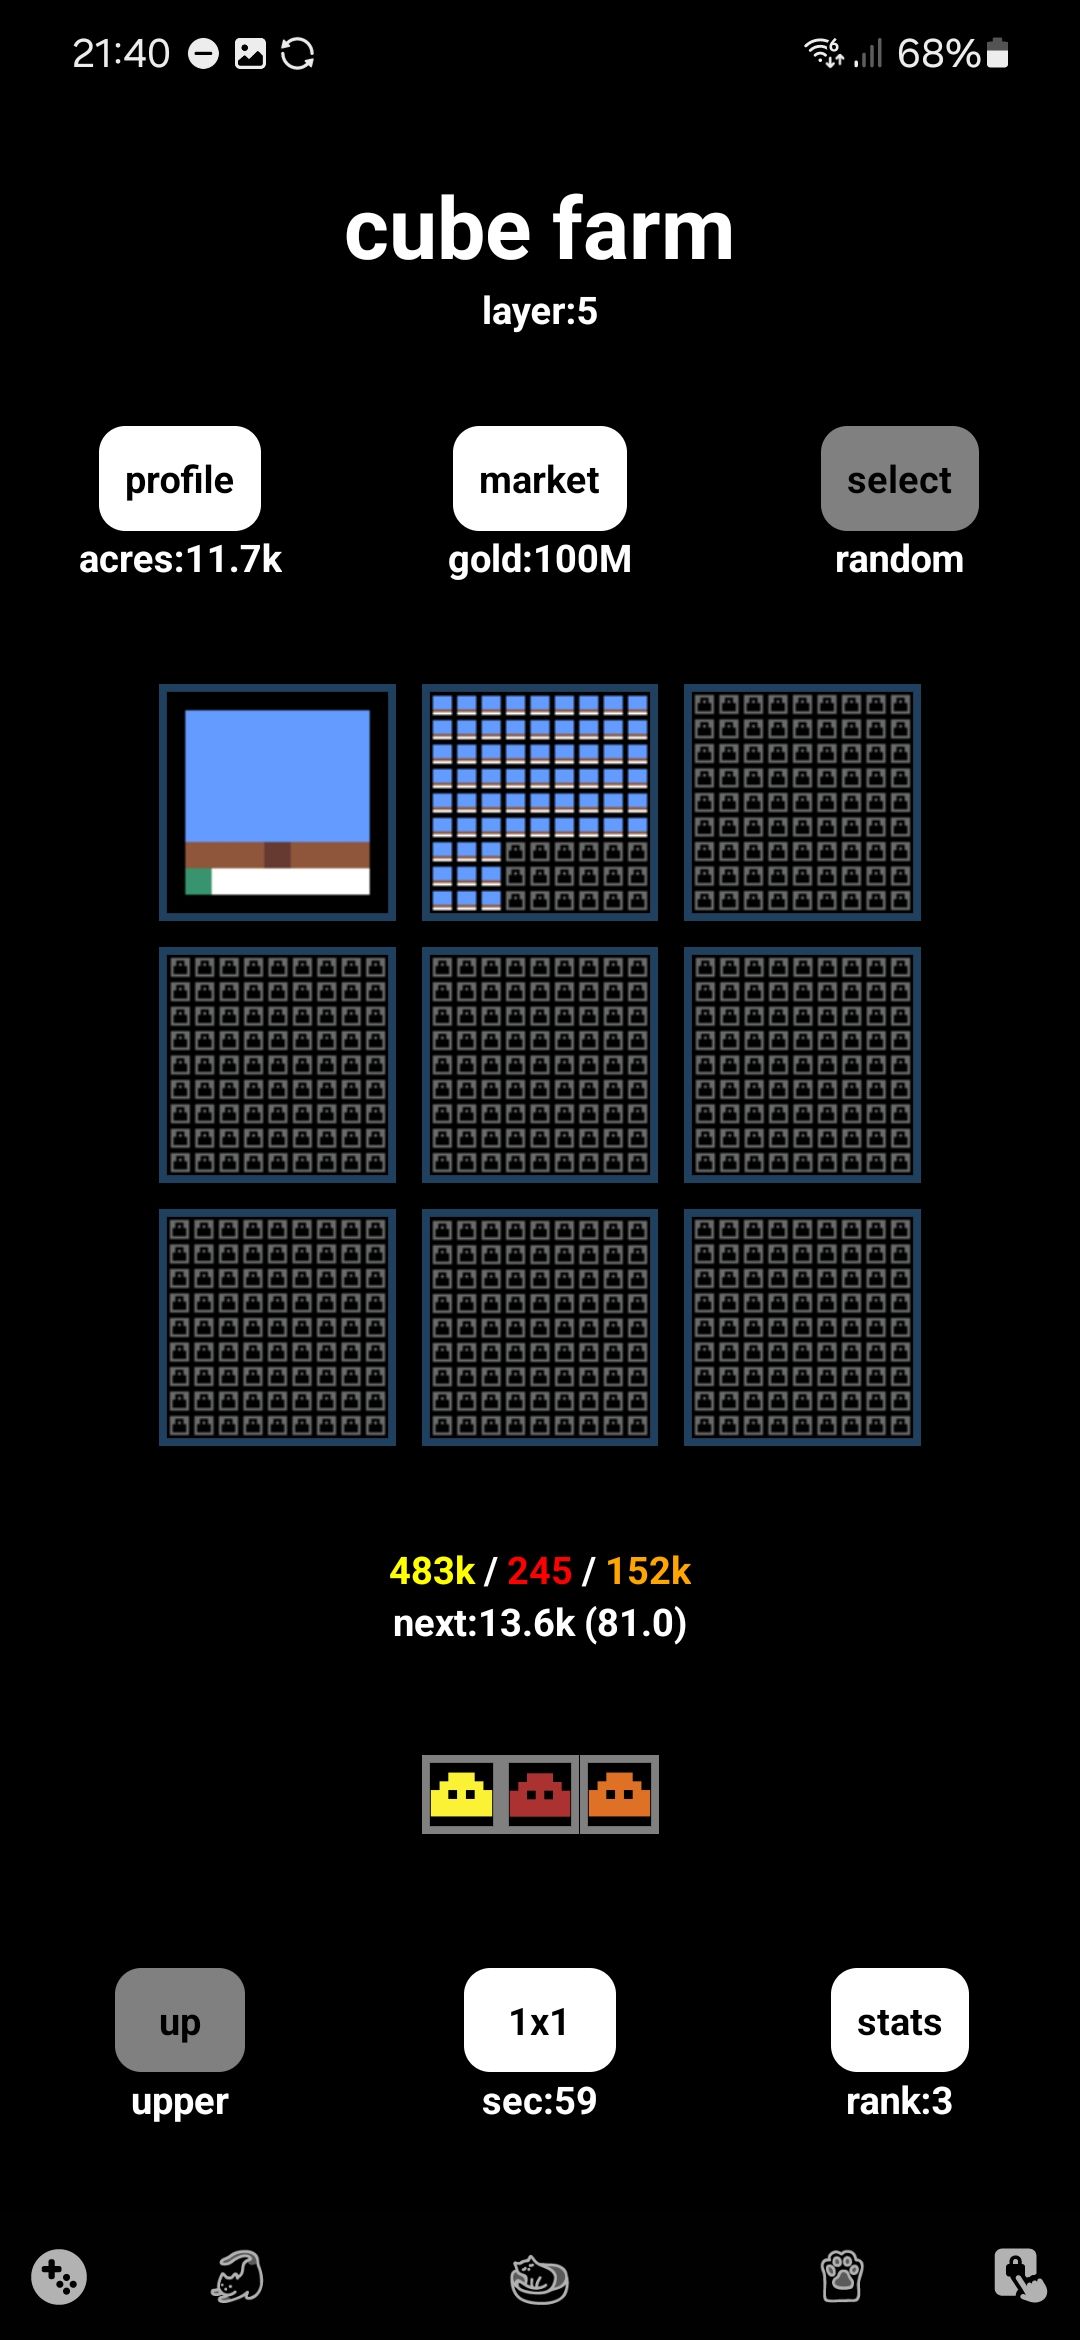
Okay, so cube farm is a simple concept: you have a farm with 3x3 plots. Then a layer up you have a farm with a 3x3 grid of 3x3 plots. Then a layer up from that you have a farm with a 3x3 grid of 3x3 x 3x3 farms! I originally found it on launch day via r/incremental_games.
You only have 3 crop types (tomato, carrot, corn), with each new plot costing the same amount of each. Whilst this starts off cheap (1 of each, taking ~7 seconds), the price to purchase a new plot increases with every purchase. Before long, a new plot costs tens of thousands of every crop!
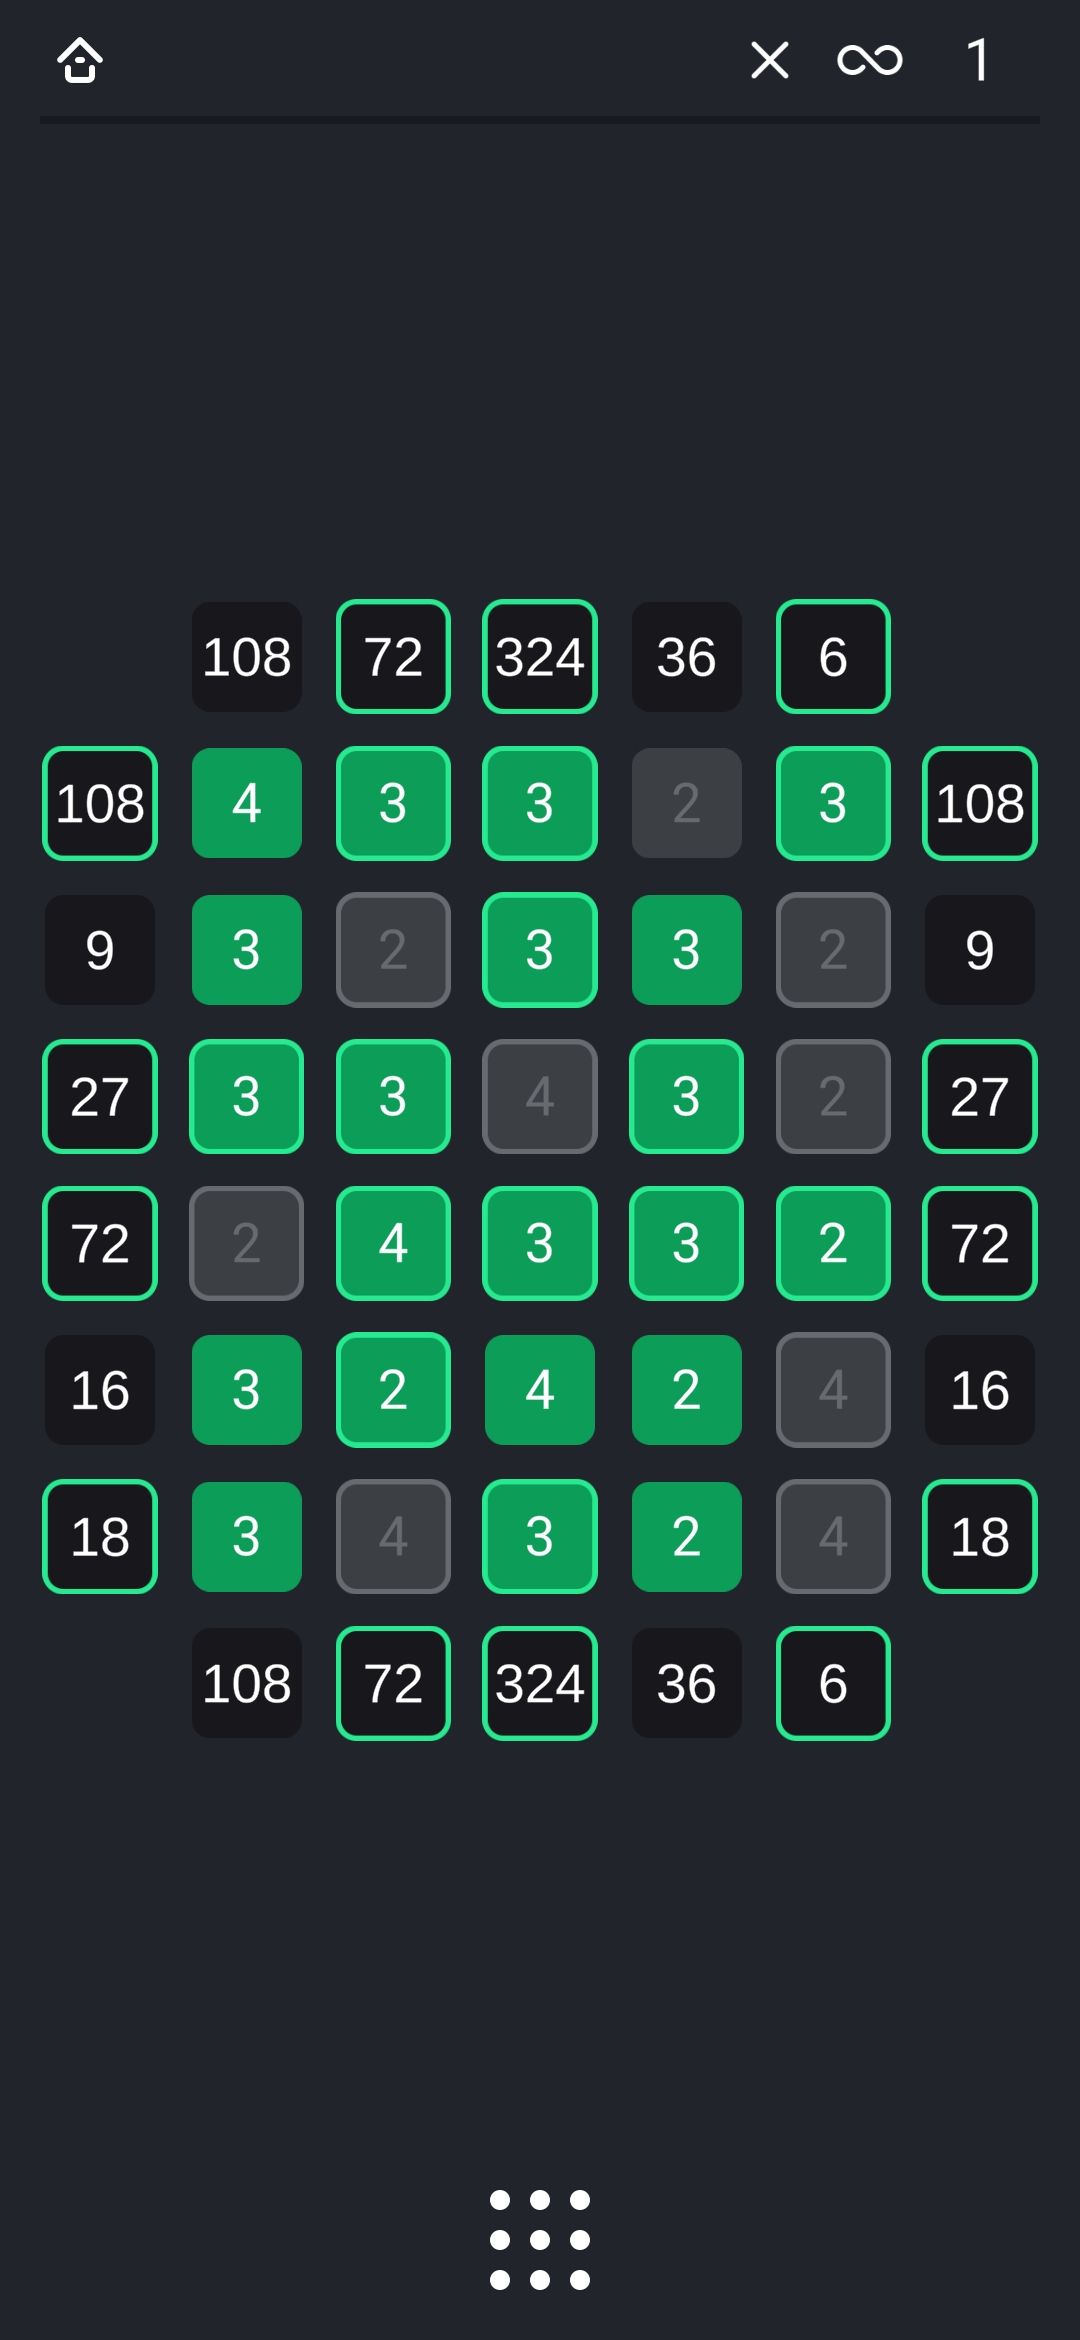
Farming this many individually would be impossible, so you instead “combine” plots together once the 3x3 grid is purchased. This allows you to plant / harvest in bulk, and takes 60x longer (7 mins instead of 7 seconds) yet yields ~180x as much! And of course, going another layer up has the same effect (7 hours instead of 7 mins), yielding a ridiculous amount of resources.
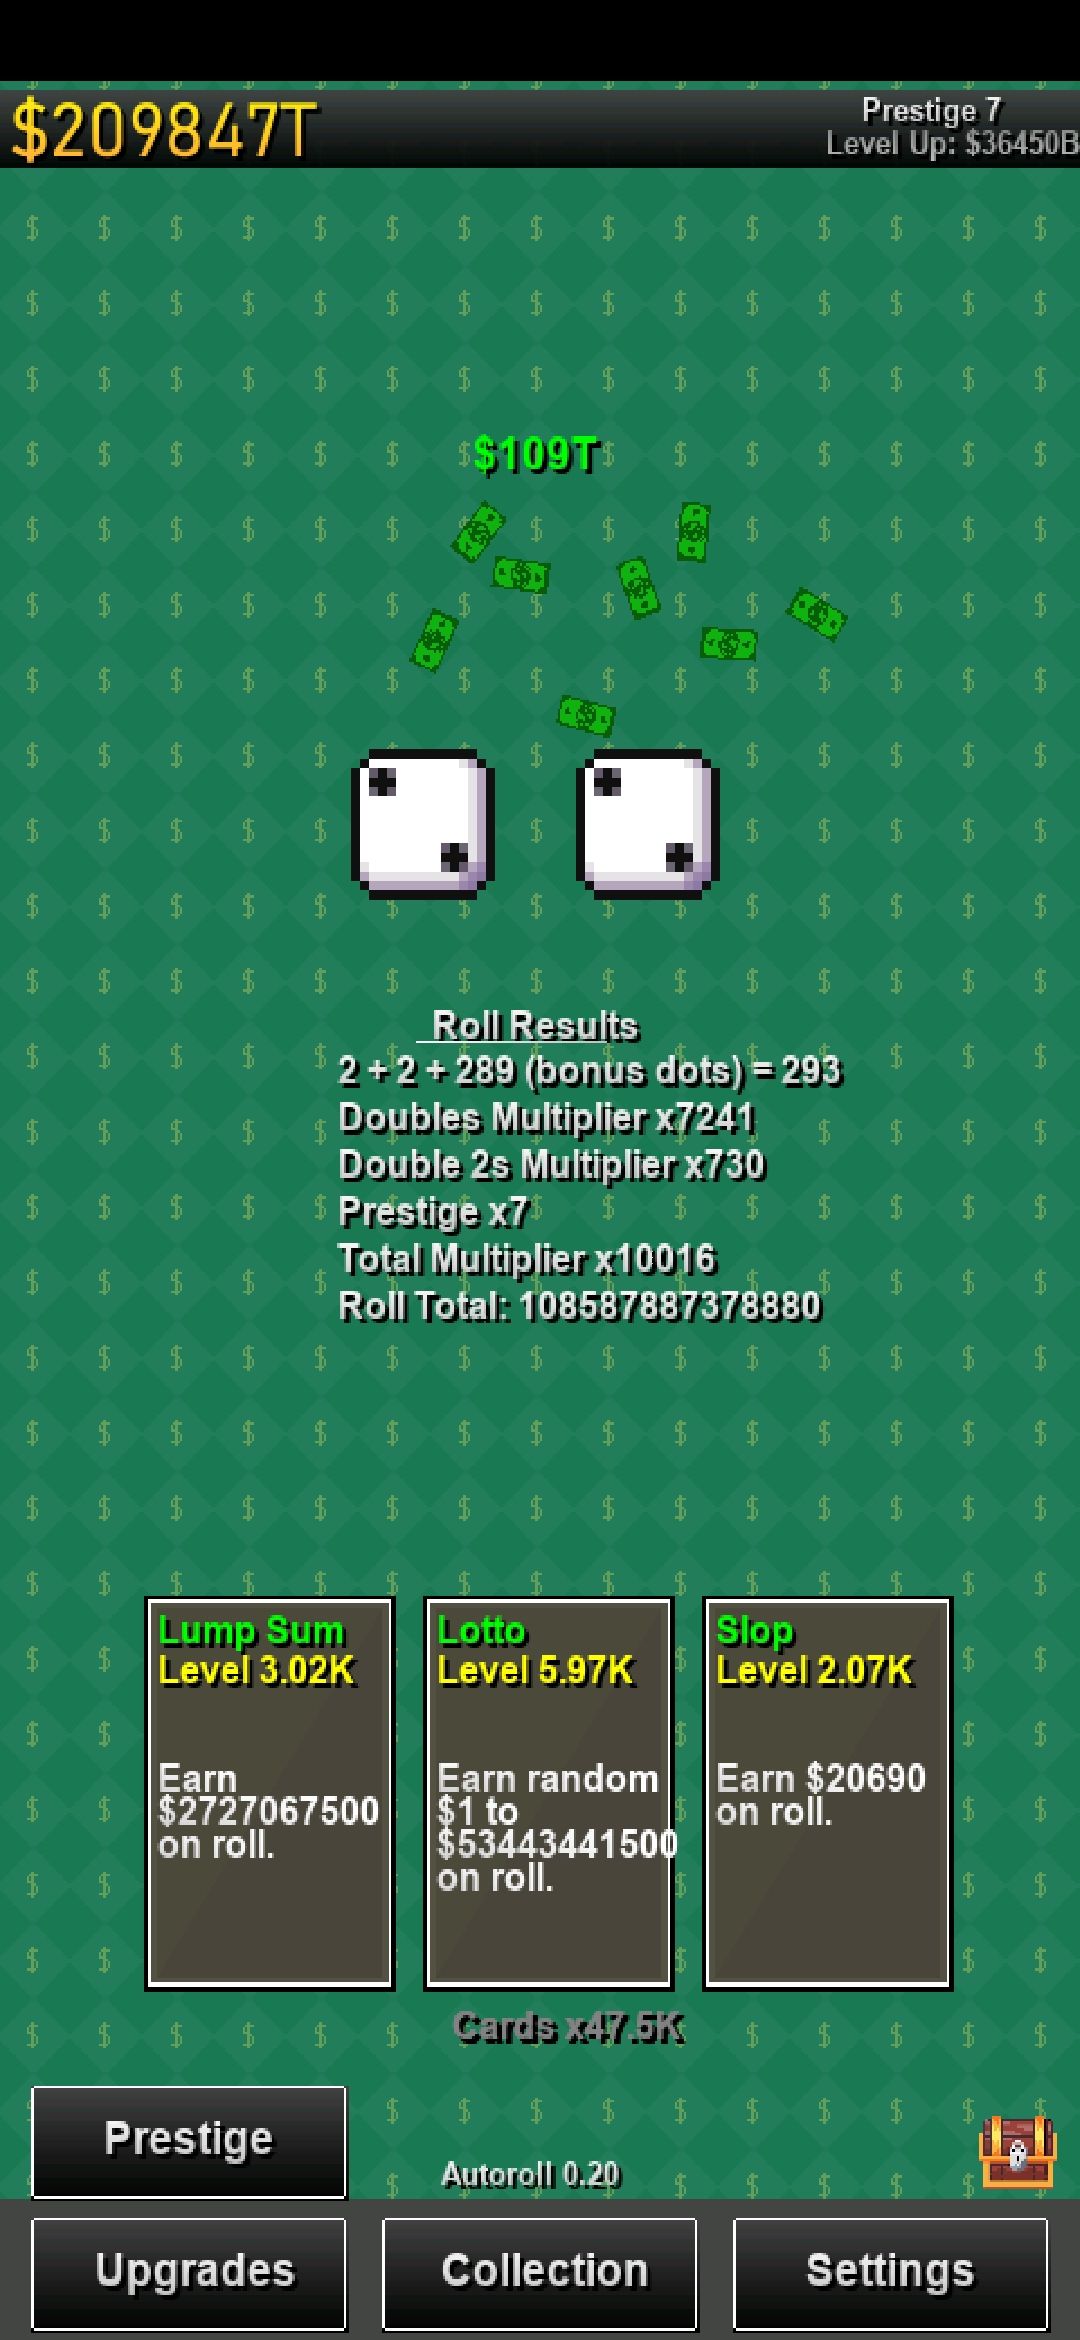
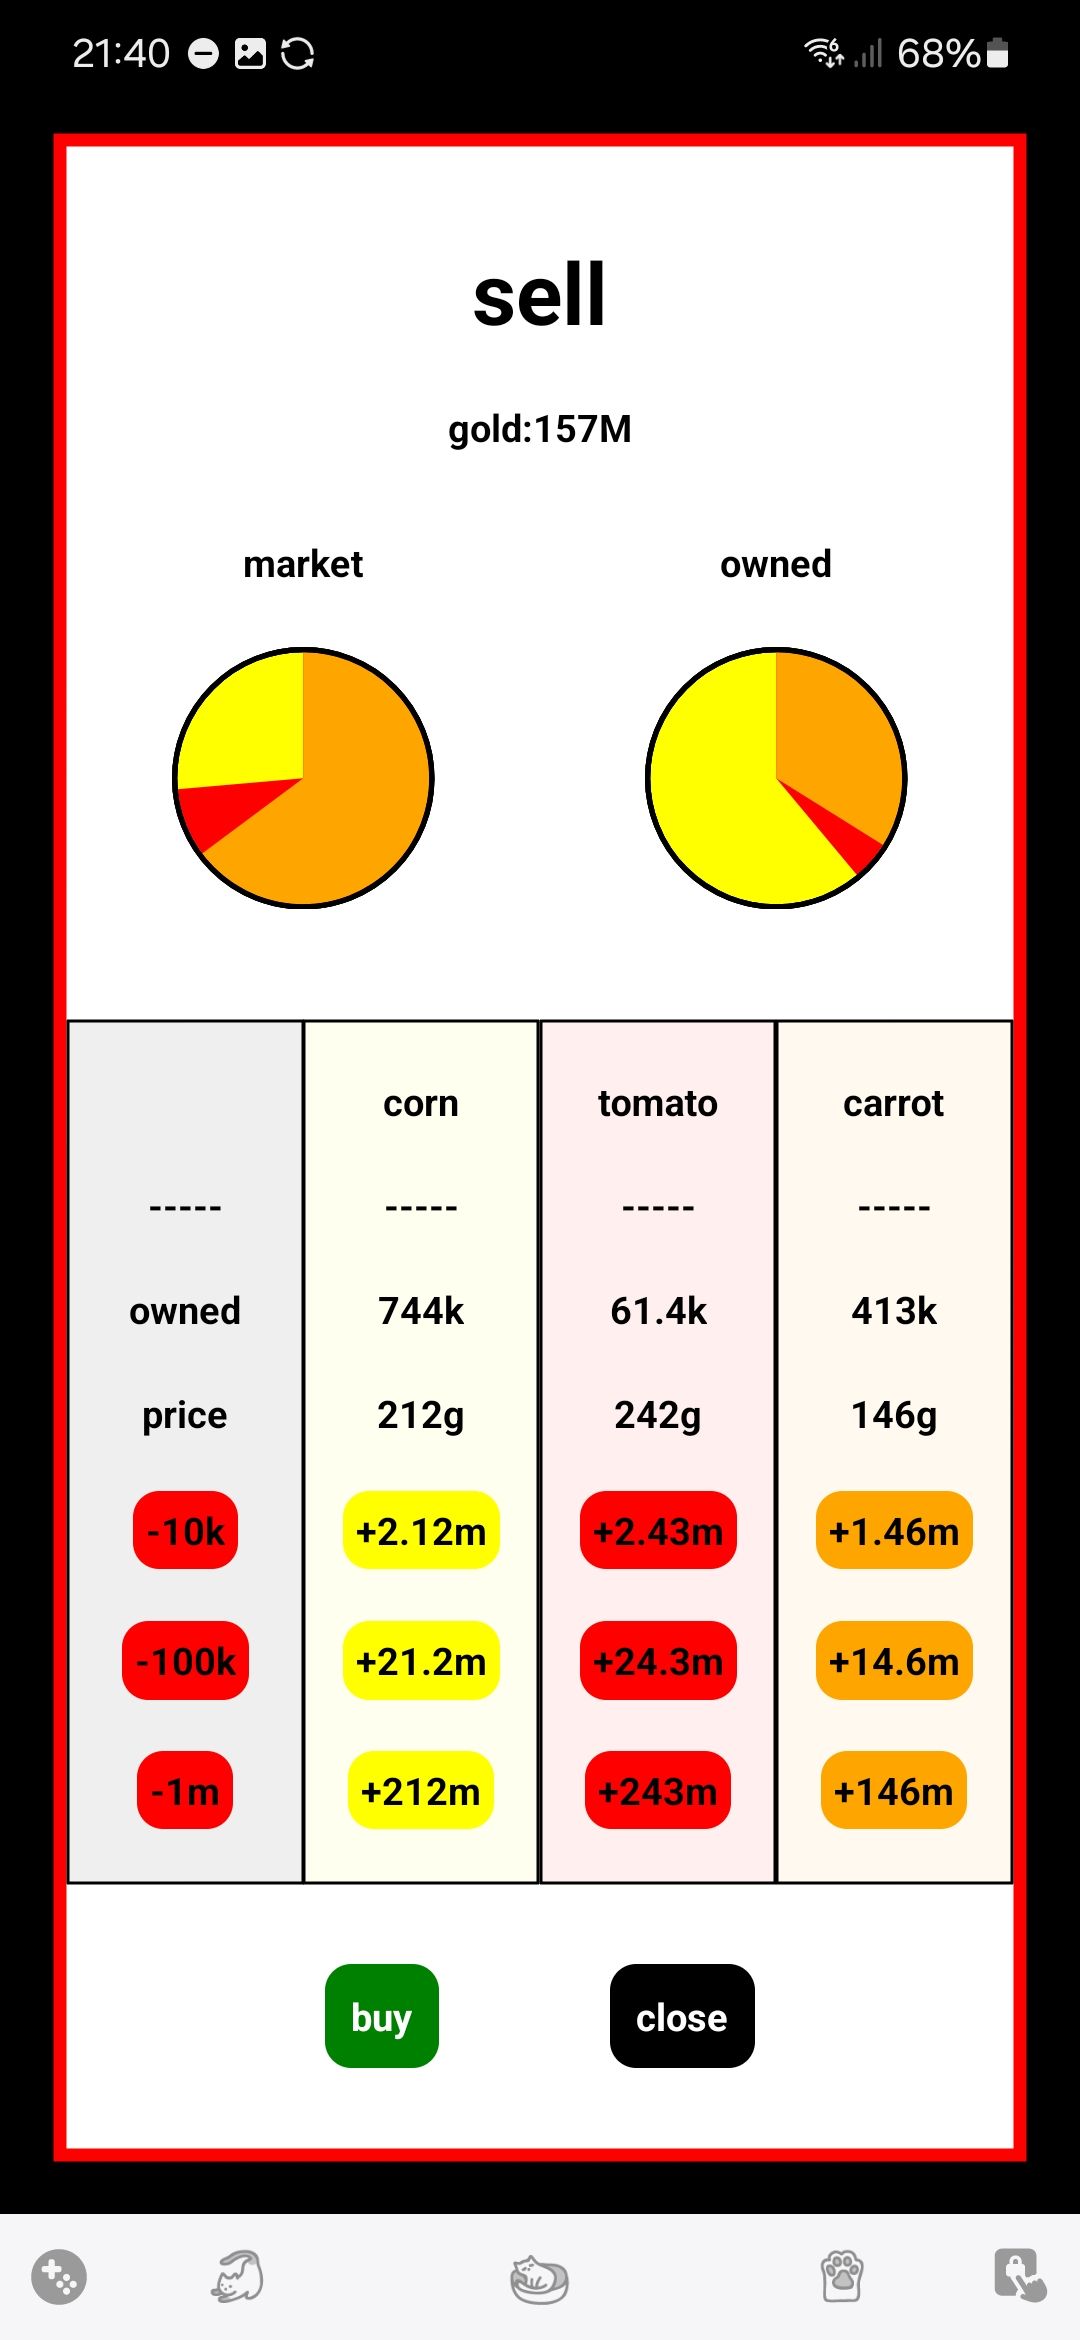
And when you finally manage to unlock all 729 plots in the top layer? You prestige, increasing all yields by 10x but keeping your increased price per plot! After a few iterations, you start to unlock features like the market, where you can buy and sell your resources to take advantage of massive yields whilst still progressing.
There’s also a “gooster” minigame, tiny blob pets that recharge HP when you harvest their preferred crop, and can fight other blobs to level up. There doesn’t seem to be any point to them yet Battling goosters earns gold for use on the vegetable market, although mine aren’t at the level where they can perform the mysterious “combine”. You can use “goo” (obtained from combat) to unlock rarer goosters, and obtain limited edition ones from the dev’s social media.
It’s an extremely minimal game, with no options, no almost no stats, no quests, very little guidance beyond endlessly buying plots and farming ever greater numbers of vegetables. That being said, the understated nature is part of what makes it so appealing. Instead of demanding all your attention, cube farm leaves it entirely up to you how much you want to interact with the game, and won’t remind you with notifications etc. It’s almost a zen experience.
Interestingly, it looks like the game originally came from a Kickstarter, and the “primary goals” seem to have been met excellently:
- develop a high quality mobile game without ads or pay-to-win mechanics
- designed for quick sessions and background progress, mimic real gardening
- provide an intentional alternative to scrolling and other phone addictions
- offer long term progression through a well-balanced prestige system
Overall, you’ve essentially experienced all of the game as soon as you’ve tried combining a 3x3 grid into 1, yet there’s something relentlessly satisfying about it. I’m on my 3rd prestige, and apparently the next prestige will provide yet another layer of farm, for a total of 6.5k plots! It might also let me save up 1B gold for a “tractor”.
Monetisation
There’s almost none. You can donate money to the developer or pay for a cosmetic gooster skin, but they provide no benefits and are hidden away in a menu.
Tips
- After a prestige, grind 7 second plots until you’ve at least got a few 3x3 grids ready, then similarly grind 7 minute plots until you have a few of the 3x3x3x3 grids, otherwise progress will be slowly.
- When collecting your crops, make sure to use any goosters as they recharge (from the harvesting) otherwise you’ll “waste” some of their potential health.
- Use the market extensively. You’ll lose out on every trade, but the additional progress made is more than worth it.
- The higher layers don’t show an accurate preview of the crops within (e.g. locked / unlocked status, or crop within) so make sure to click down to look.
- You can follow the dev on Instagram, the subreddit, or the super active Discord.
Screenshots
All screenshots are from version 0.6.9:
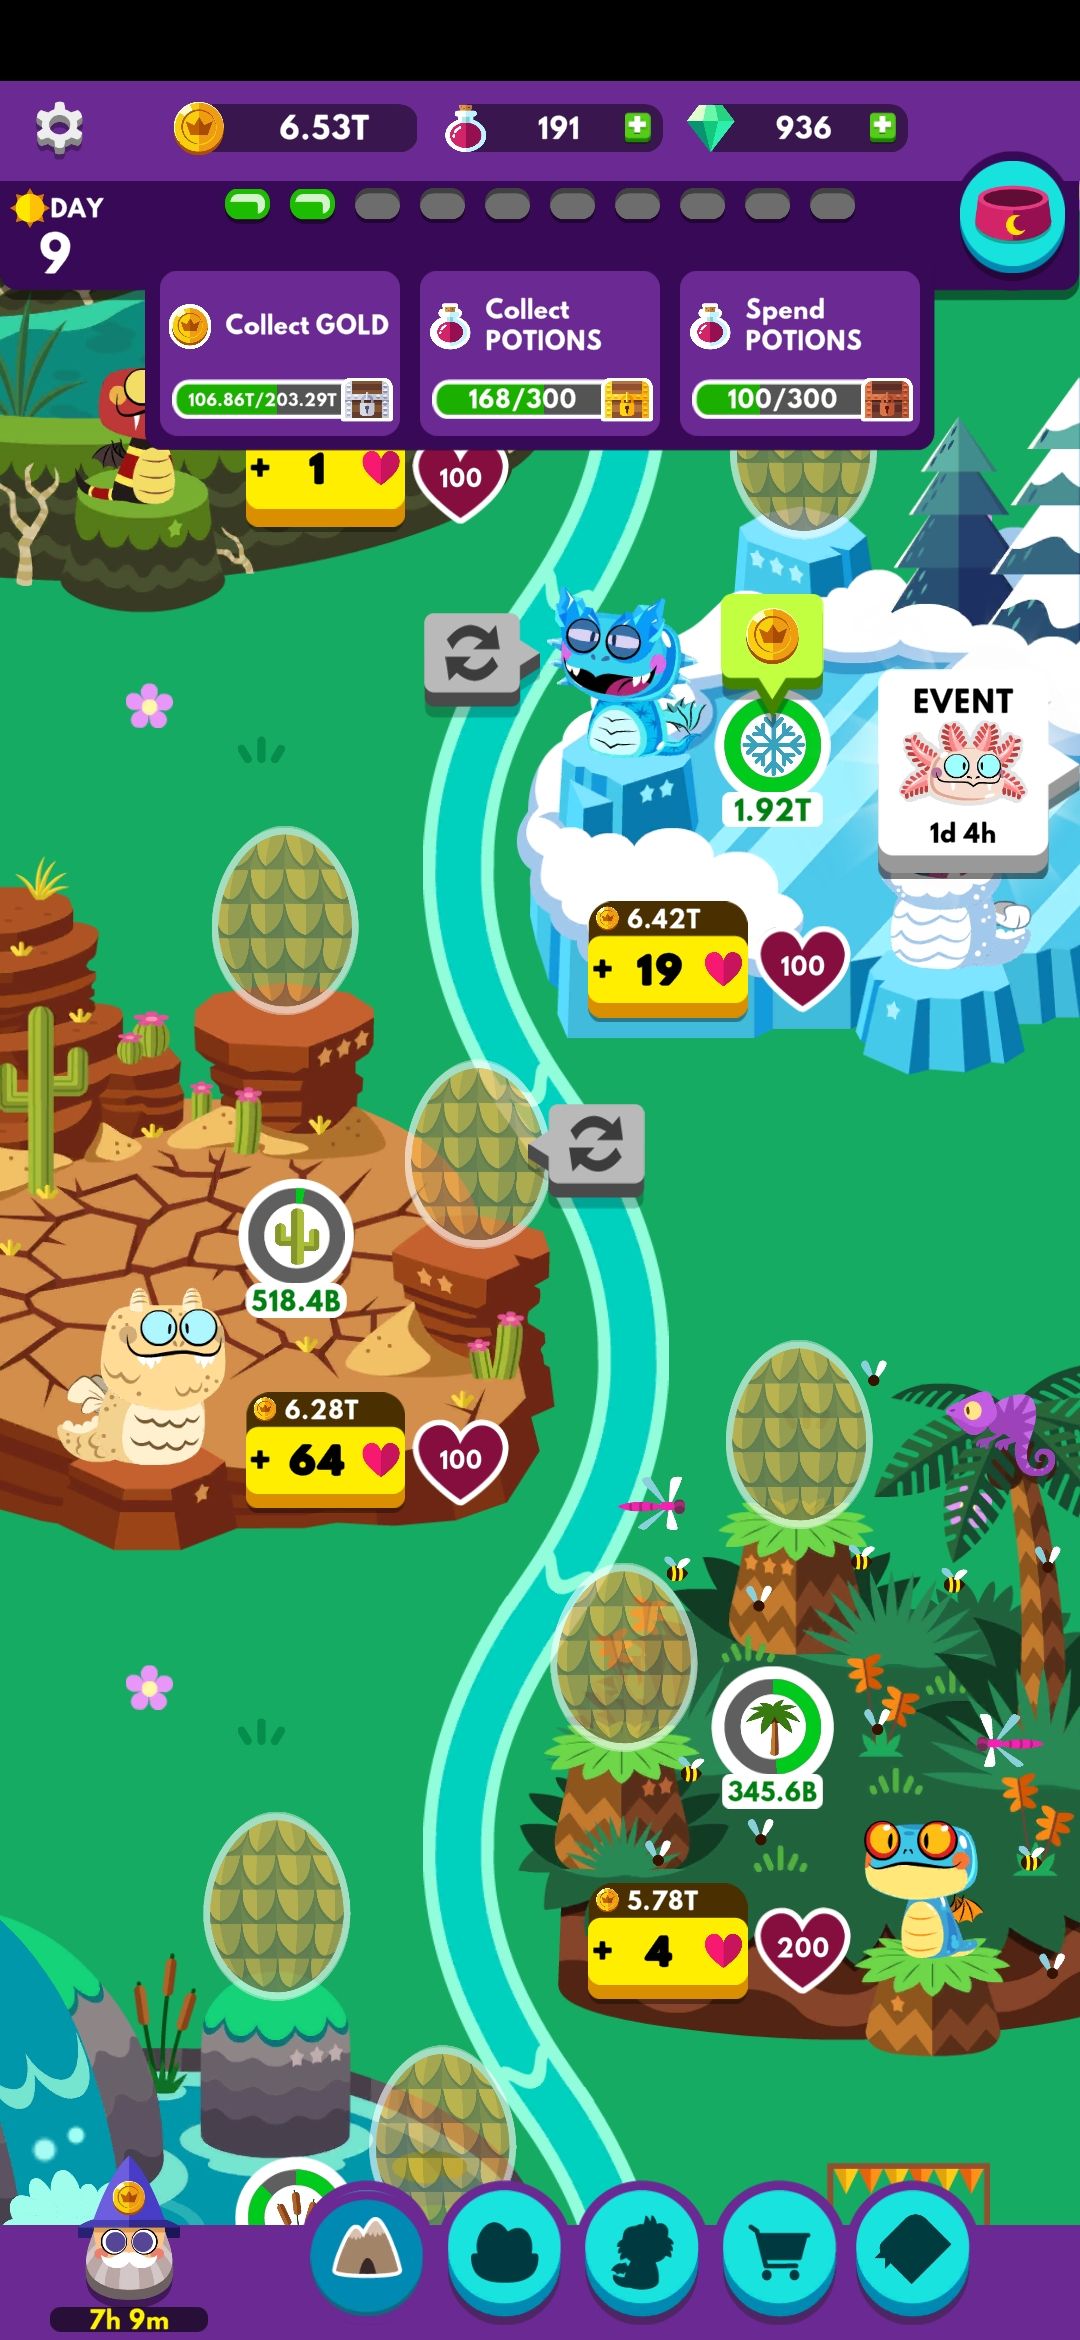
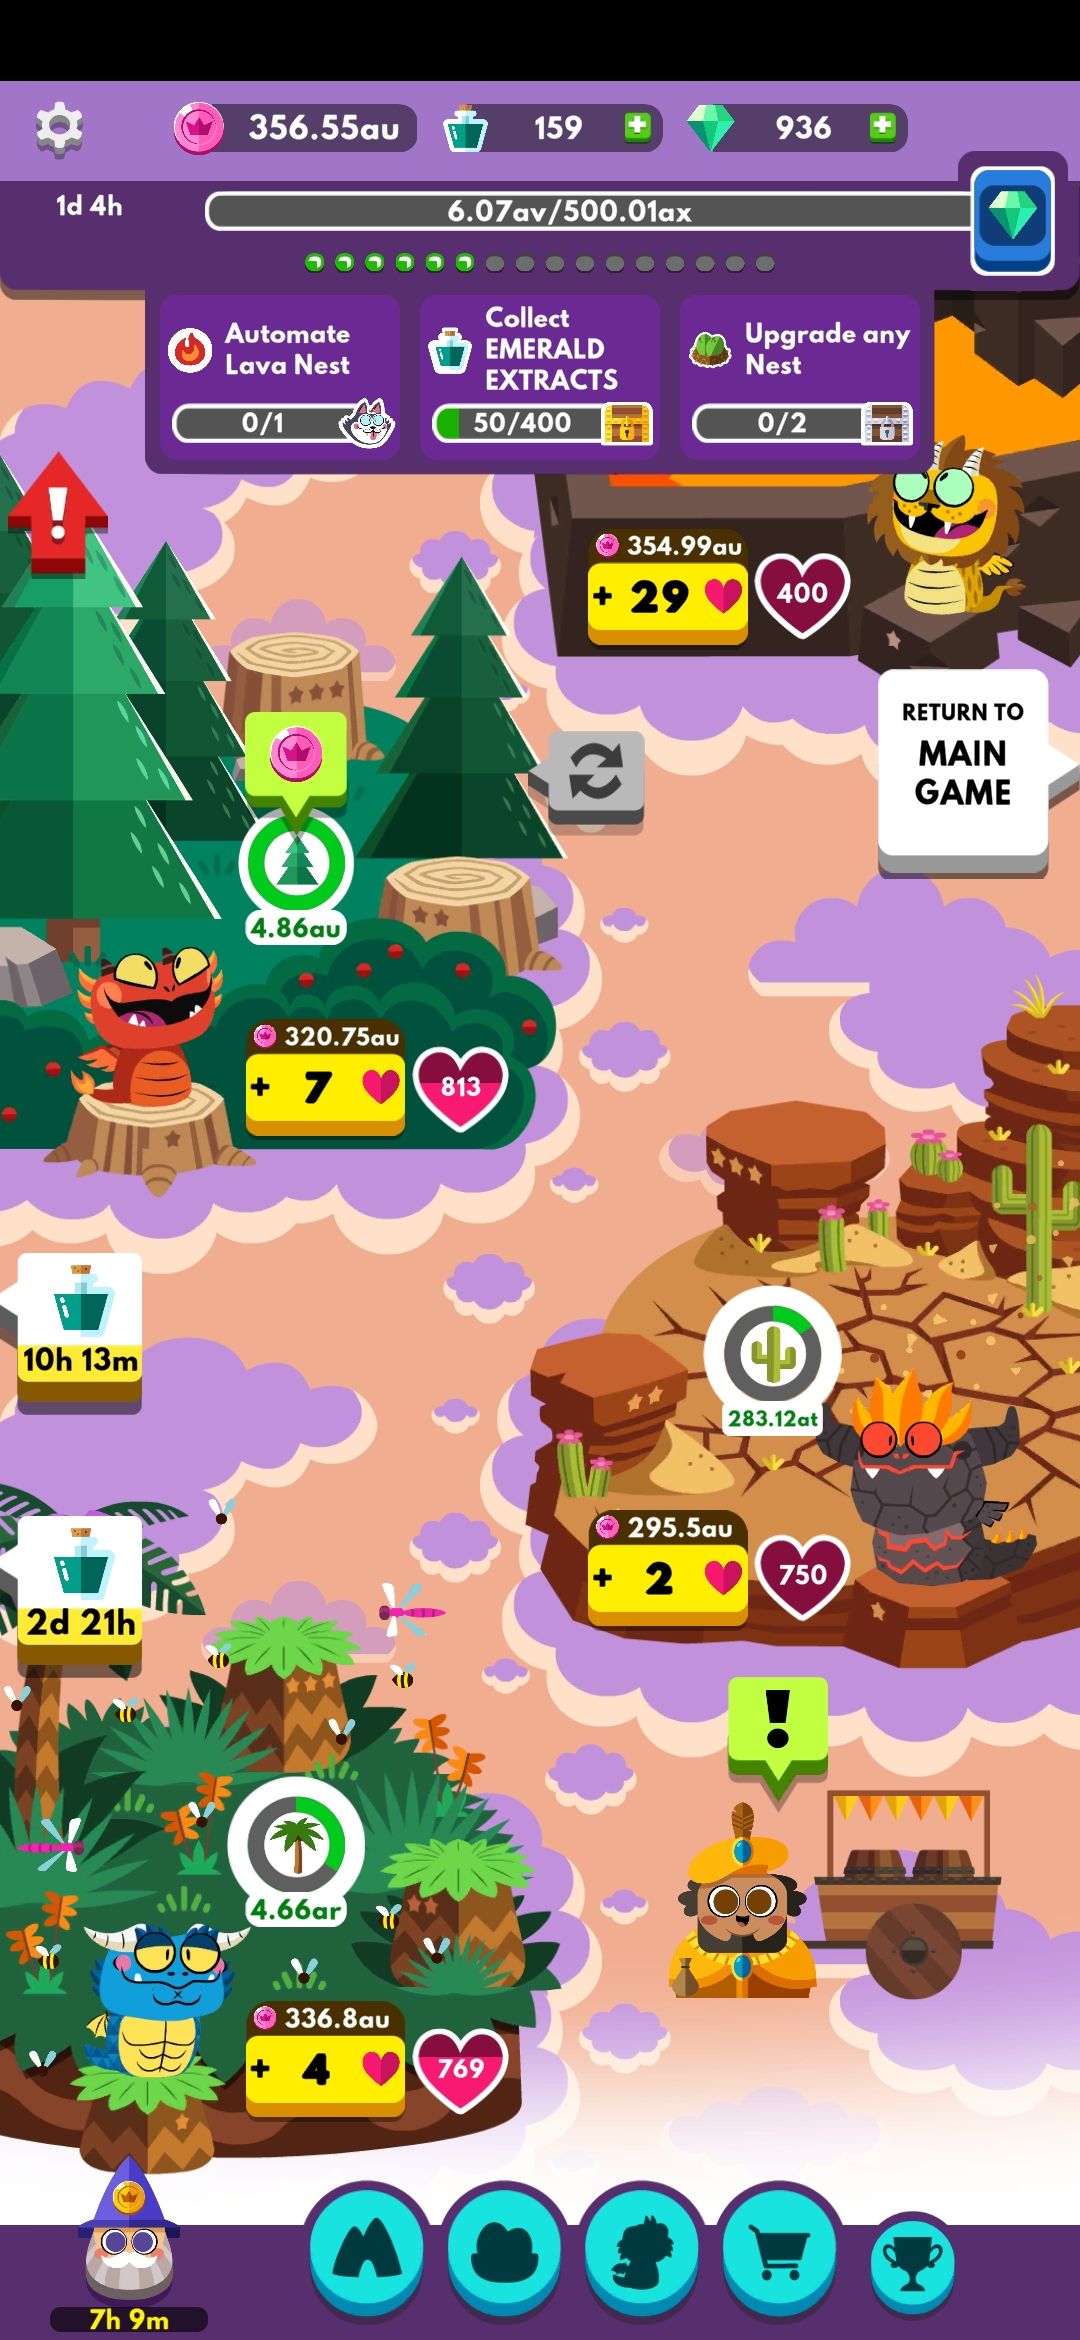
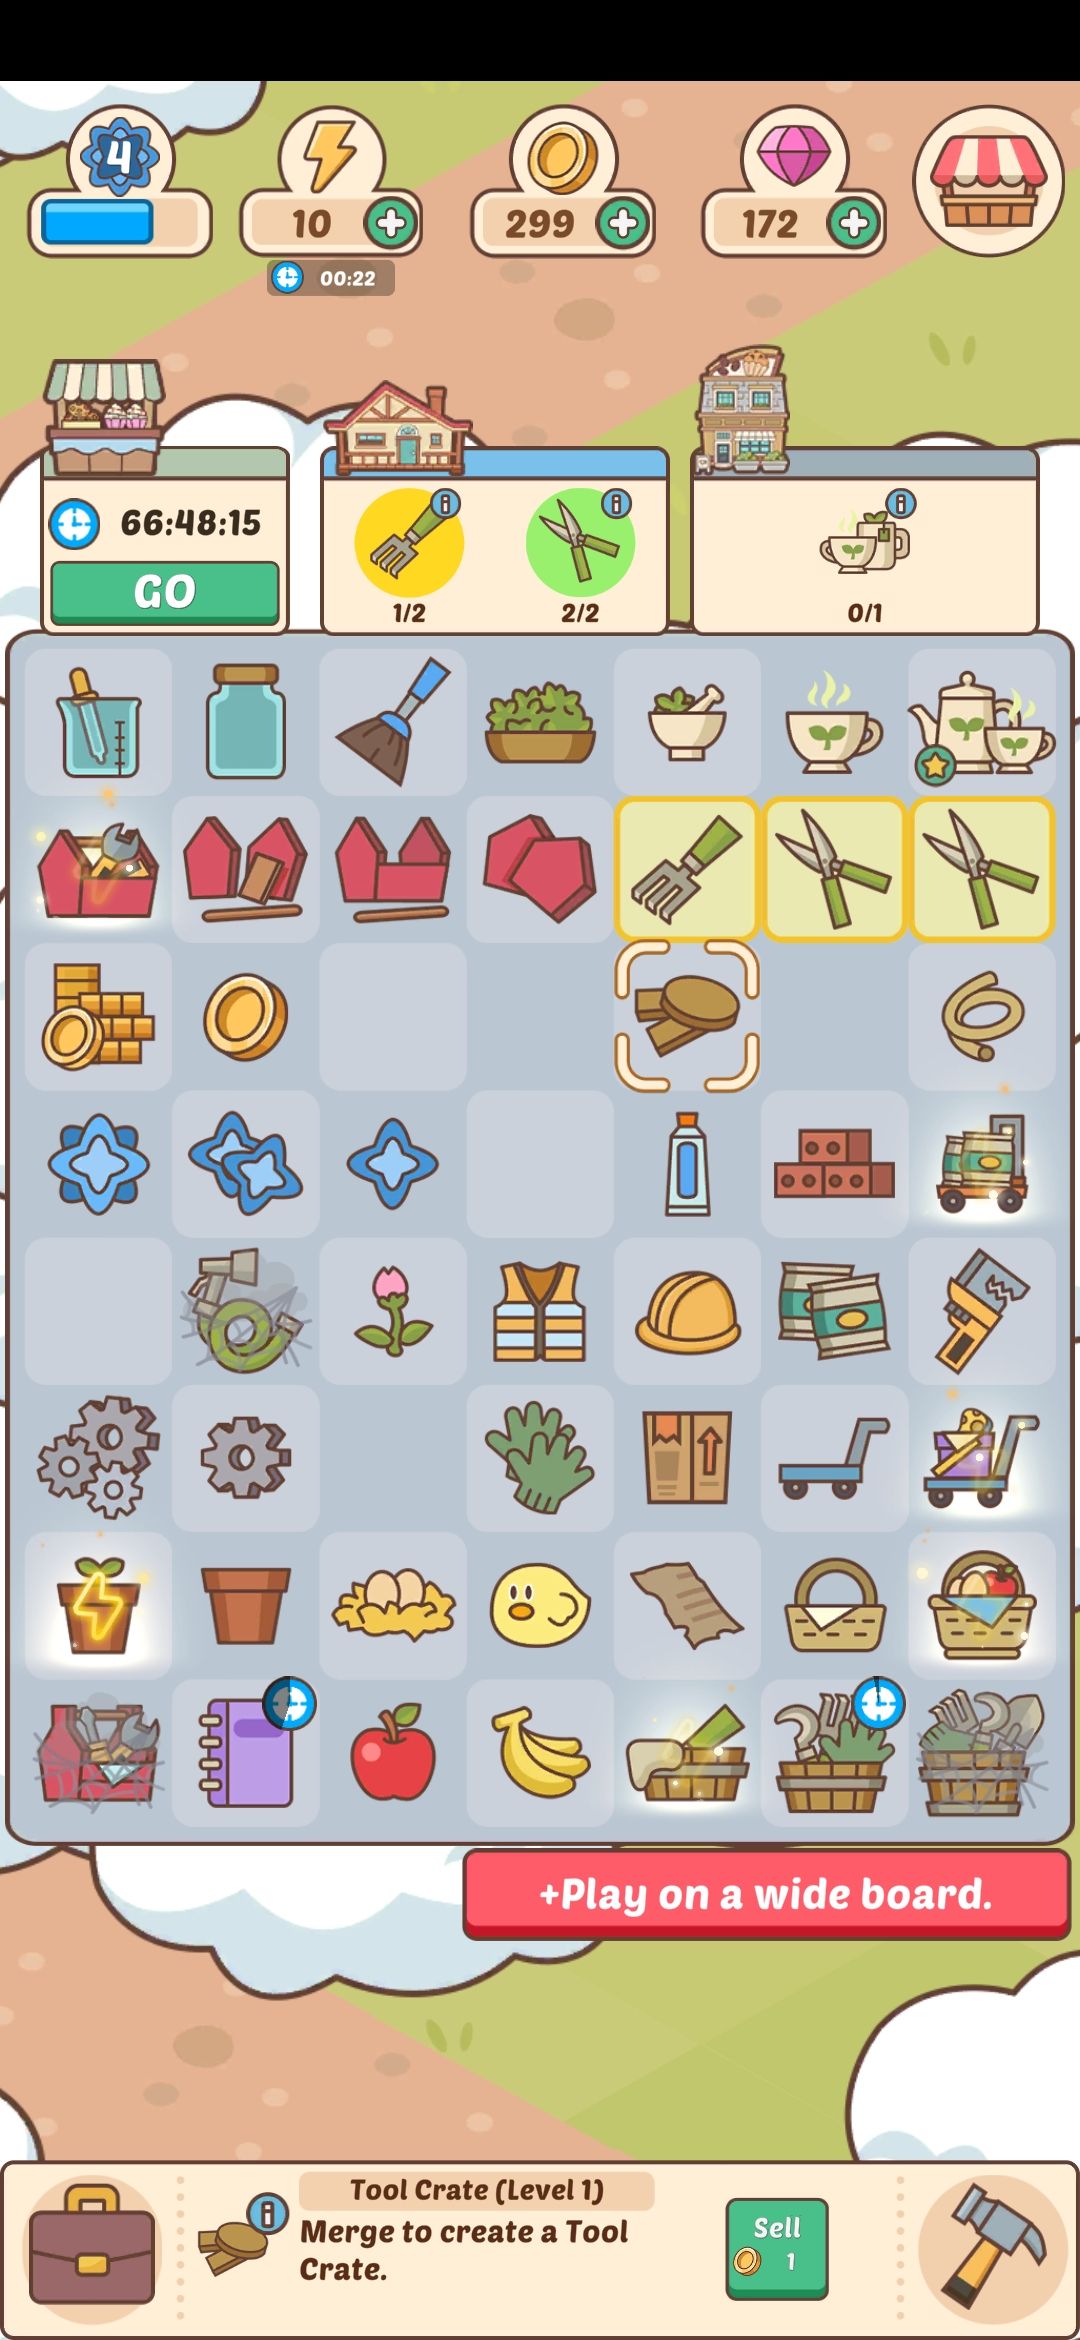
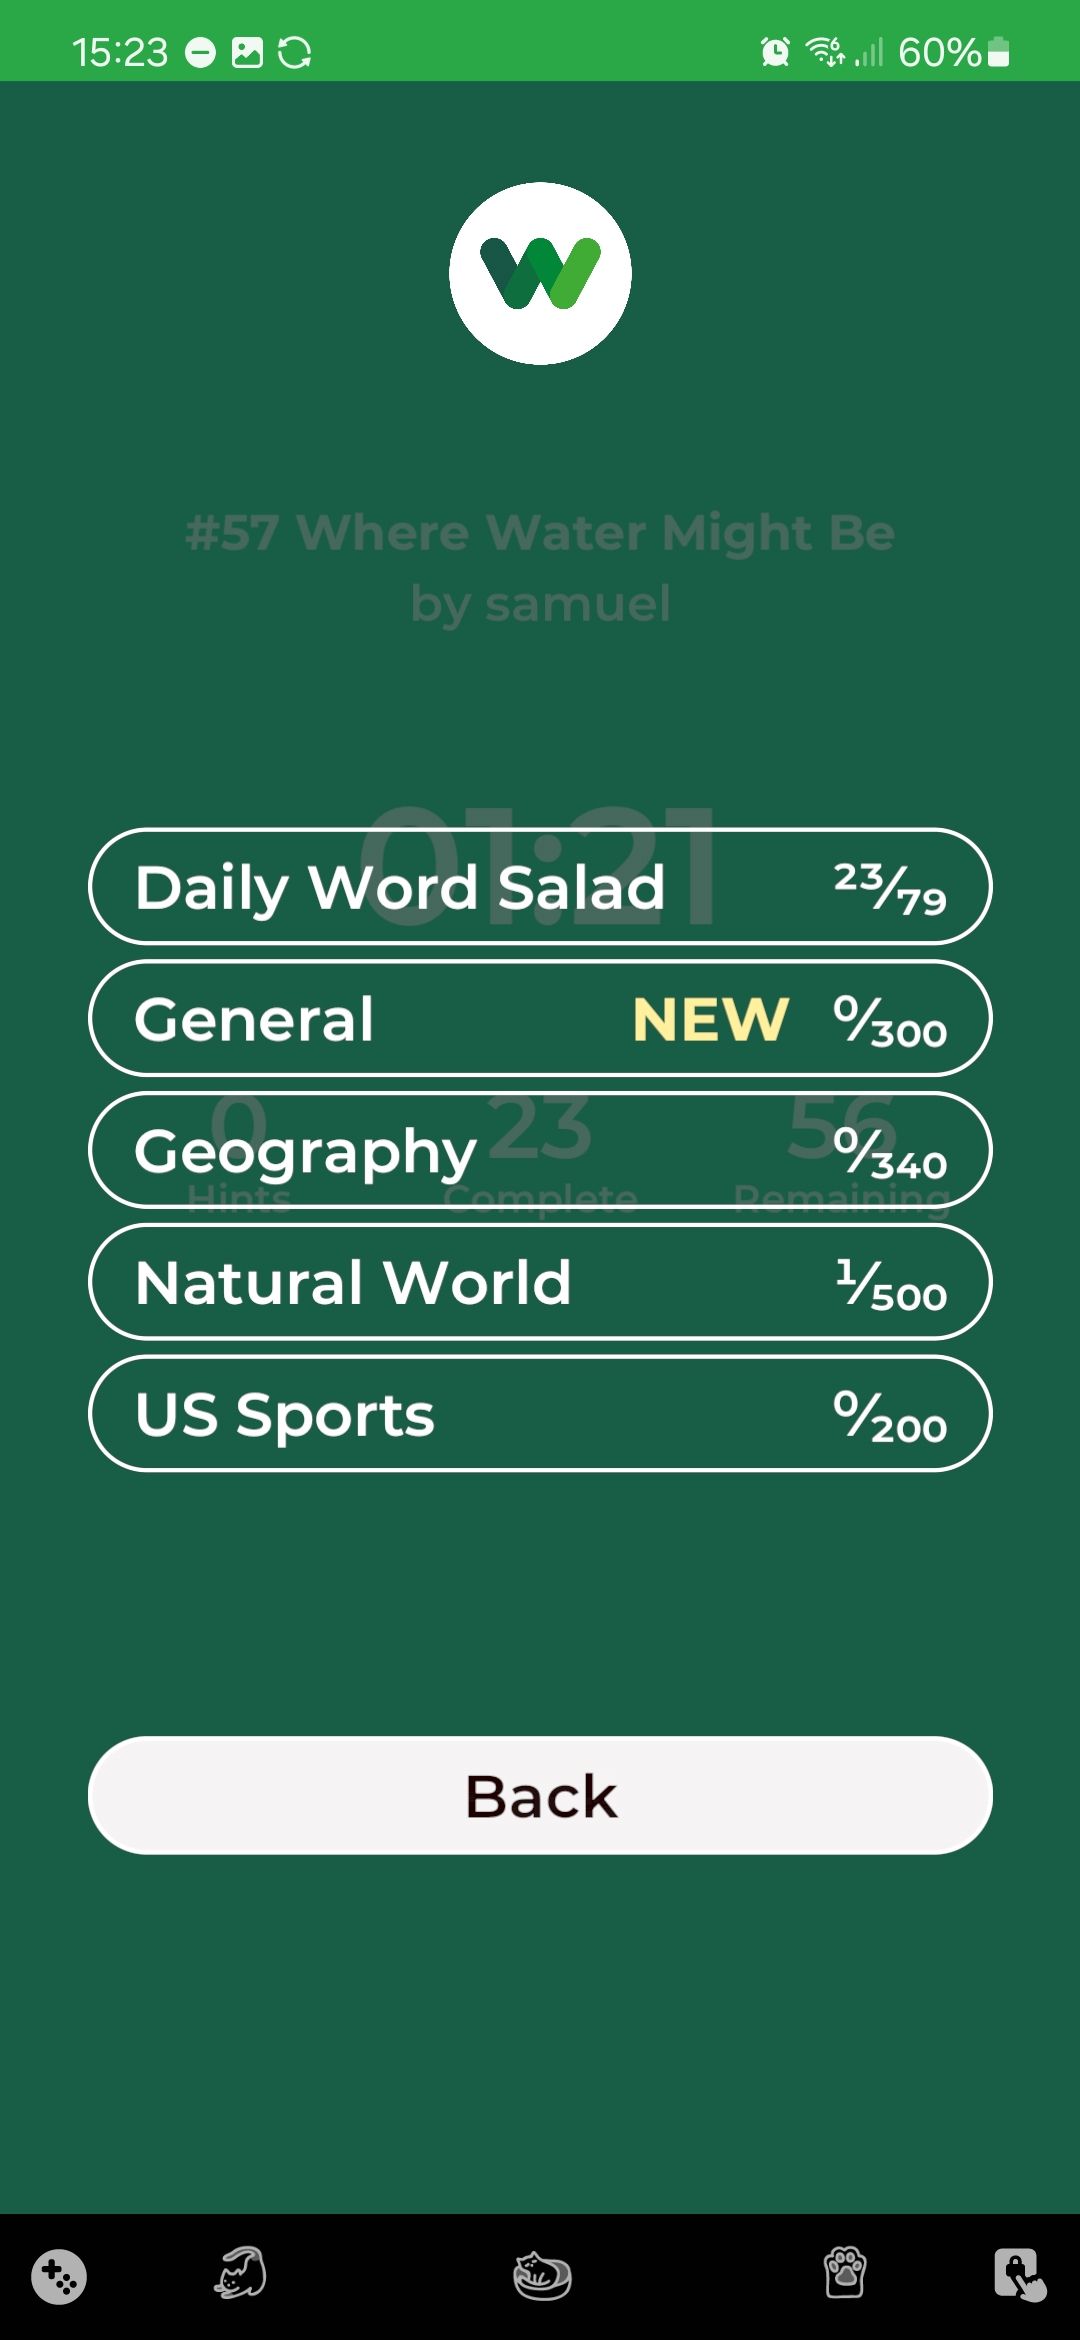
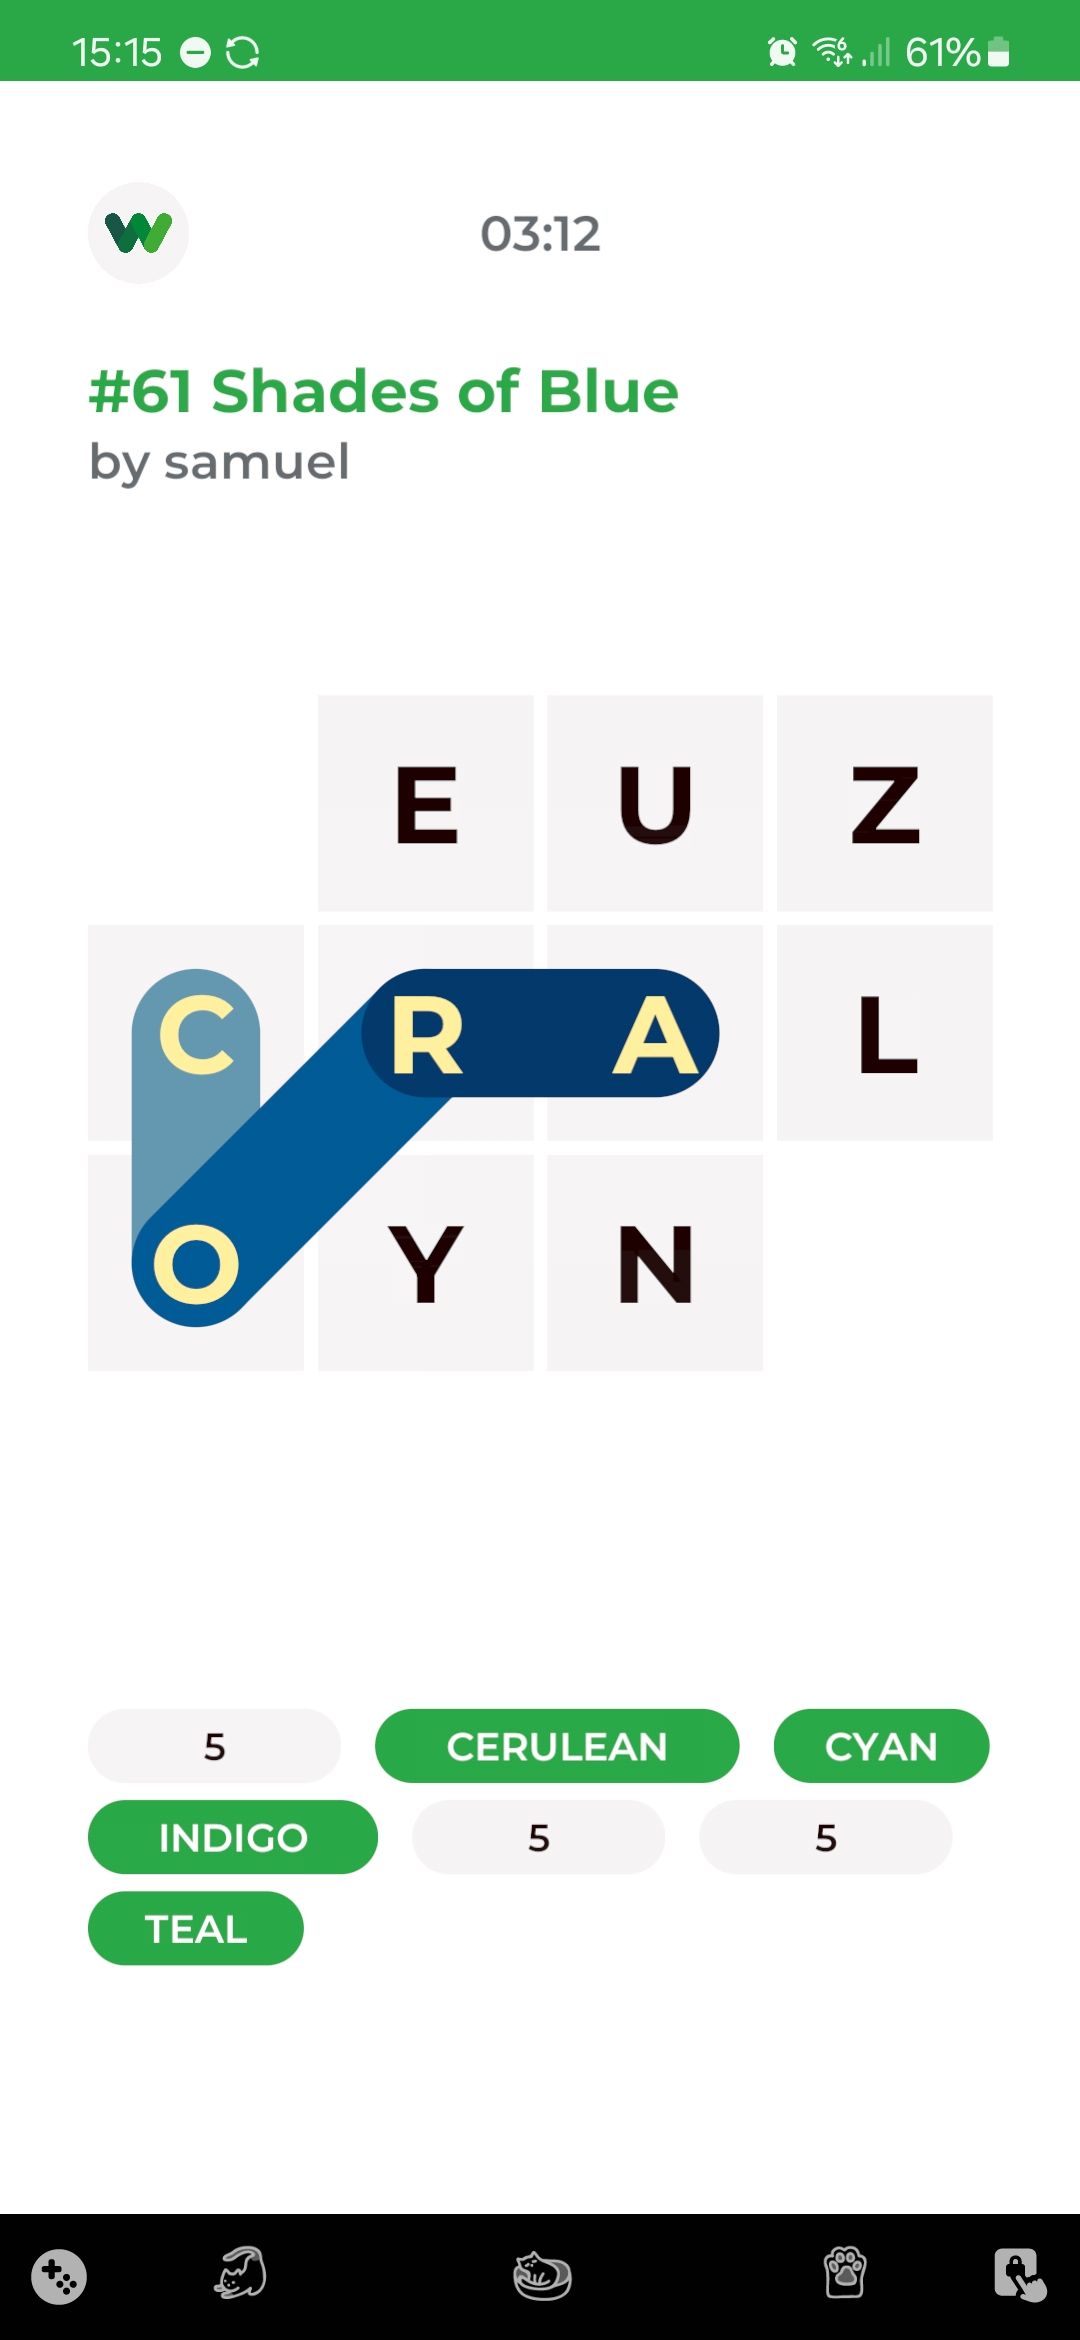
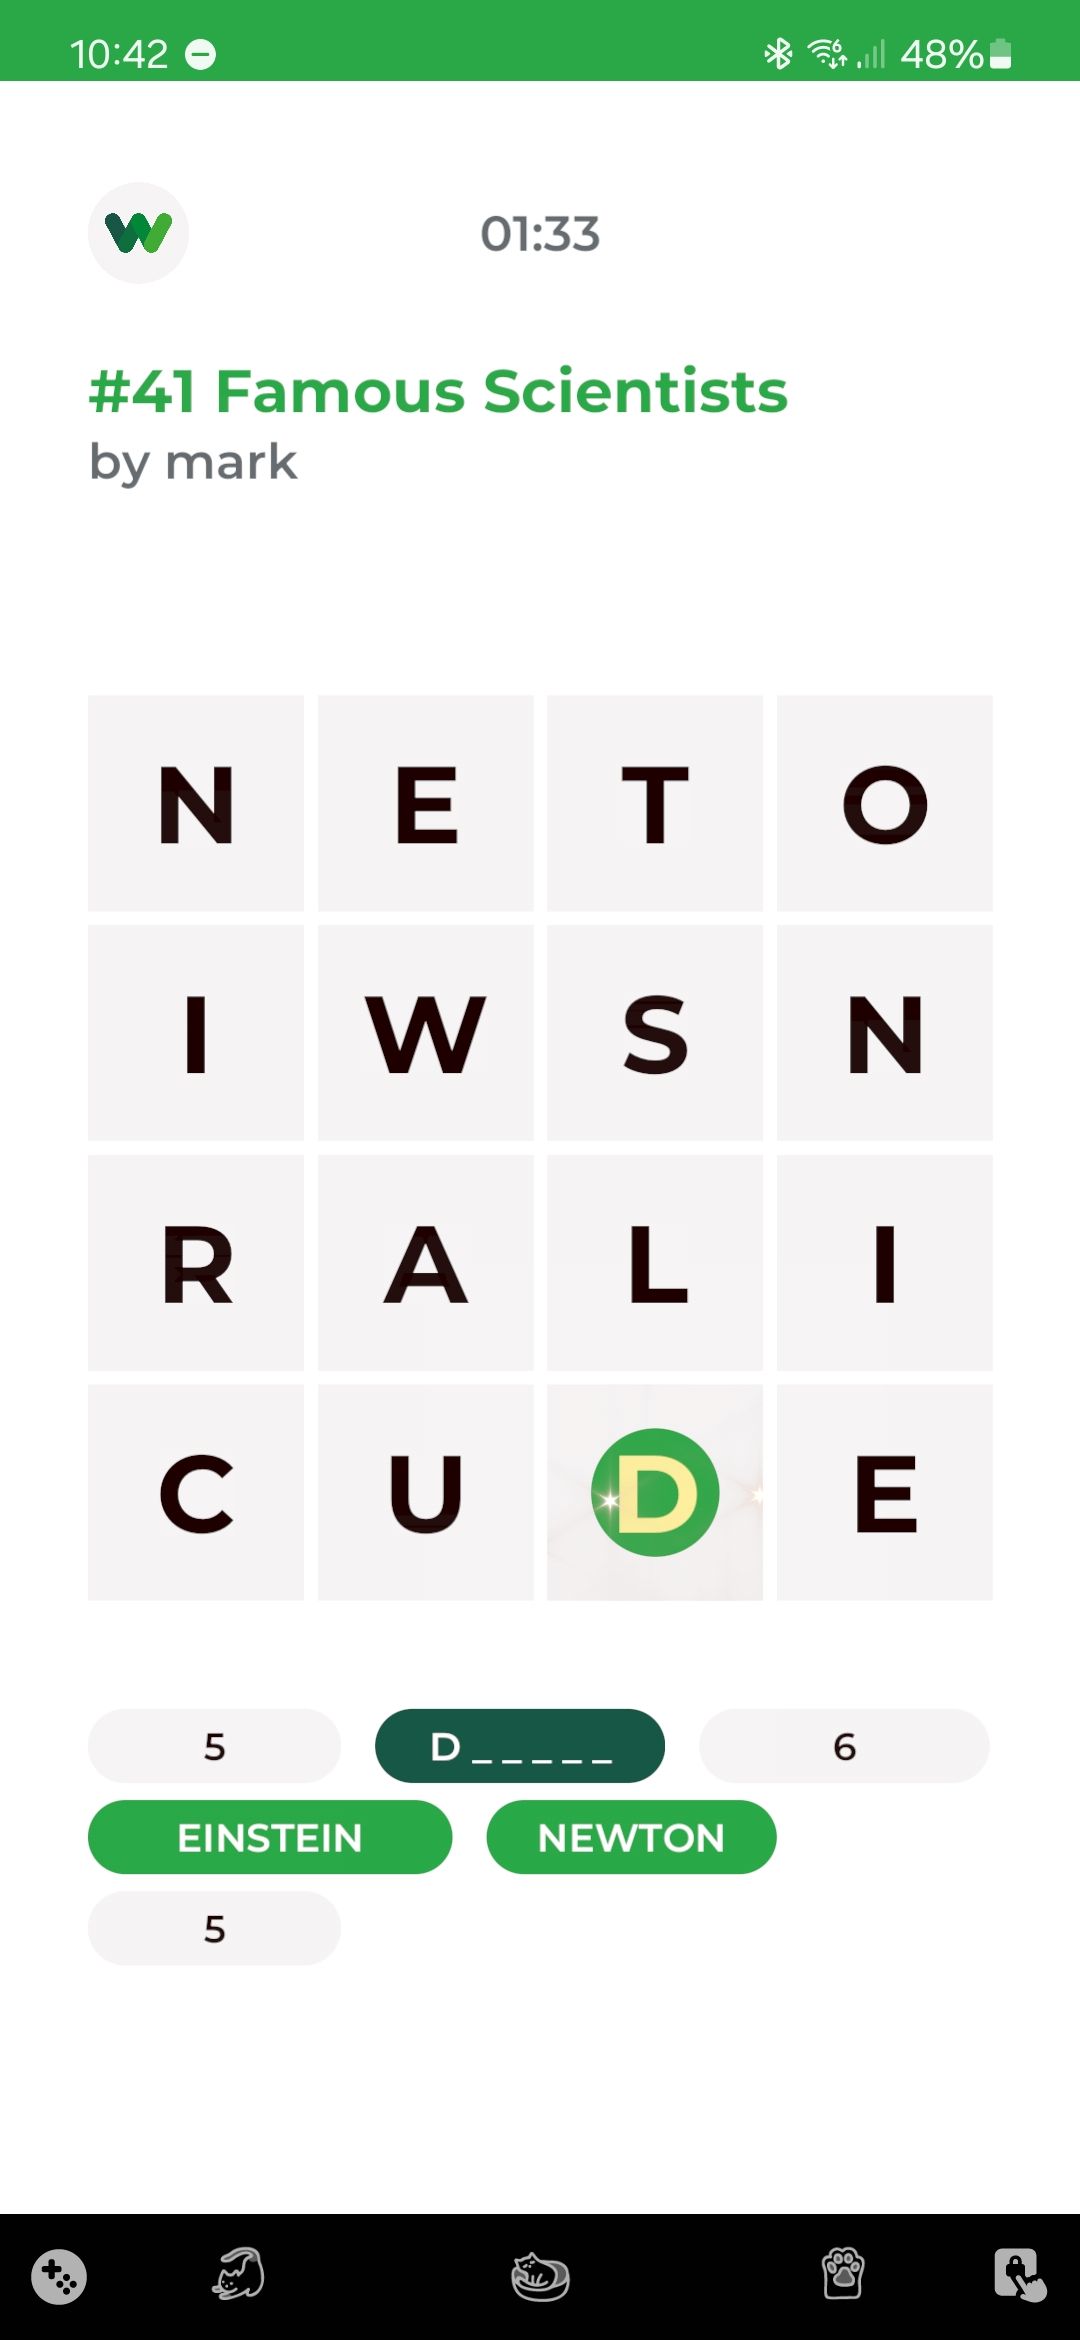
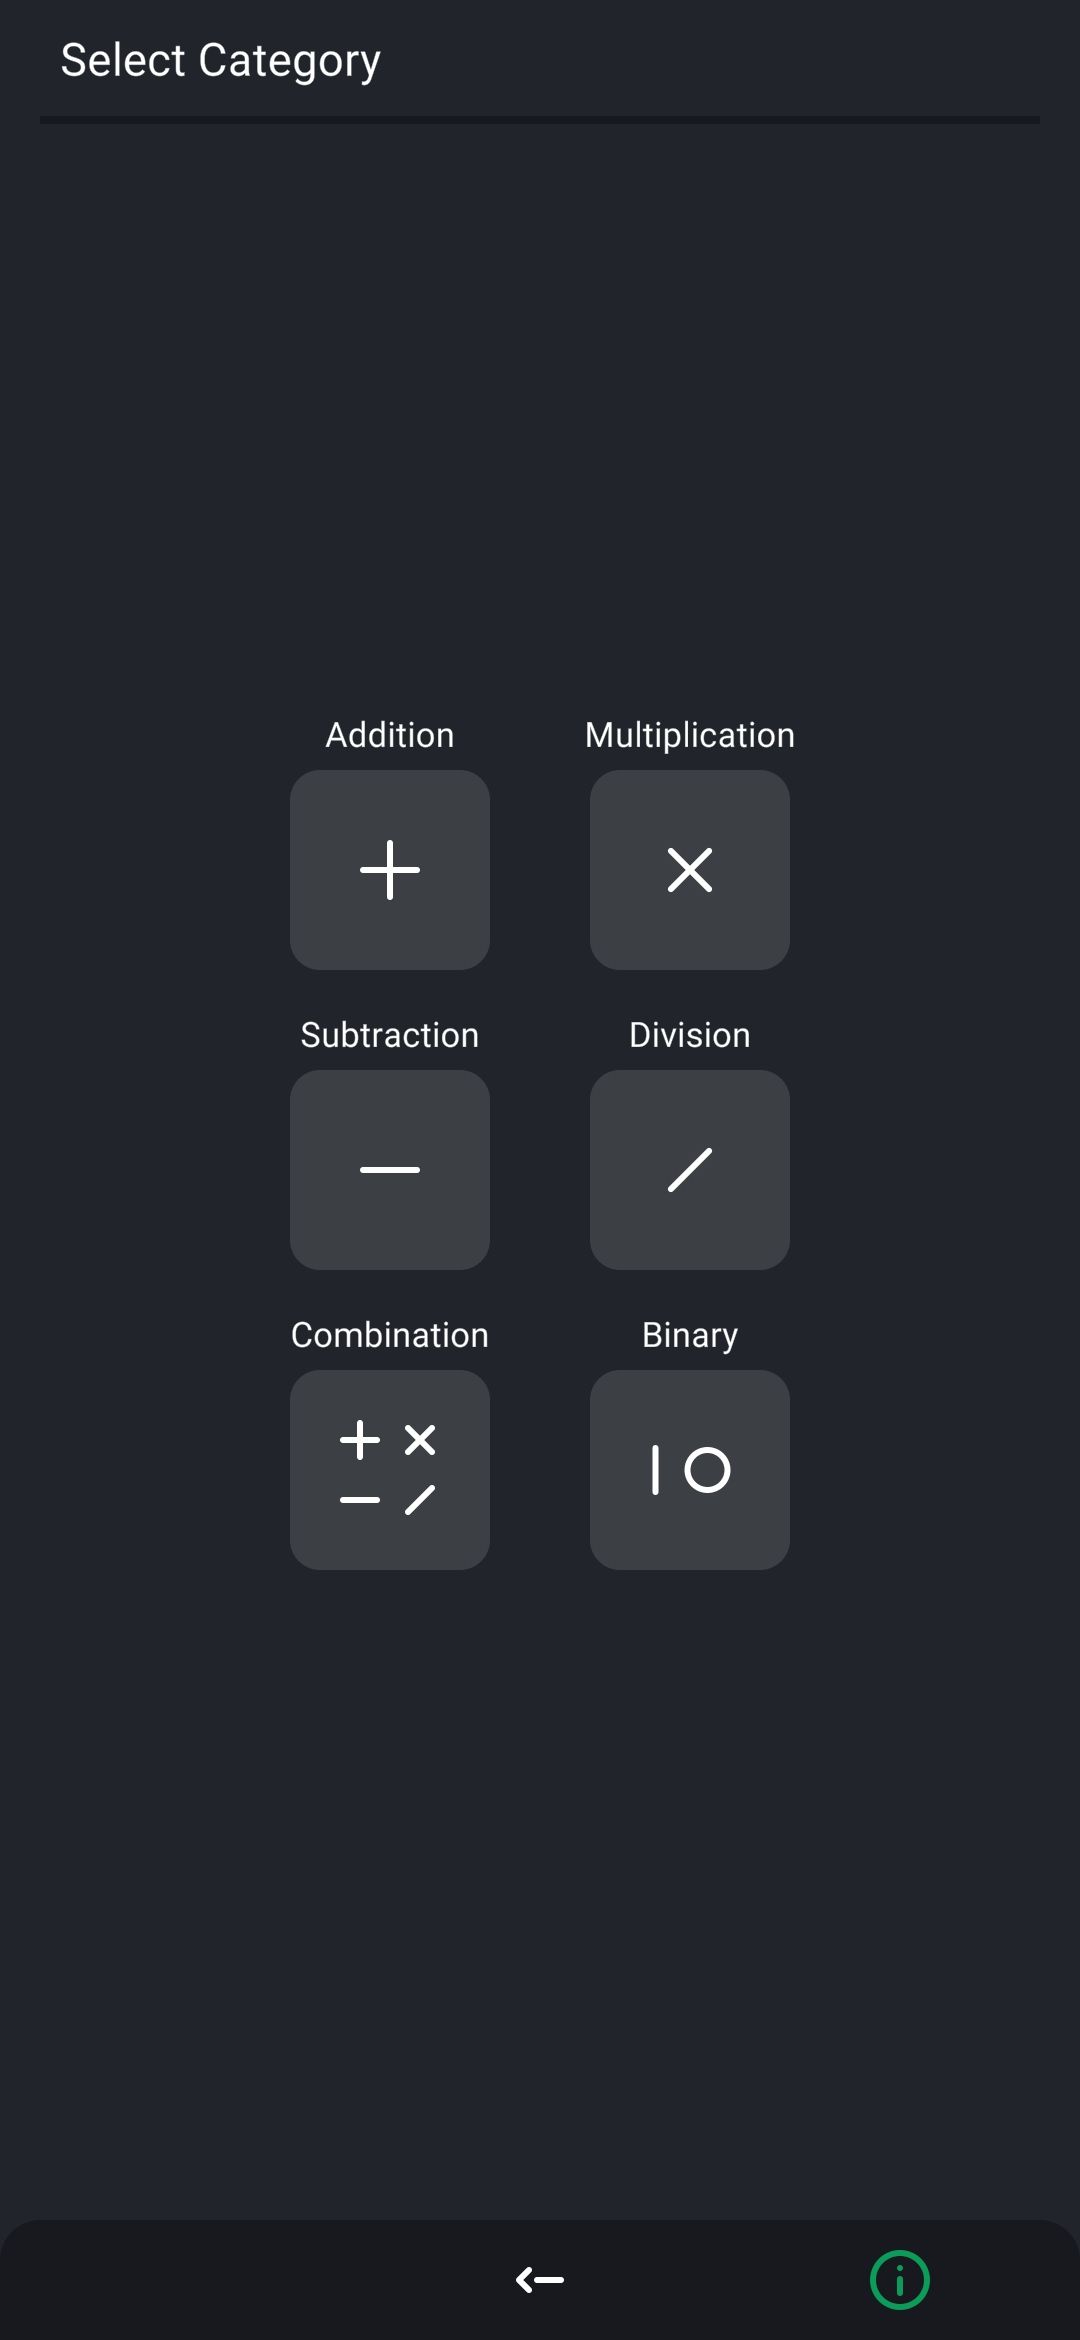
| Bottom layer farm | Top layer farm | Market |
|---|---|---|
 |
 |
 |
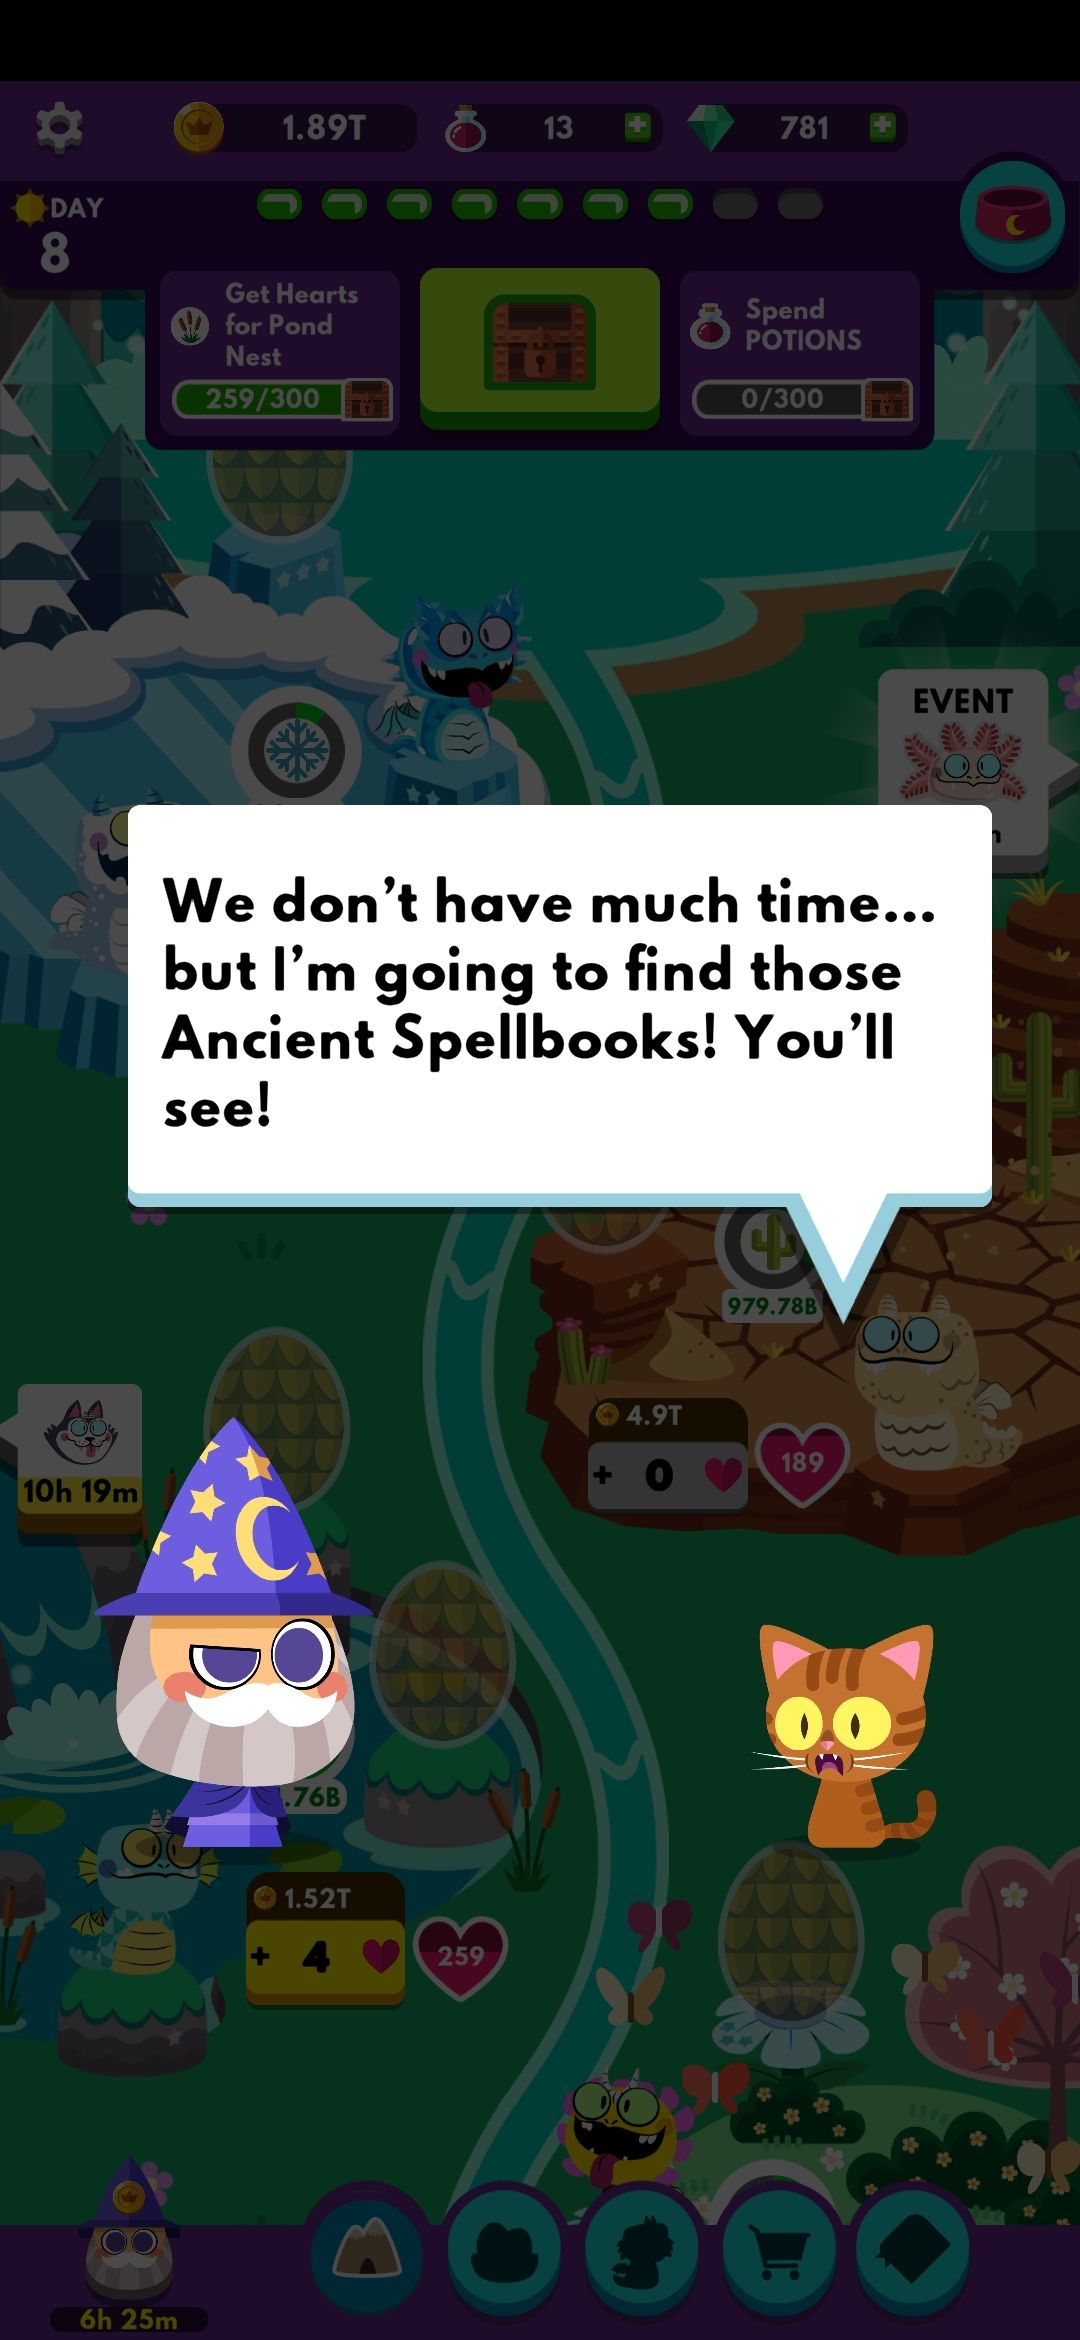
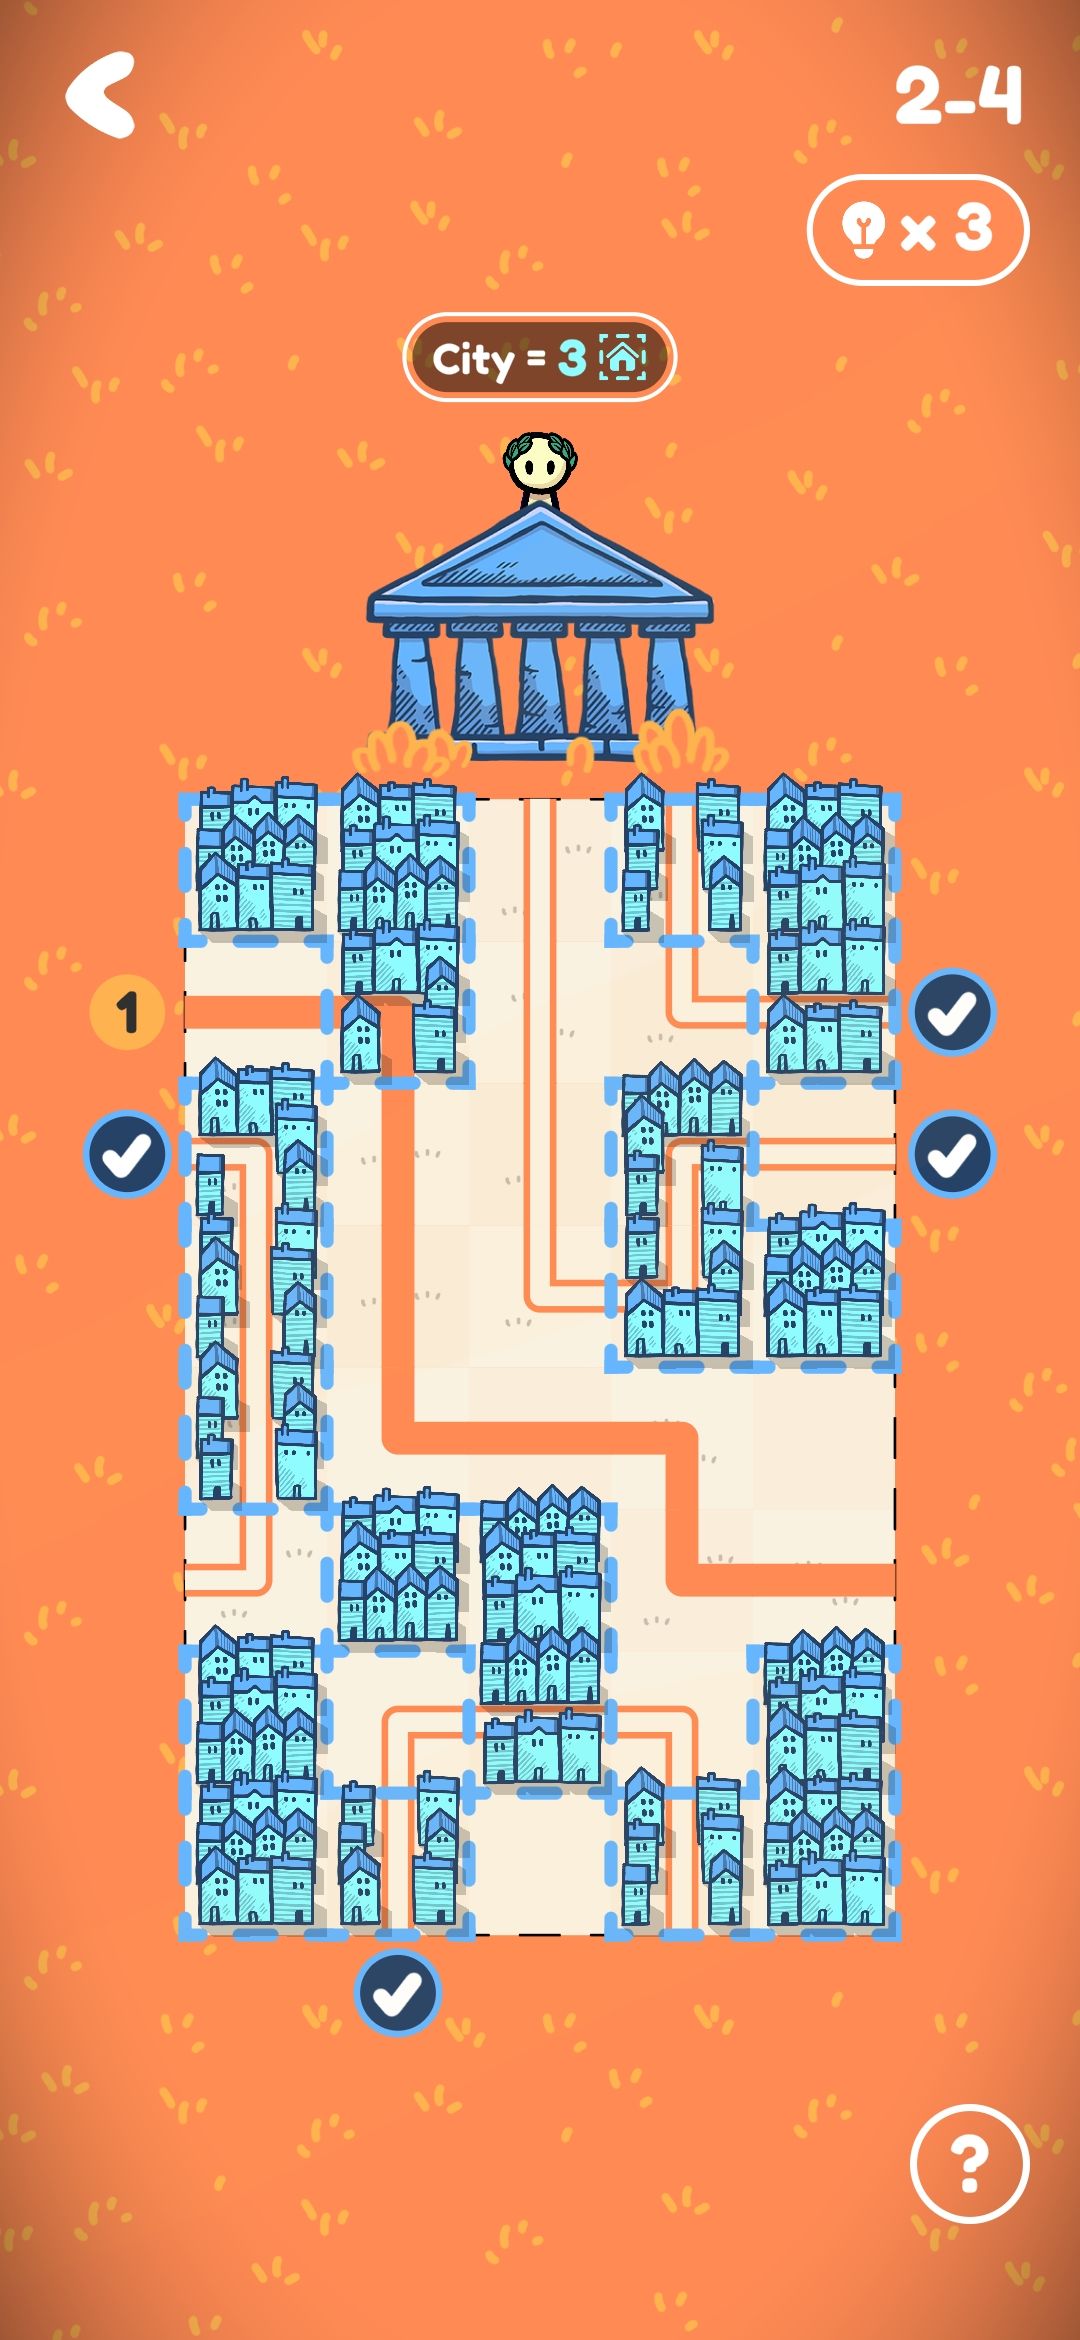
#2: Cat Town Valley
Update: This is currently only available in some countries (e.g. not the USA), since it came out a couple of days ago I’m sure it’ll expand soon!
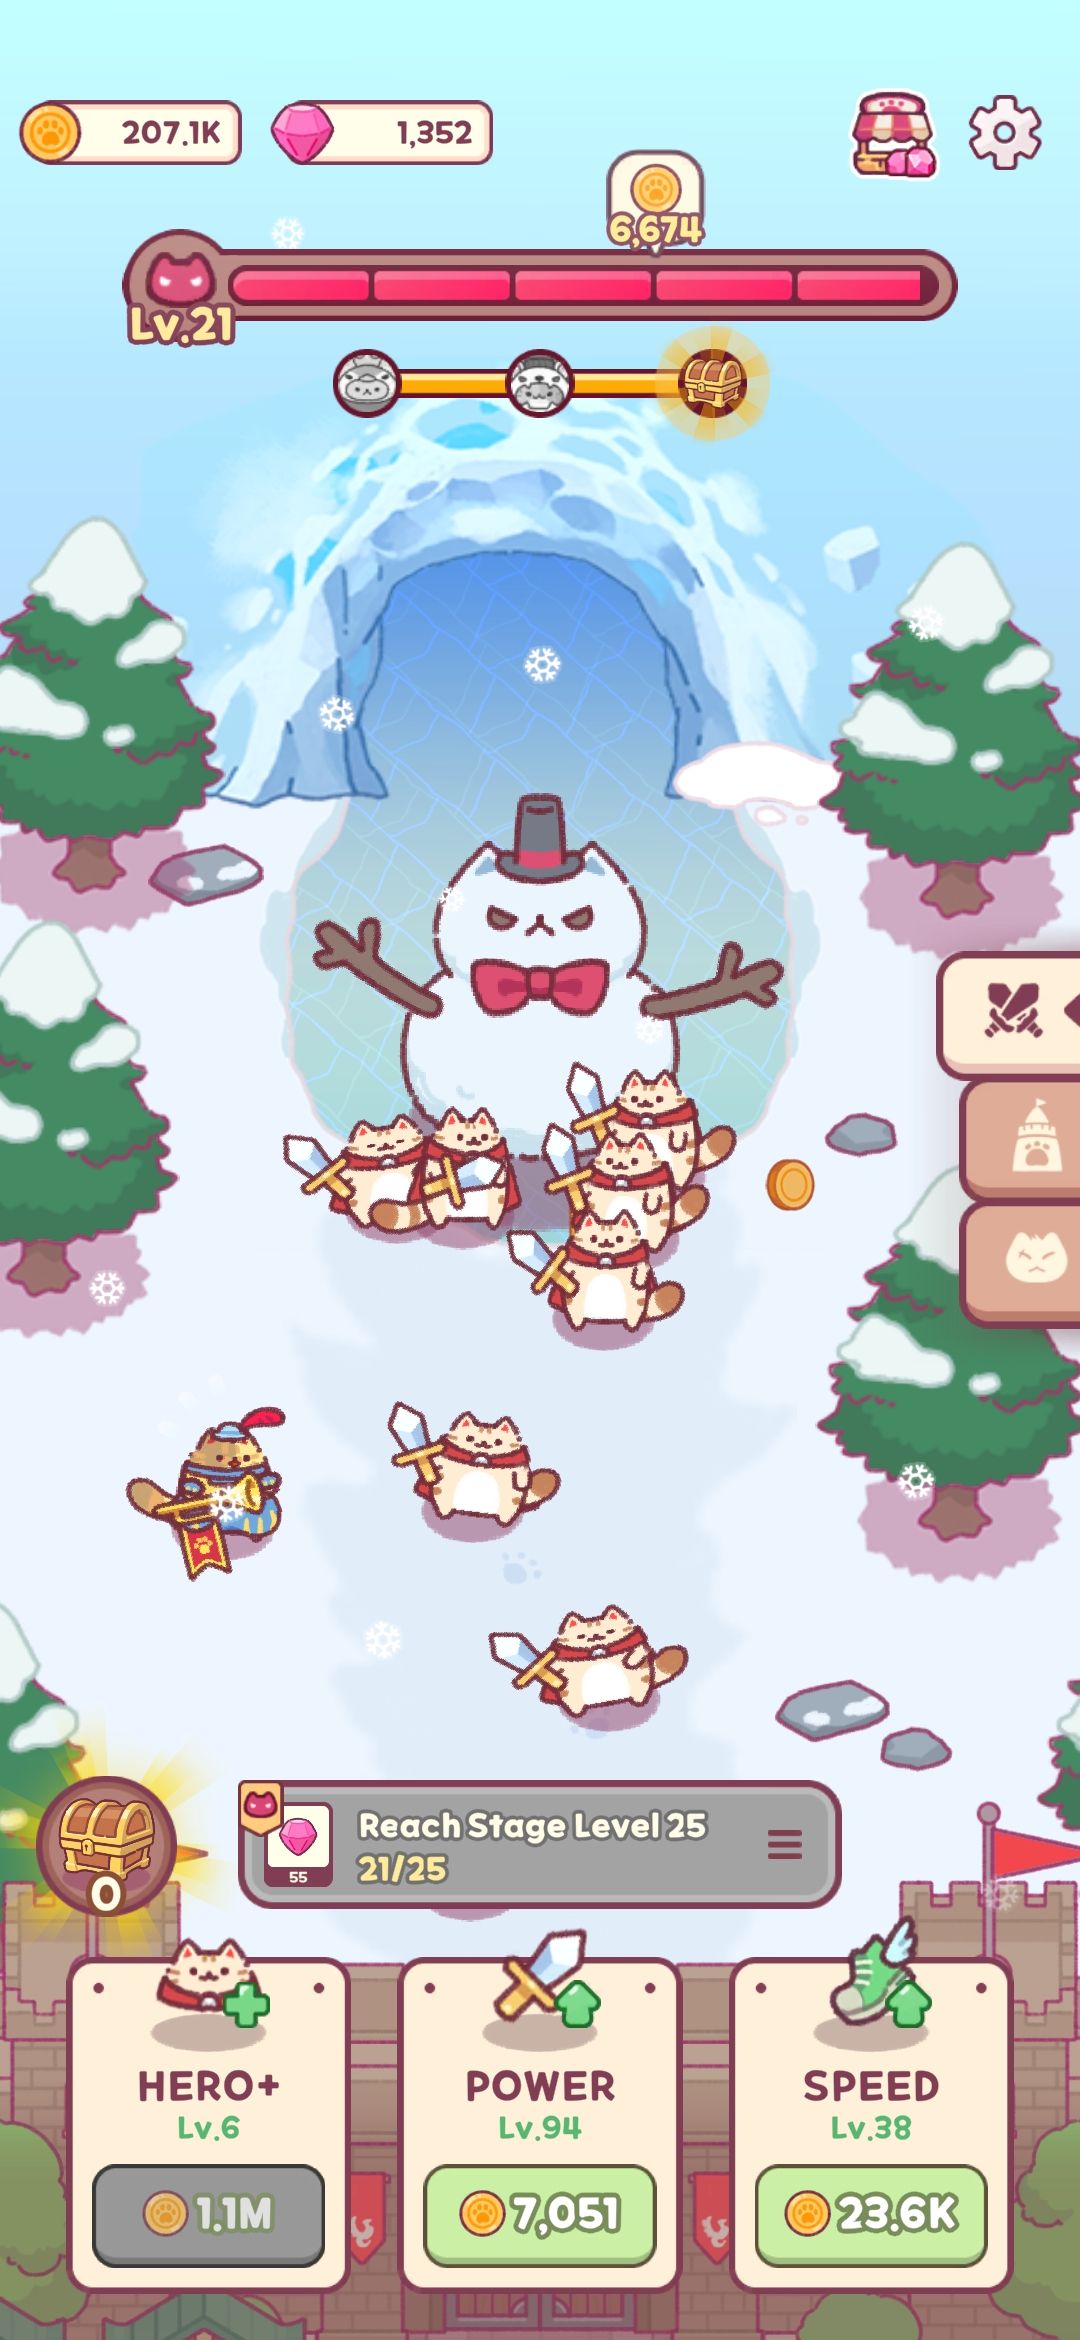
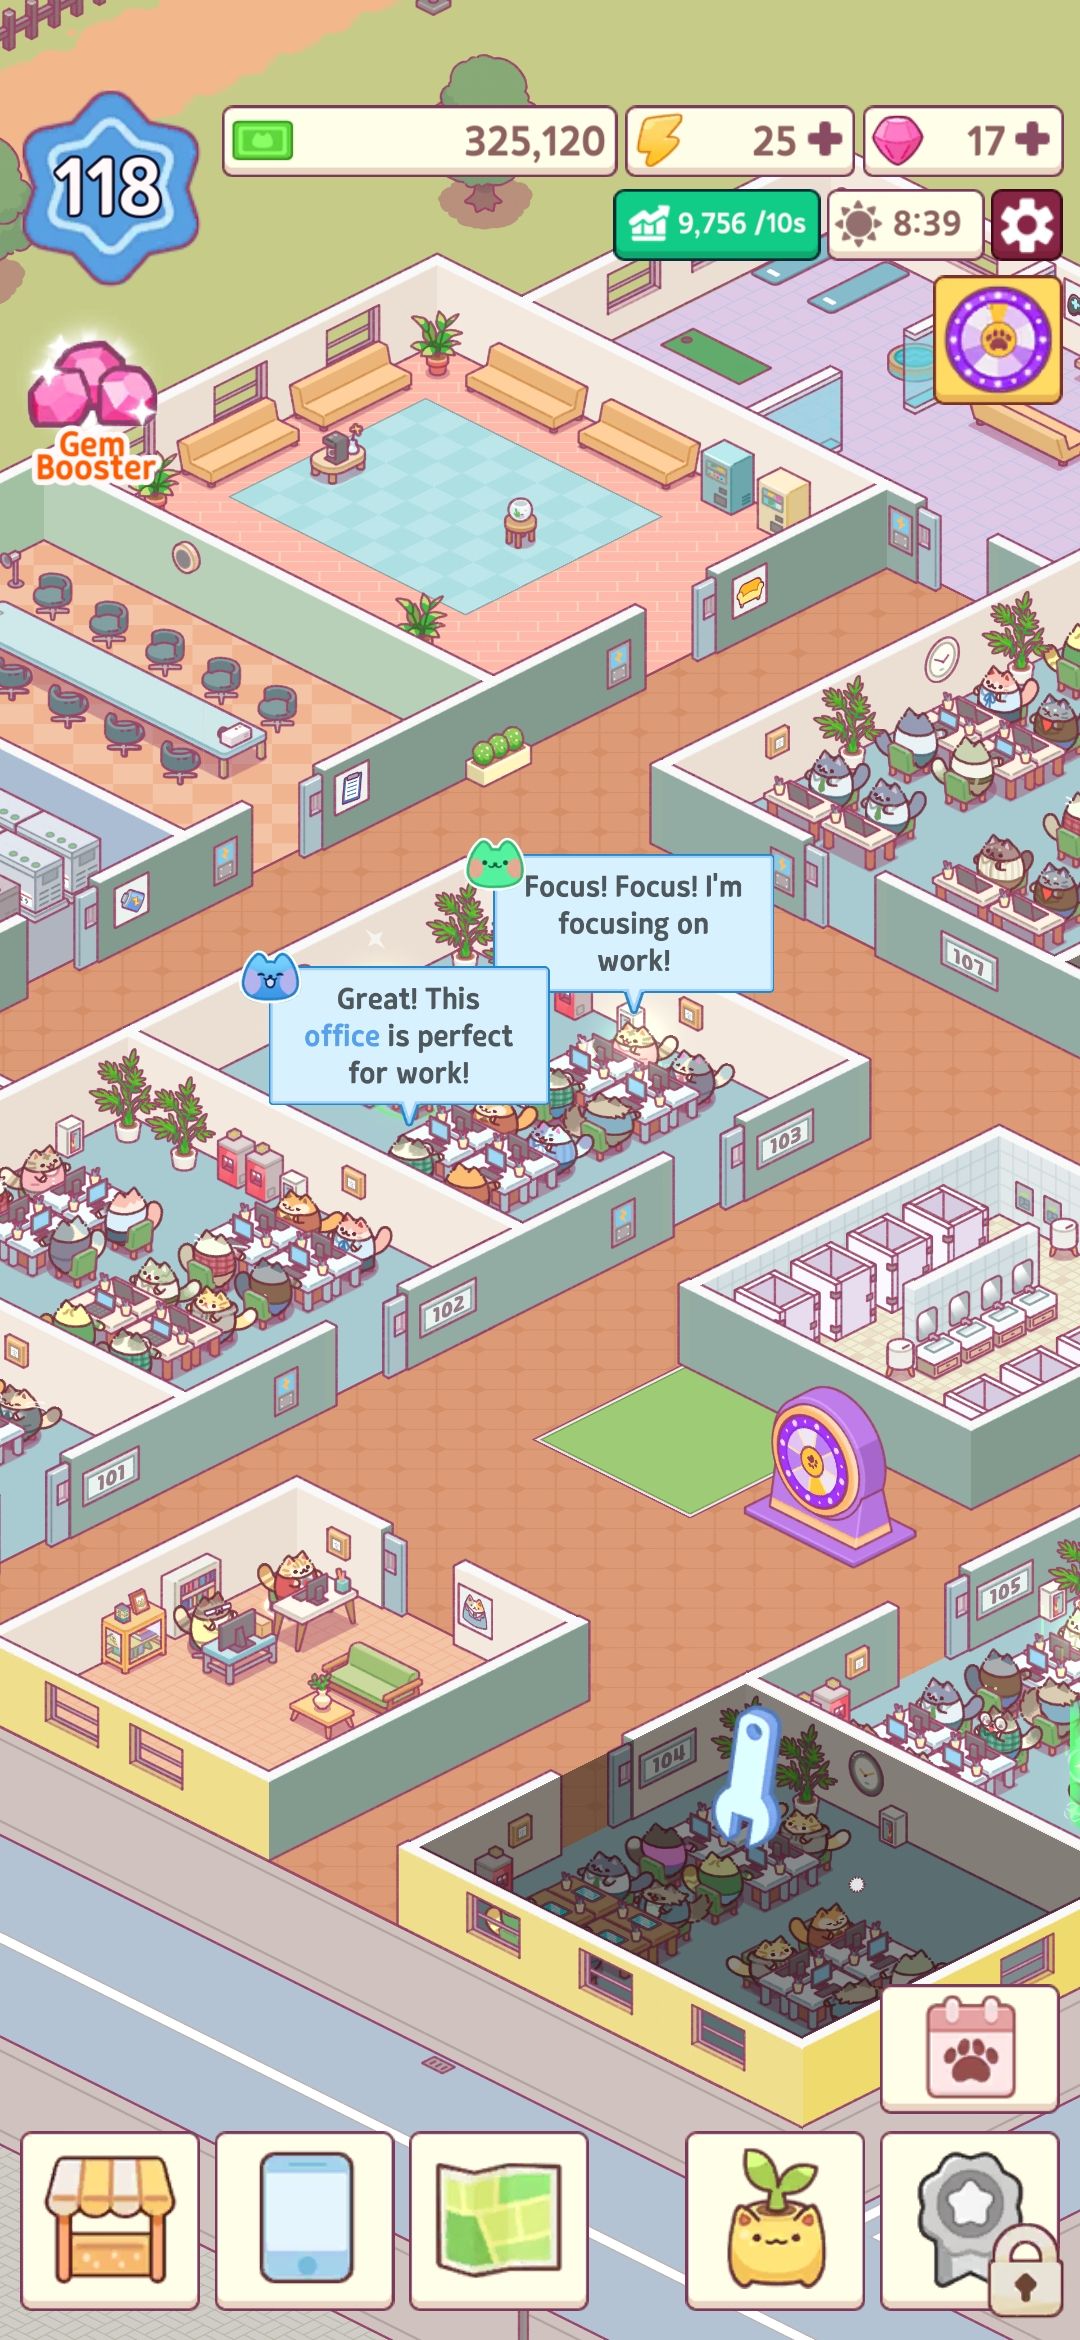
Remember when I reviewed Office Cat earlier this year, and loved it? Well, Cat Town Valley is more of the same!
Review
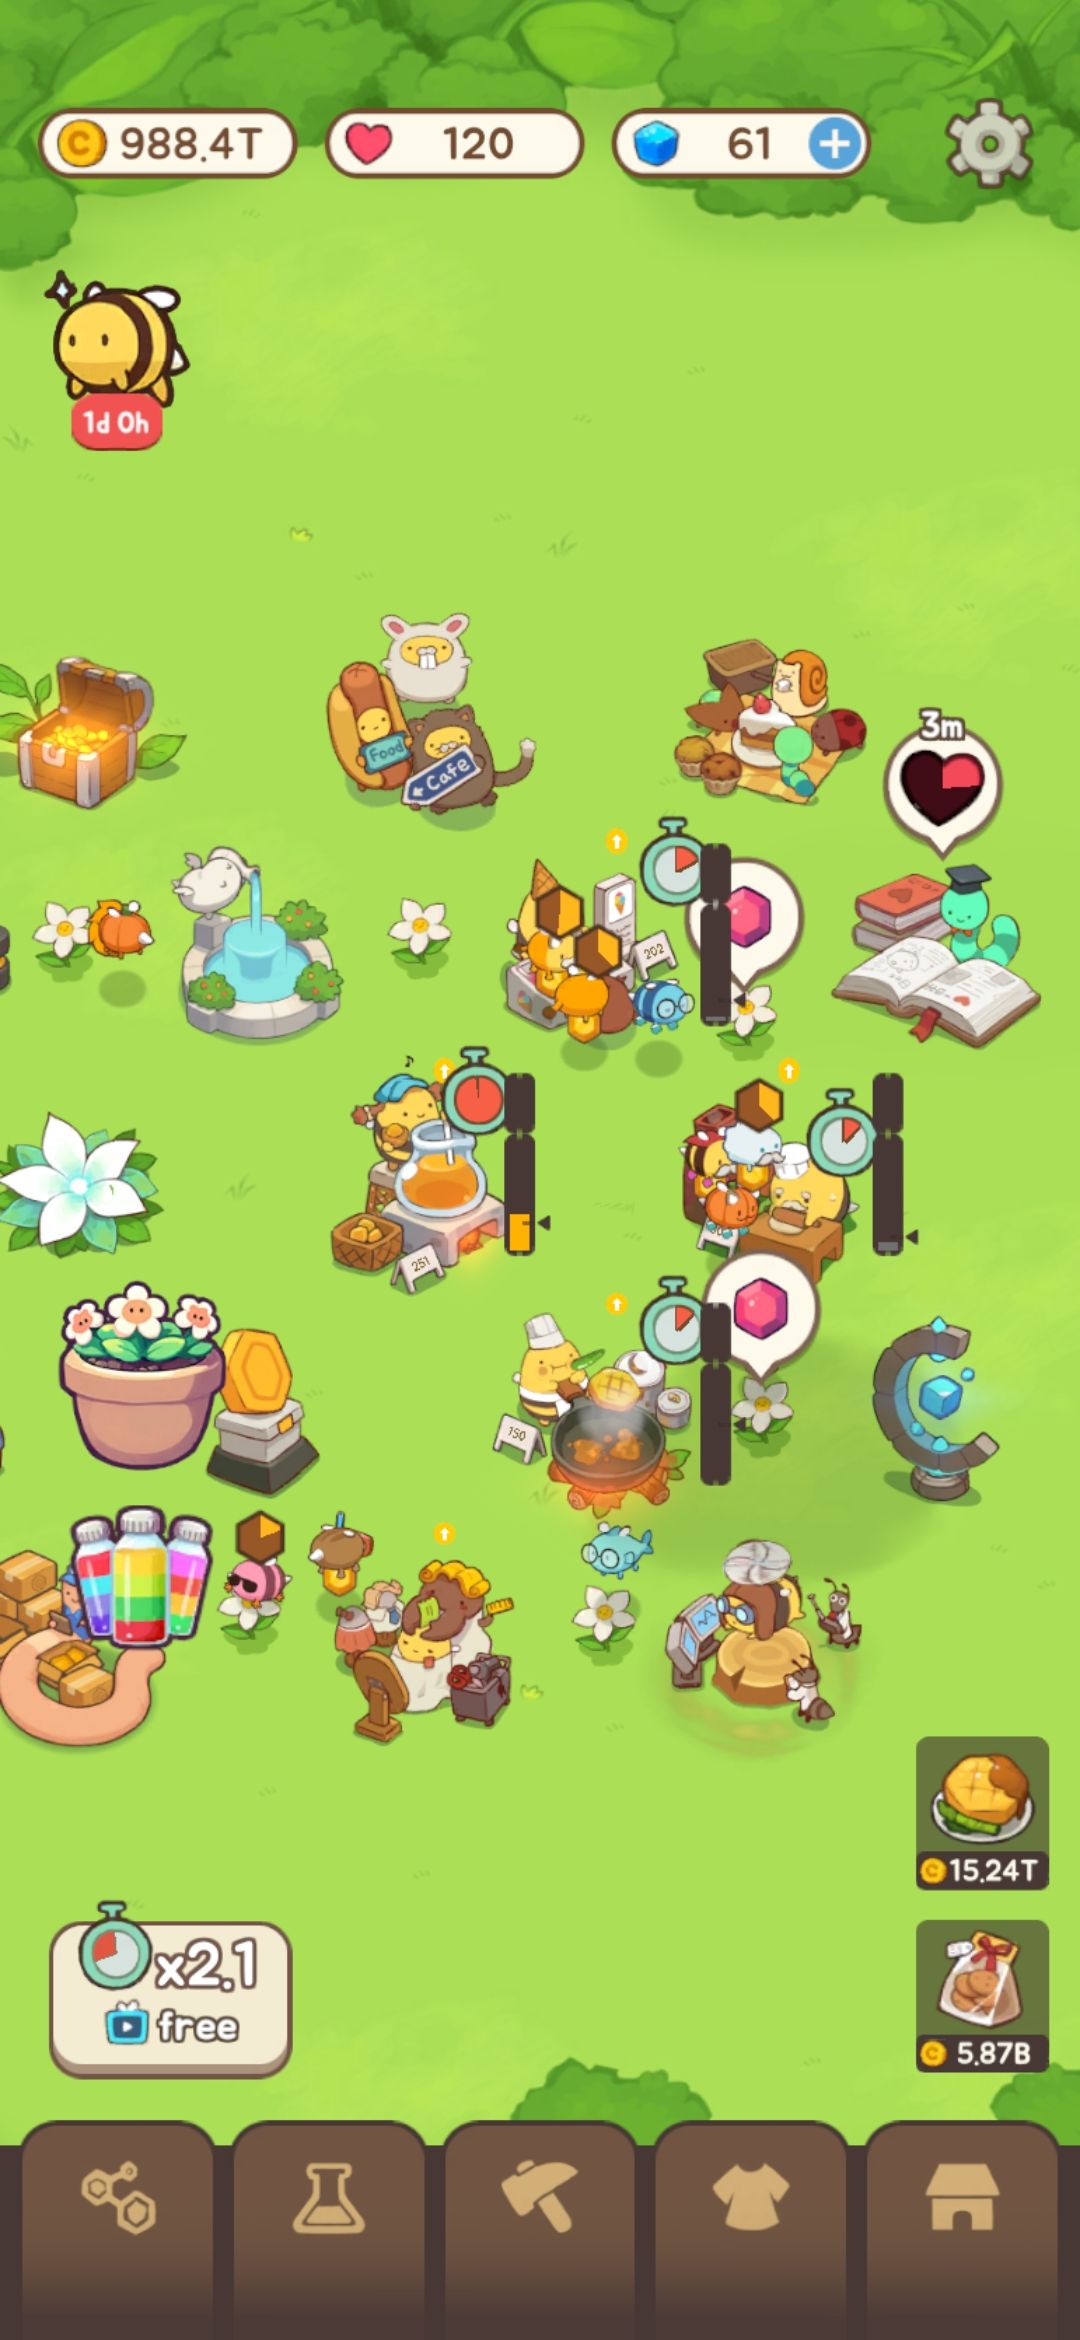
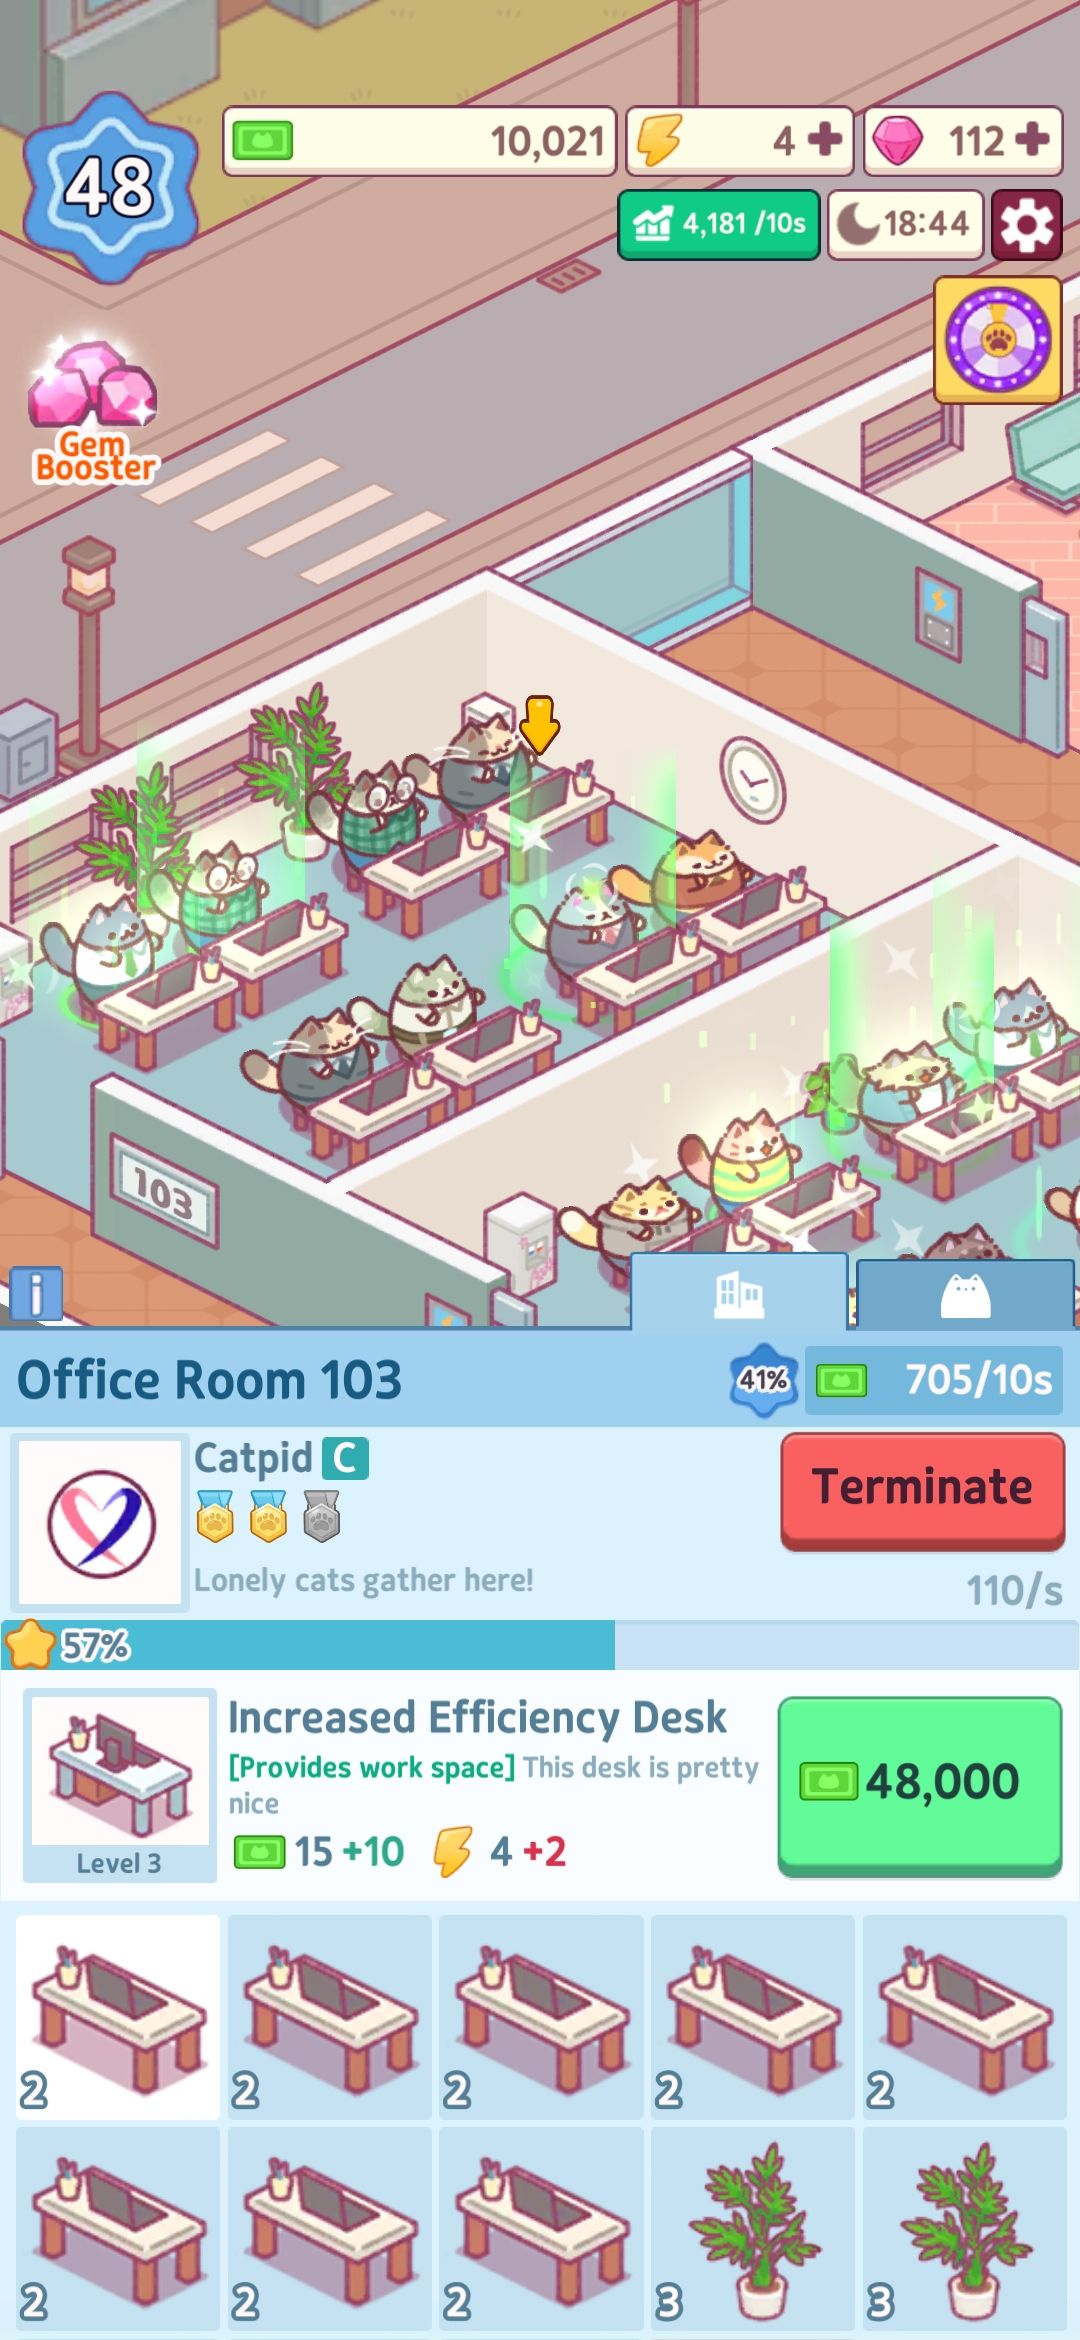
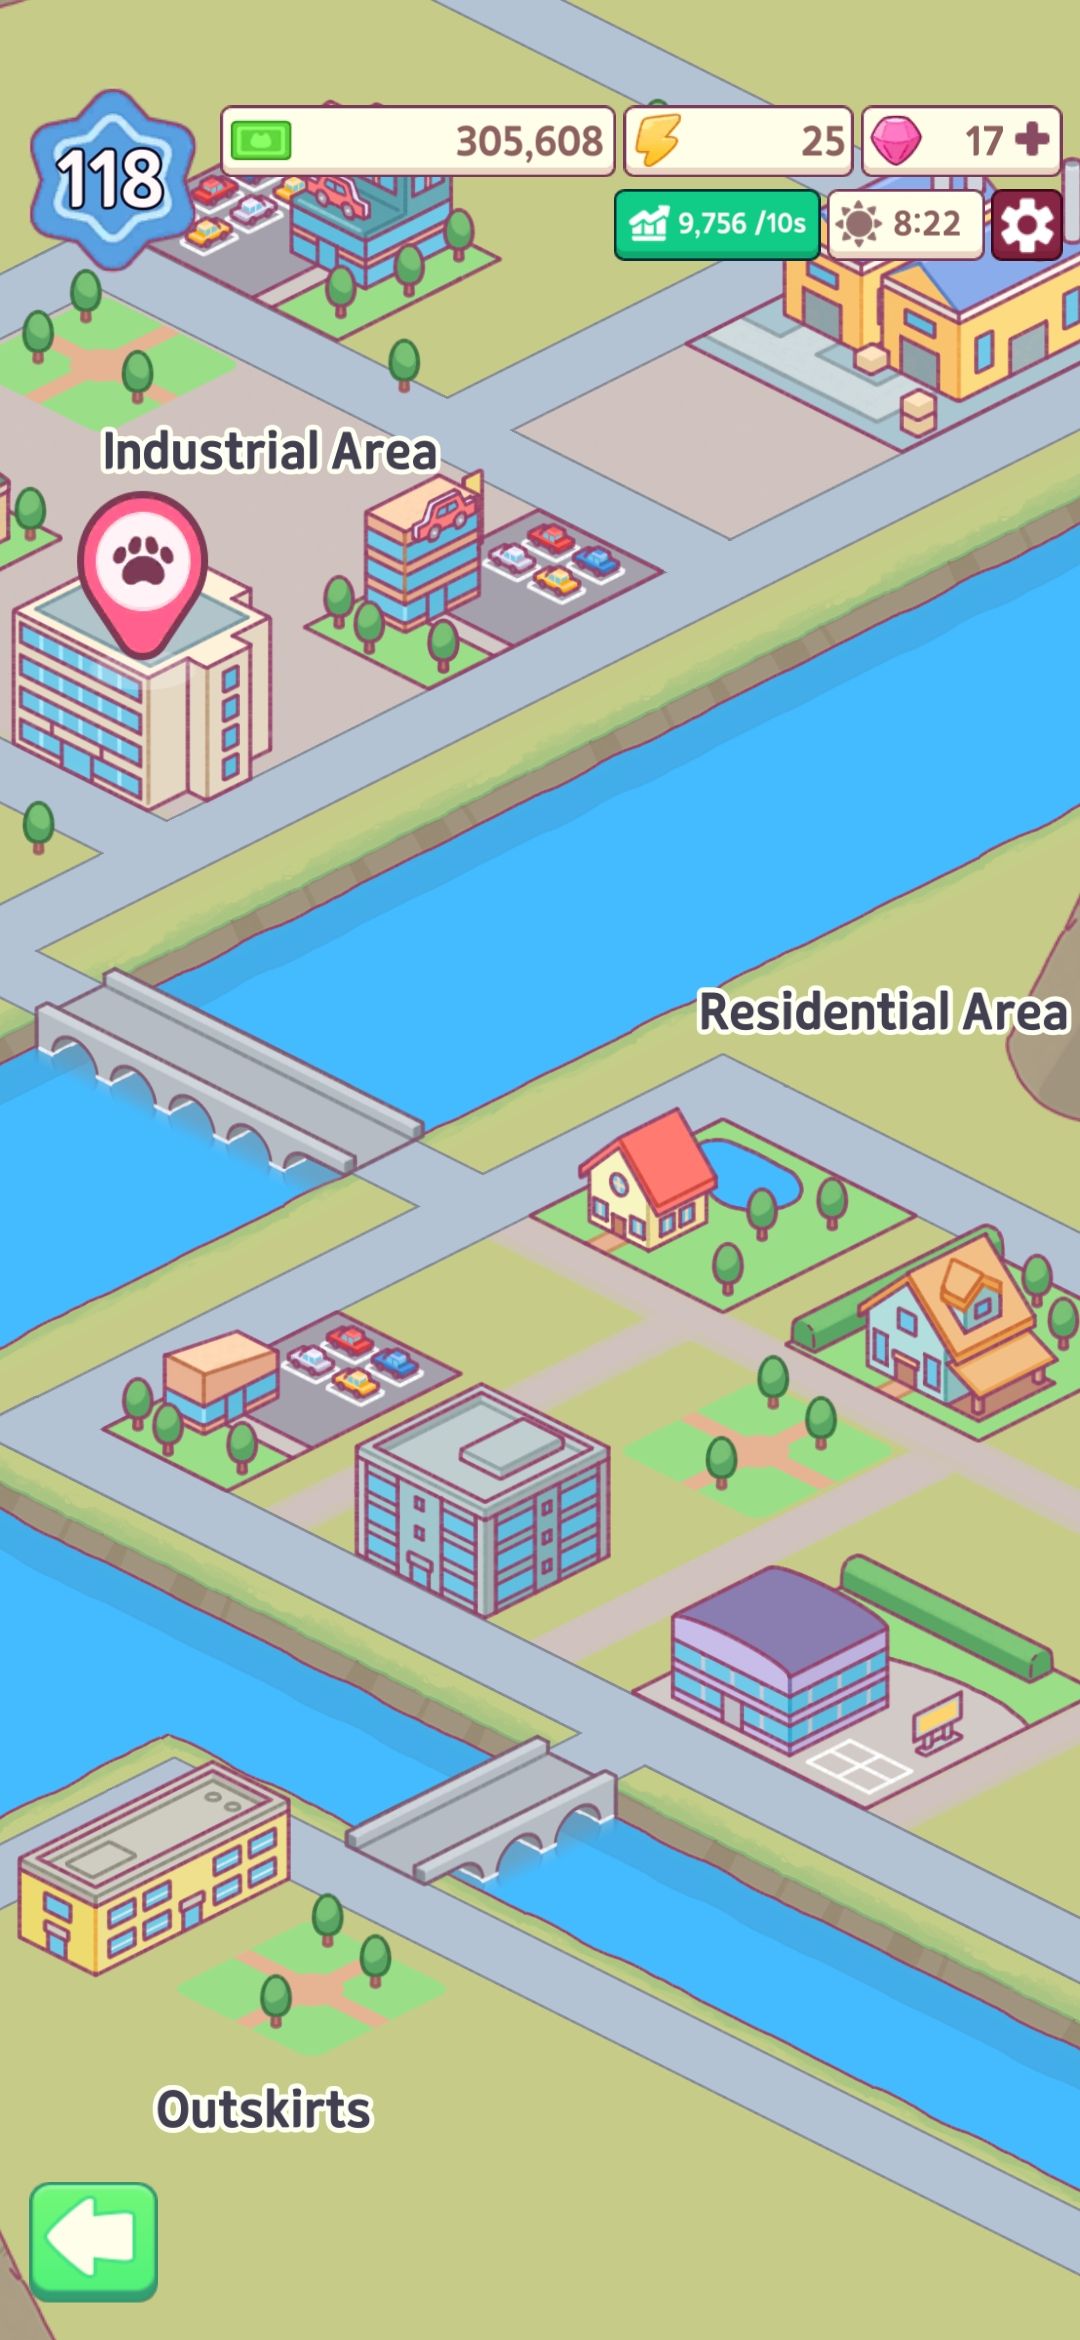
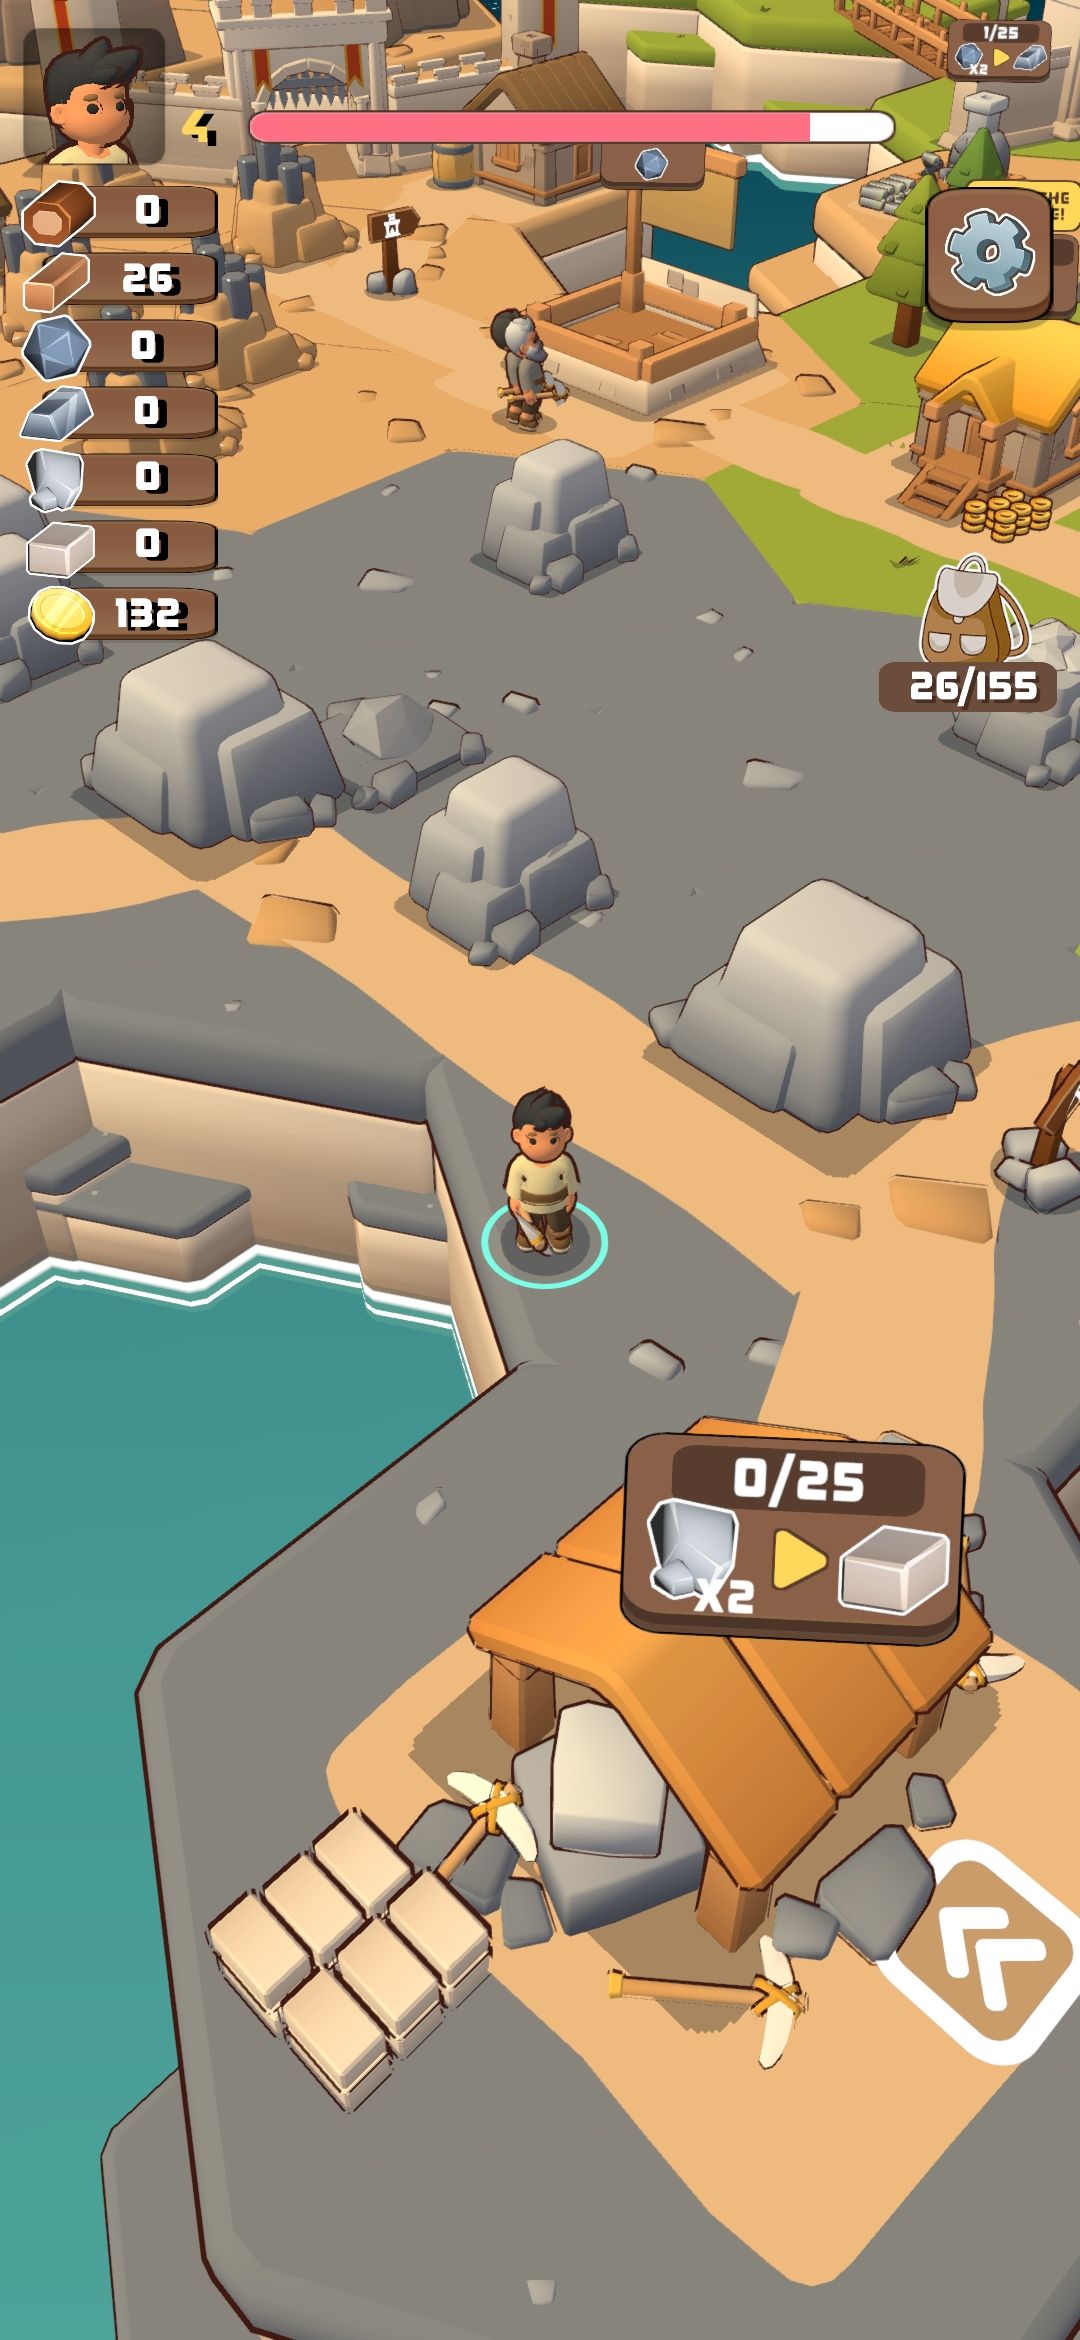
Similar to any Kairosoft game, TREEPLLA’s games aren’t hard, the progress is pretty linear and focuses on slowly expanding a town. This means building houses for villagers, giving them jobs, upgrading your buildings, and ensuring your supply chains are nicely balanced.
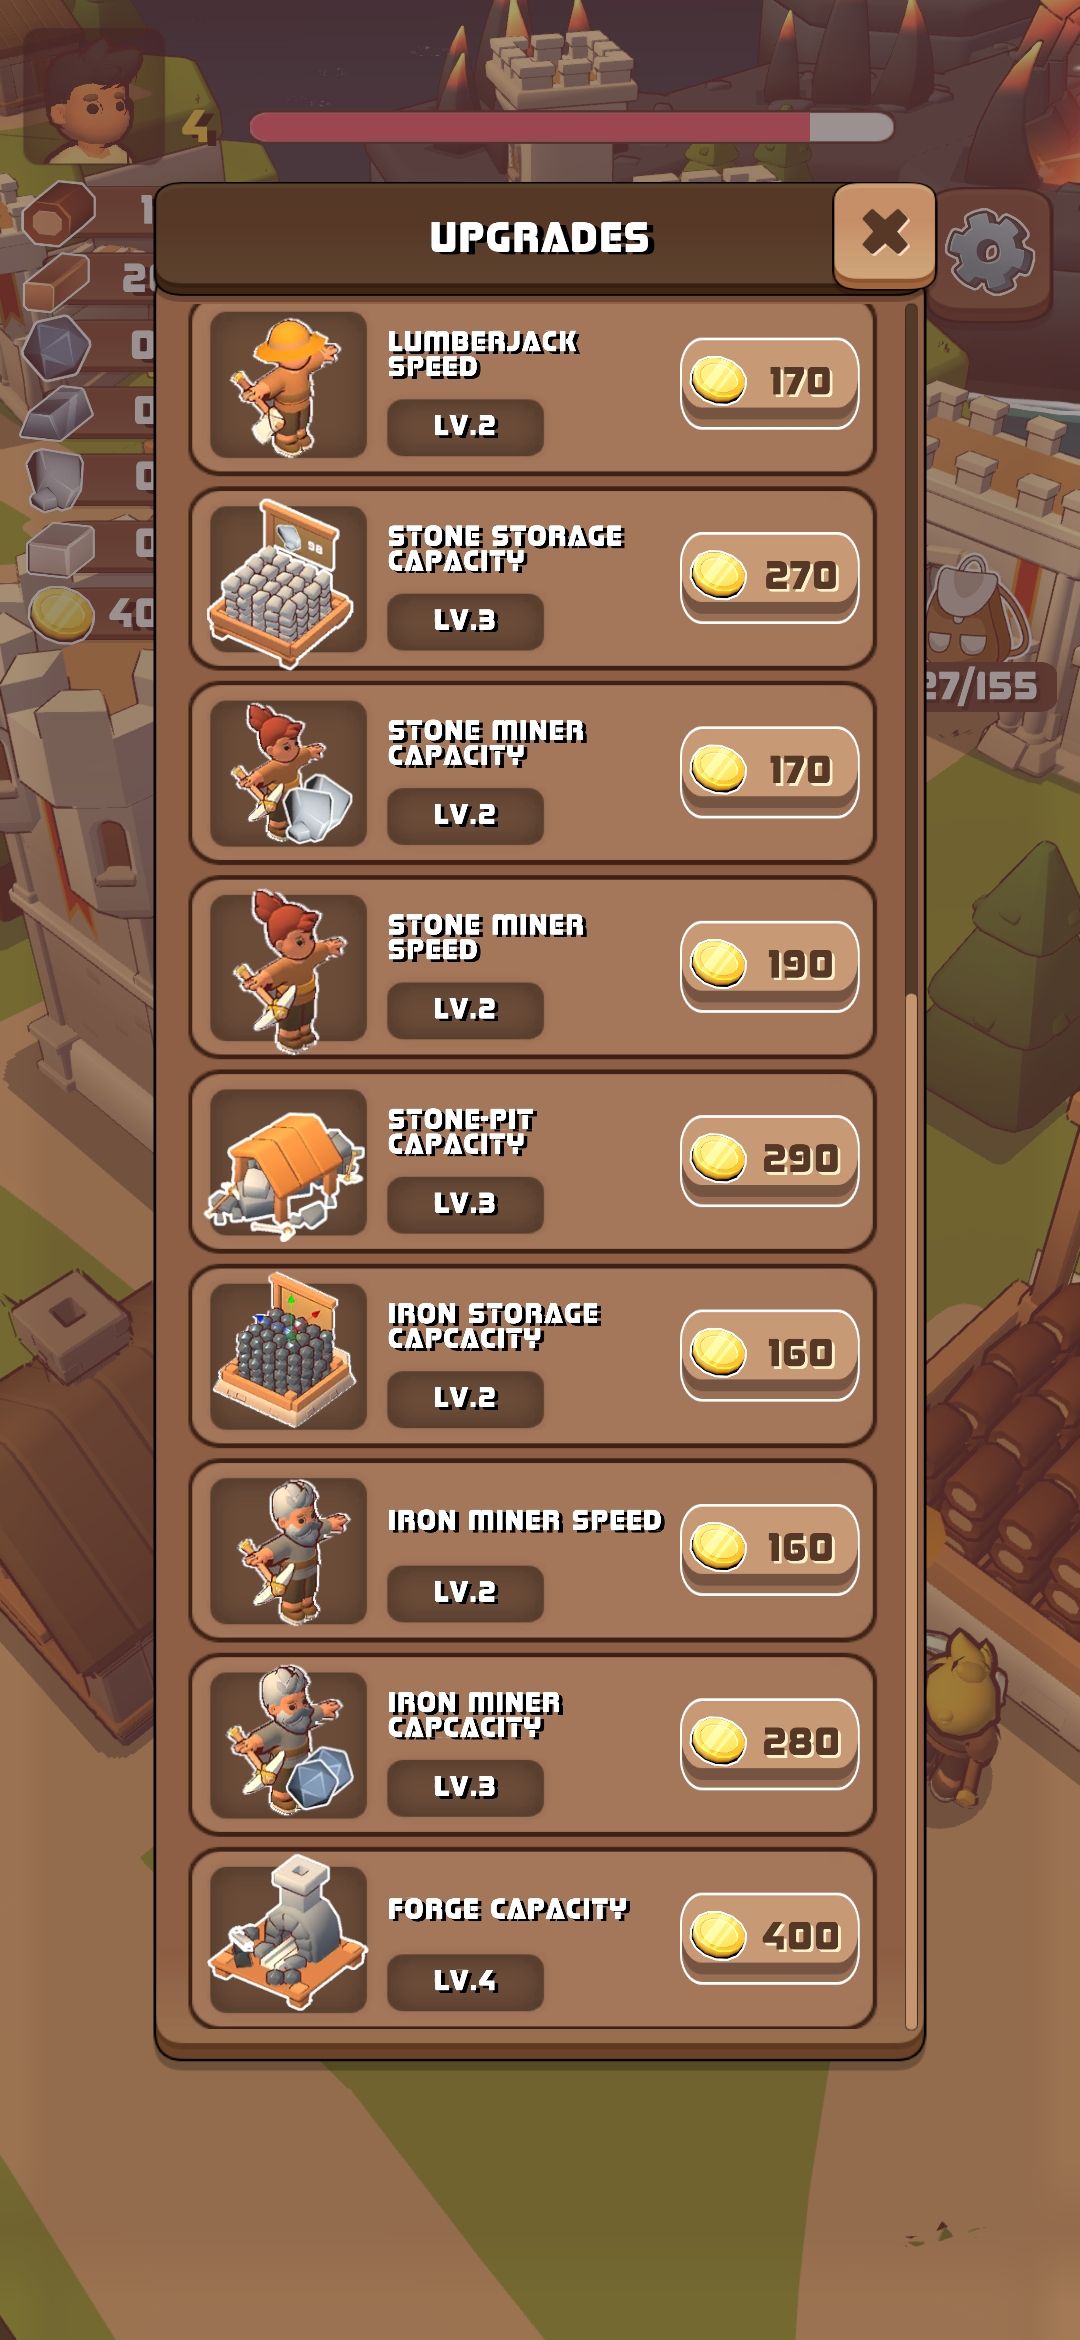
There’s plenty of resources (rocks, wheat, coins, stone), with multi-stage ones unlocking later (e.g. fisherman catches fish, chef cooks into a meal, waiter delivers to customer, to earn silver coins). Each resource source has 2 attributes to upgrade: the output, and the traffic. Keeping these in balance ensures all your resources can be delivered to the town hall for further use, but all the actual movement and building placement is handled for you.
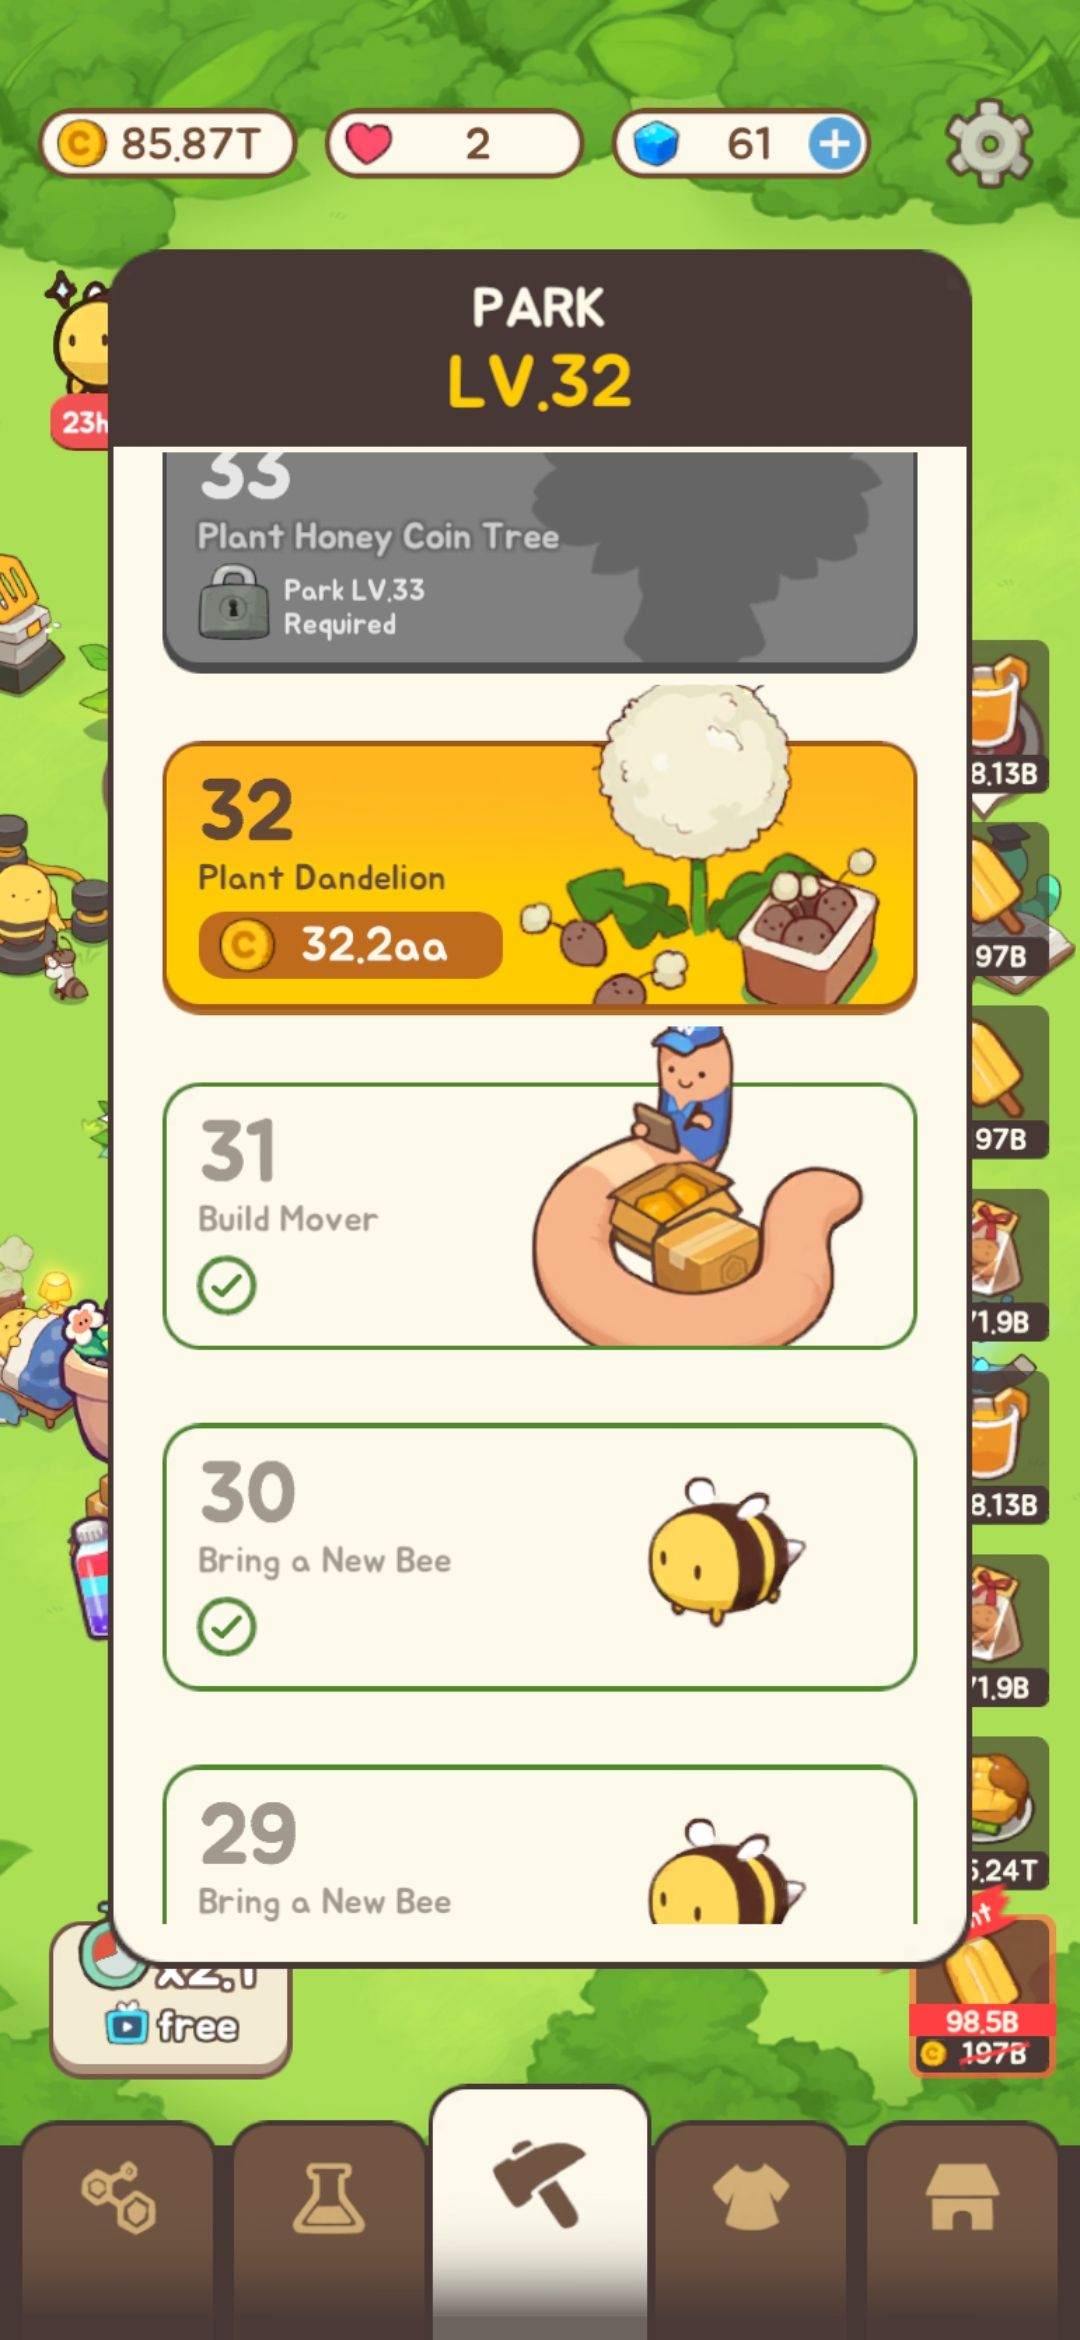
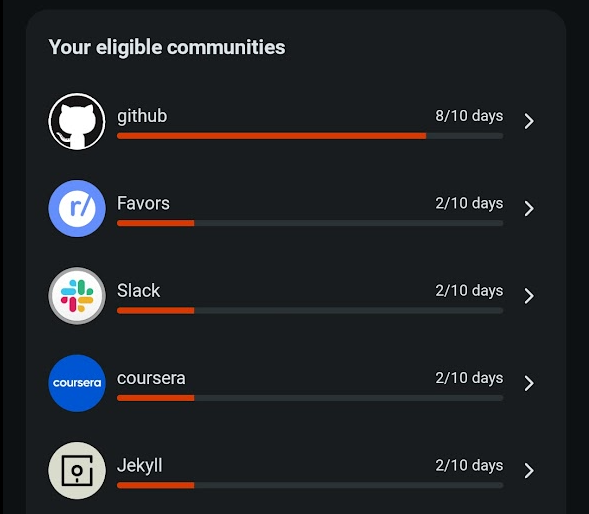
Instead, your time will be taken up with monitoring the quests that will primarily drive your progress. These might be upgrading a building enough times, collecting enough of a specific resource, or very occasionally watching an advert.
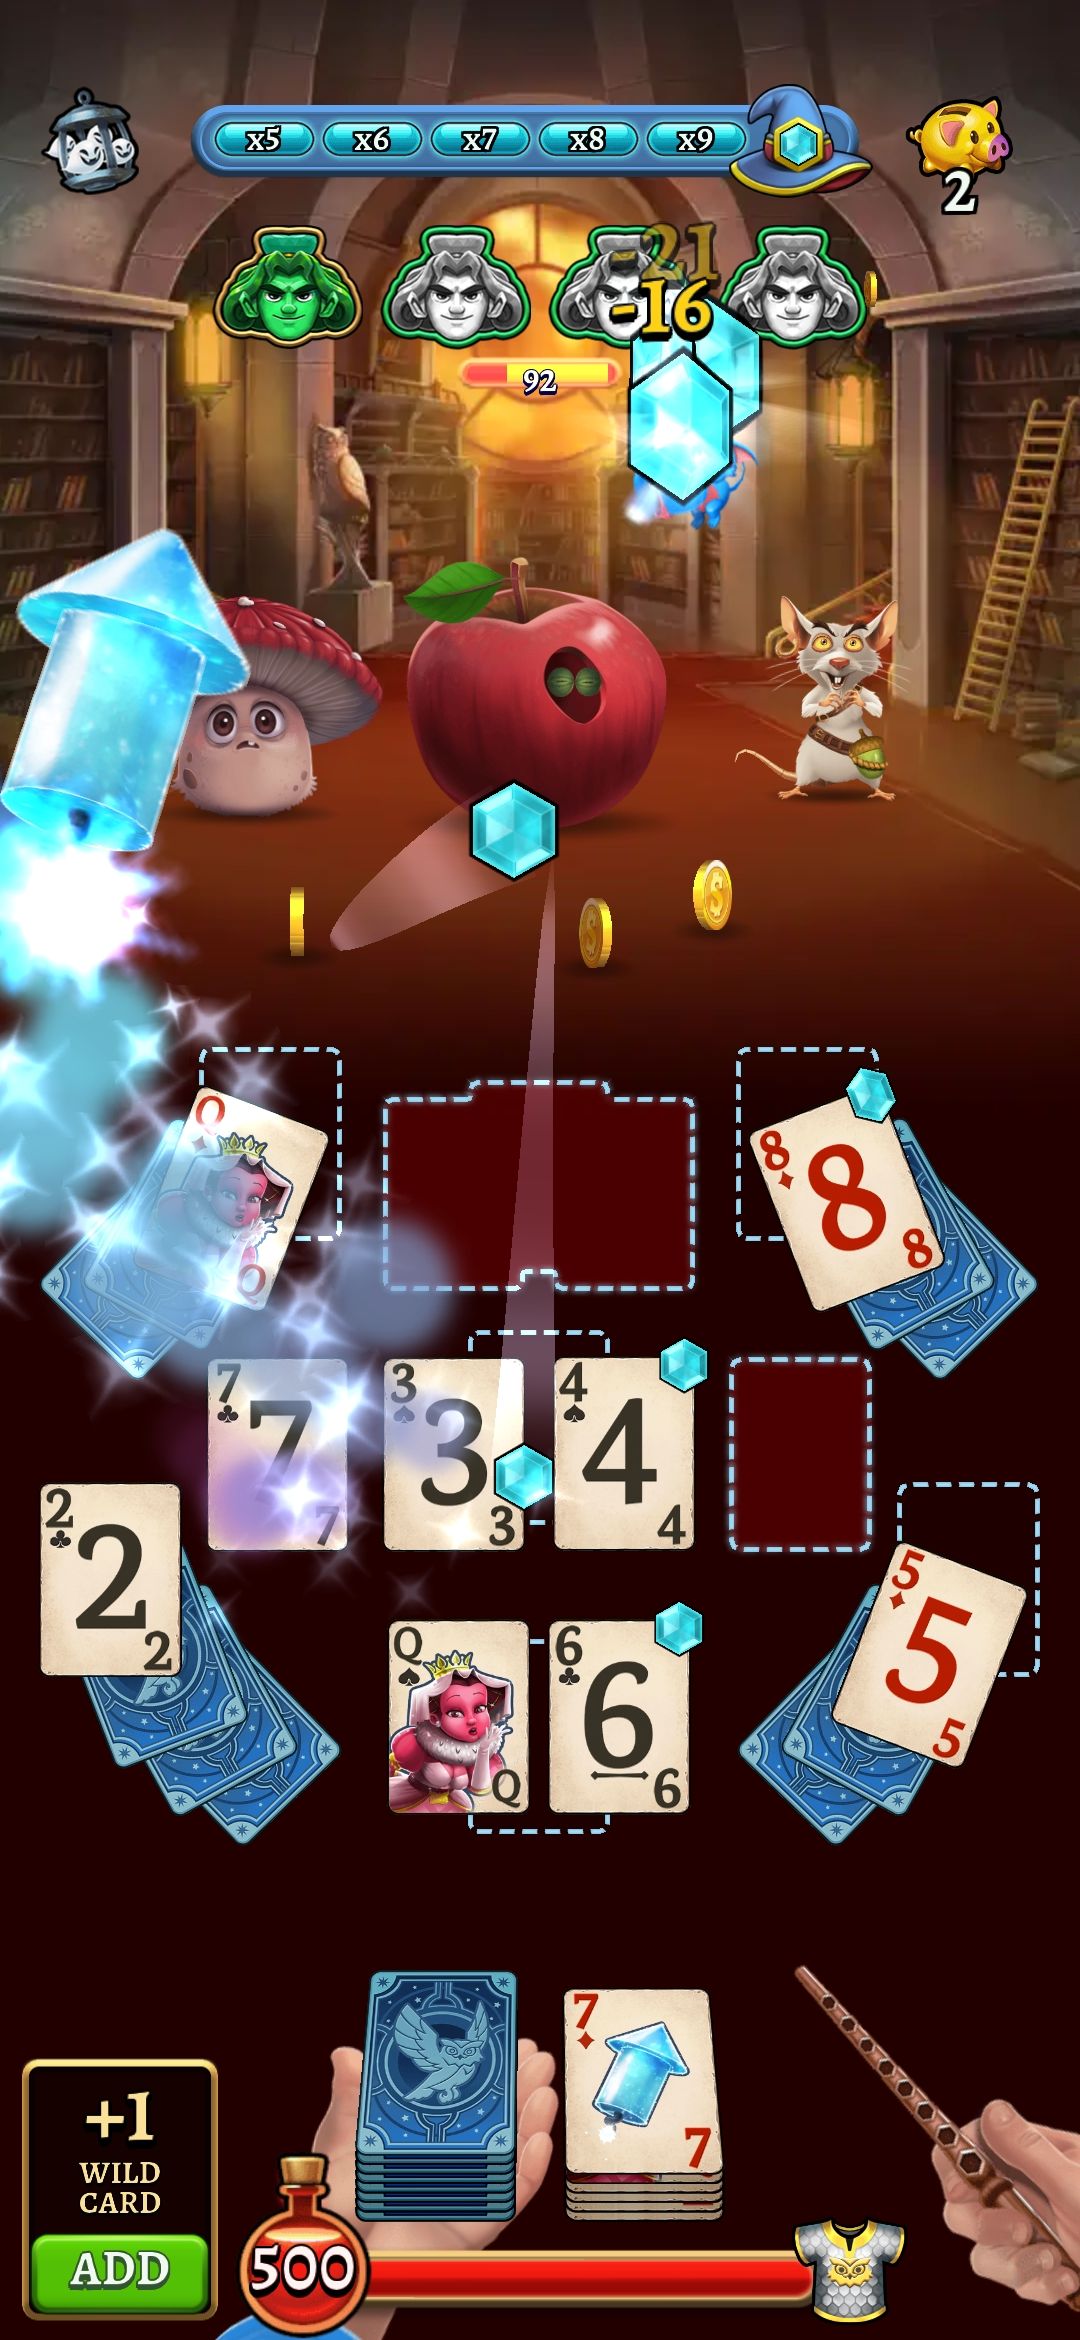
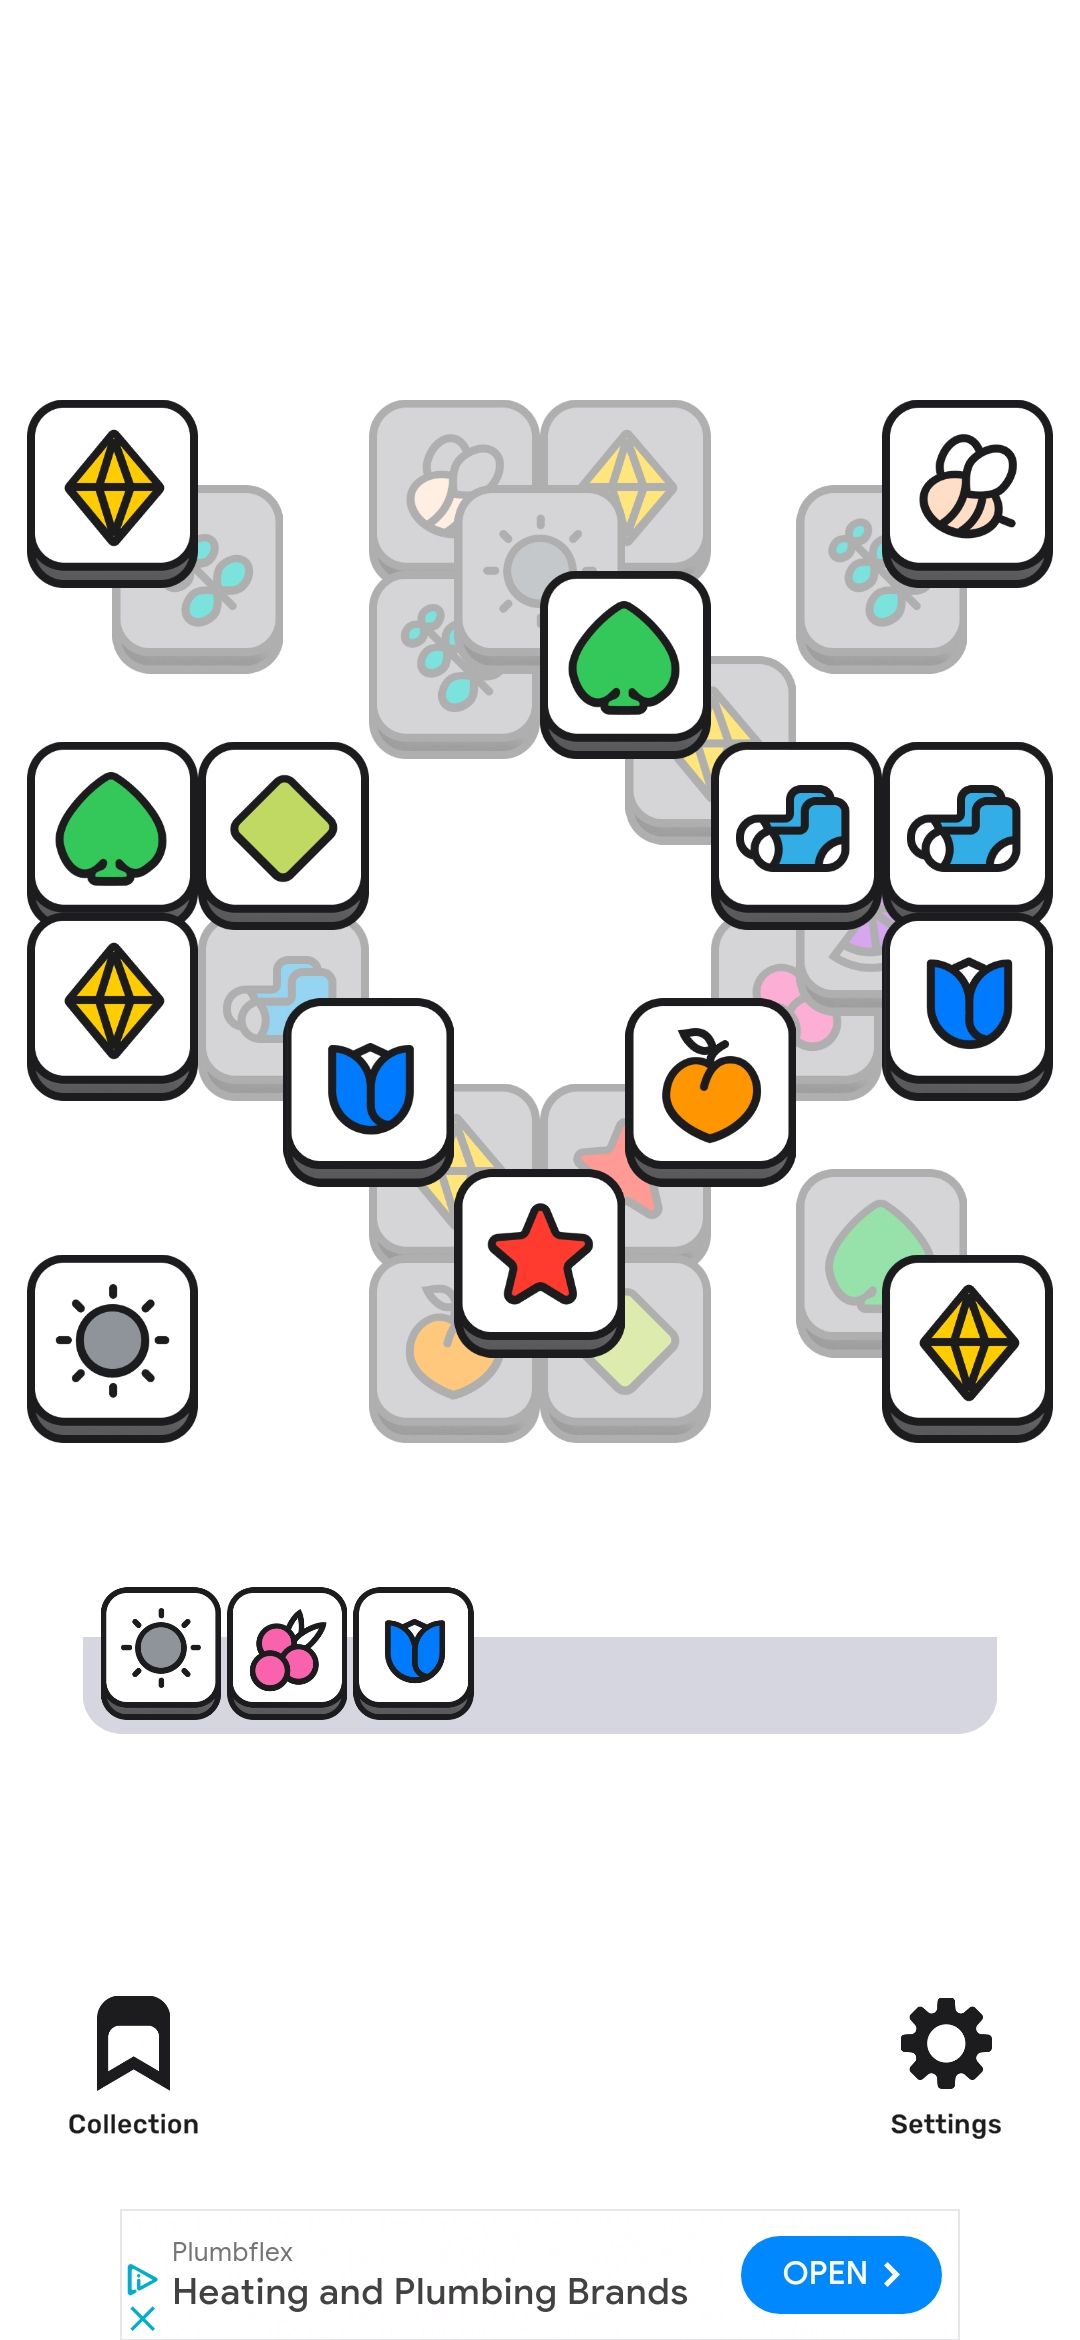
There’s just enough complexity to Cat Town Valley to avoid the simple “collect resources, upgrade, complete quest, and repeat” loop becoming too repetitive. This includes balloons floating over the town offering free resources or the option to watch an advert for bonus resources, “cards” that can be used to upgrade various speeds, a “Tree of Abundance” with free resources and a plant collecting minigame, all of which help keep it interesting.
As with Office Cat, this first version is excellent, but over in a few days, with no reason to pay and no serious grinds. I suspect more depth will be added later, but for now it’s absolutely worth playing through!
Monetisation
The main monetisation is via adverts for resources / income boosts, but these are completely optional, and I only used them occasionally throughout my playthrough.
There is the usual shop, with gems, packs, time skips, a “piggy bank”, and card packs, none of which are required (and are all prices too high to be appealing). The only purchase I considered making (but didn’t) was “Ta-da Construction Slot” which increases the concurrent building upgrades from 2 to 3.
The gems themselves are not particularly useful, only being used to purchase time travel directly, or pay to skip construction waits.
Tips
- Make sure your construction queue is always full! This will end up being the main chokepoint, so upgrading things you’re not sure you need yet is better than doing nothing.
- Upgrade your houses more than you need to. Having extra capacity will let you instantly utilise any new employee slots that open up.
- Keep item production and transport as balanced as possible, but ideally have production slightly higher. Extra production capacity stacks up for later transporting, but excess transport capacity is wasted.
- Use quests to guide your progress. They take away the complexity of choosing what to upgrade, and help unlock the next Town Hall (with new features).
Screenshots
All screenshots are from version 1.0.6:
| Main town | Quests | Town hall |
|---|---|---|
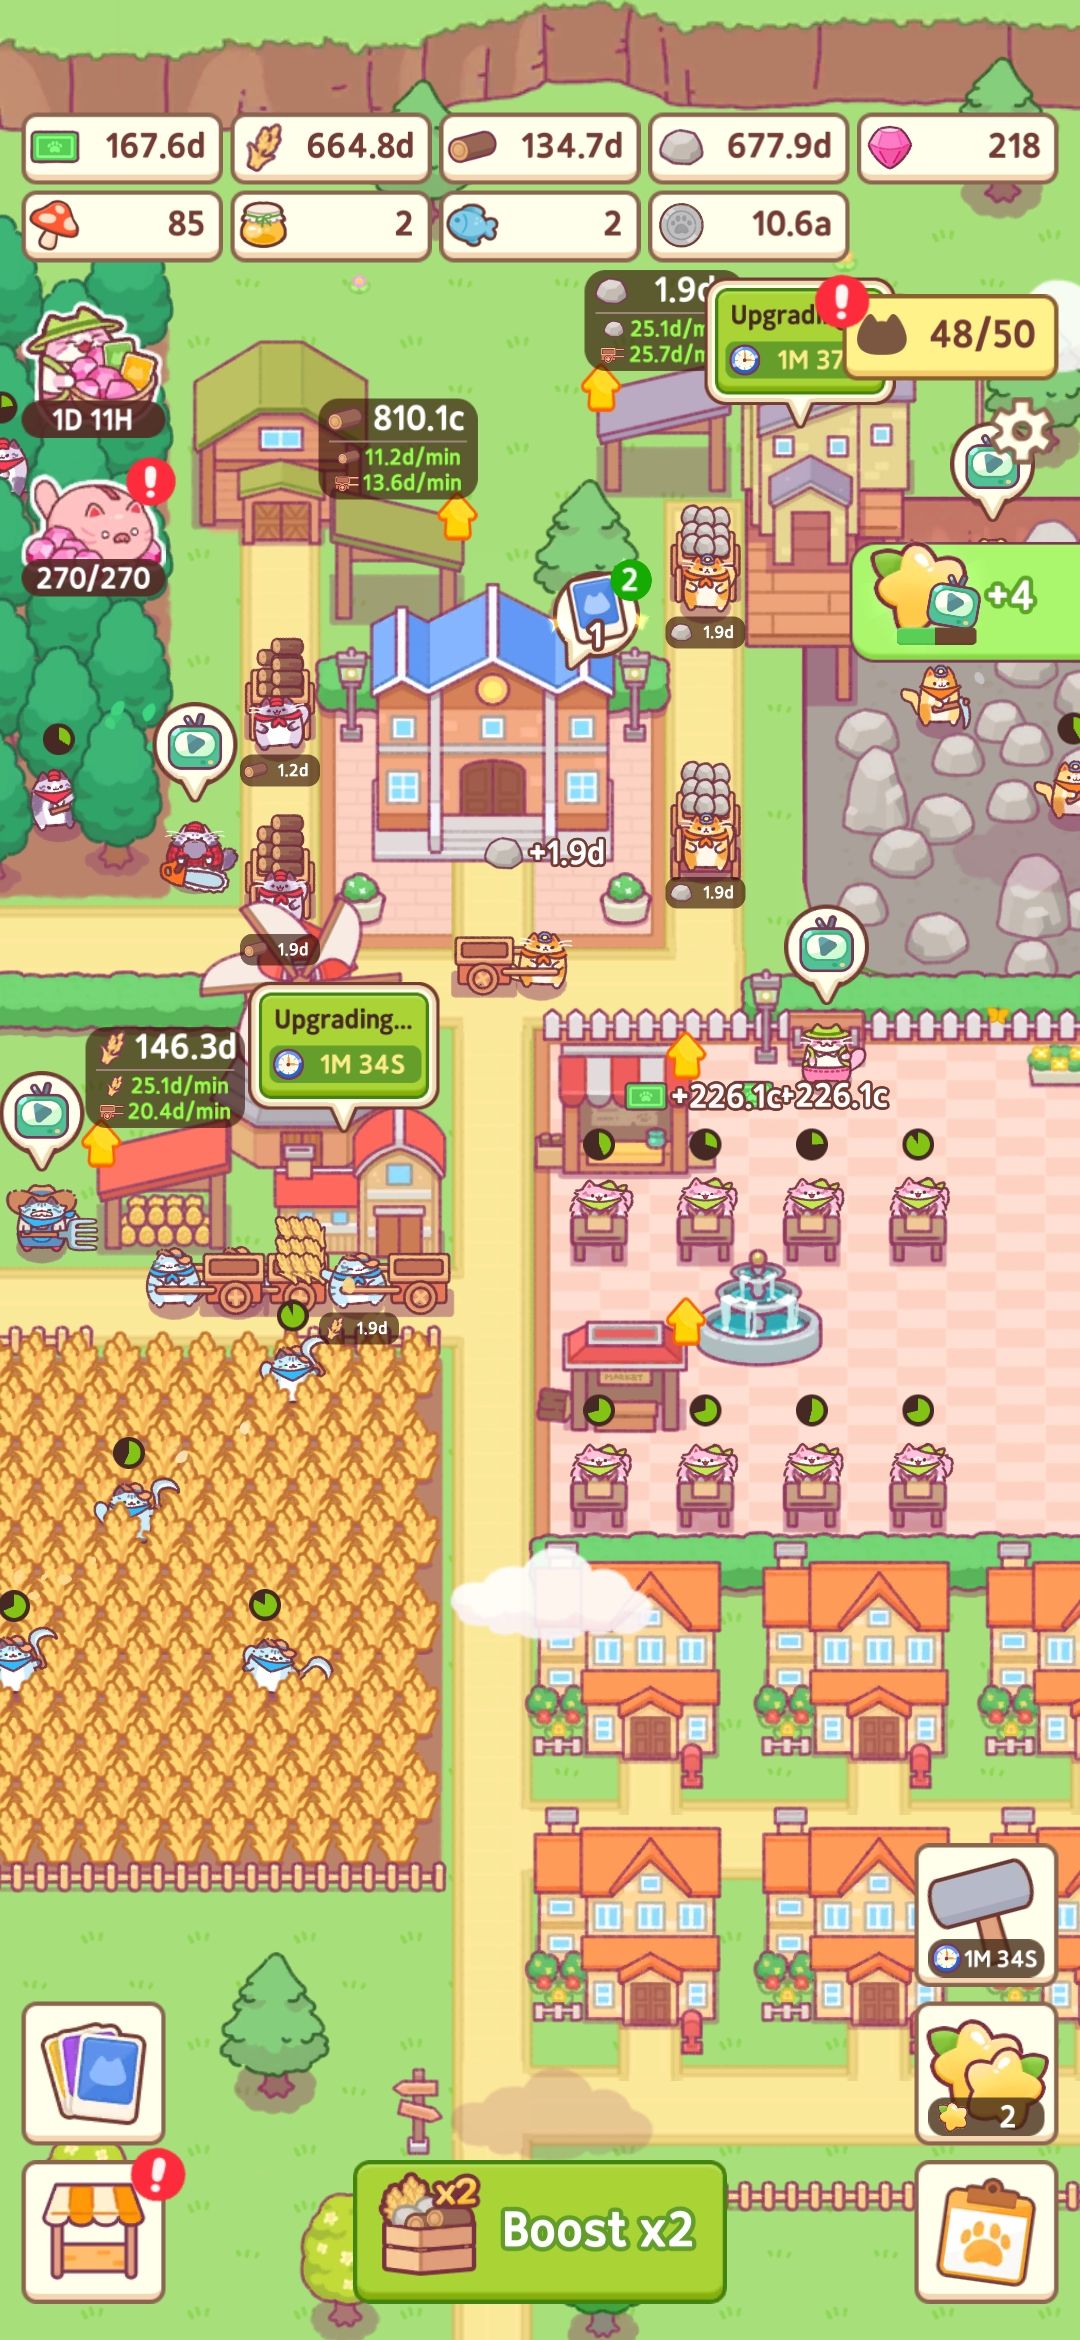 |
 |
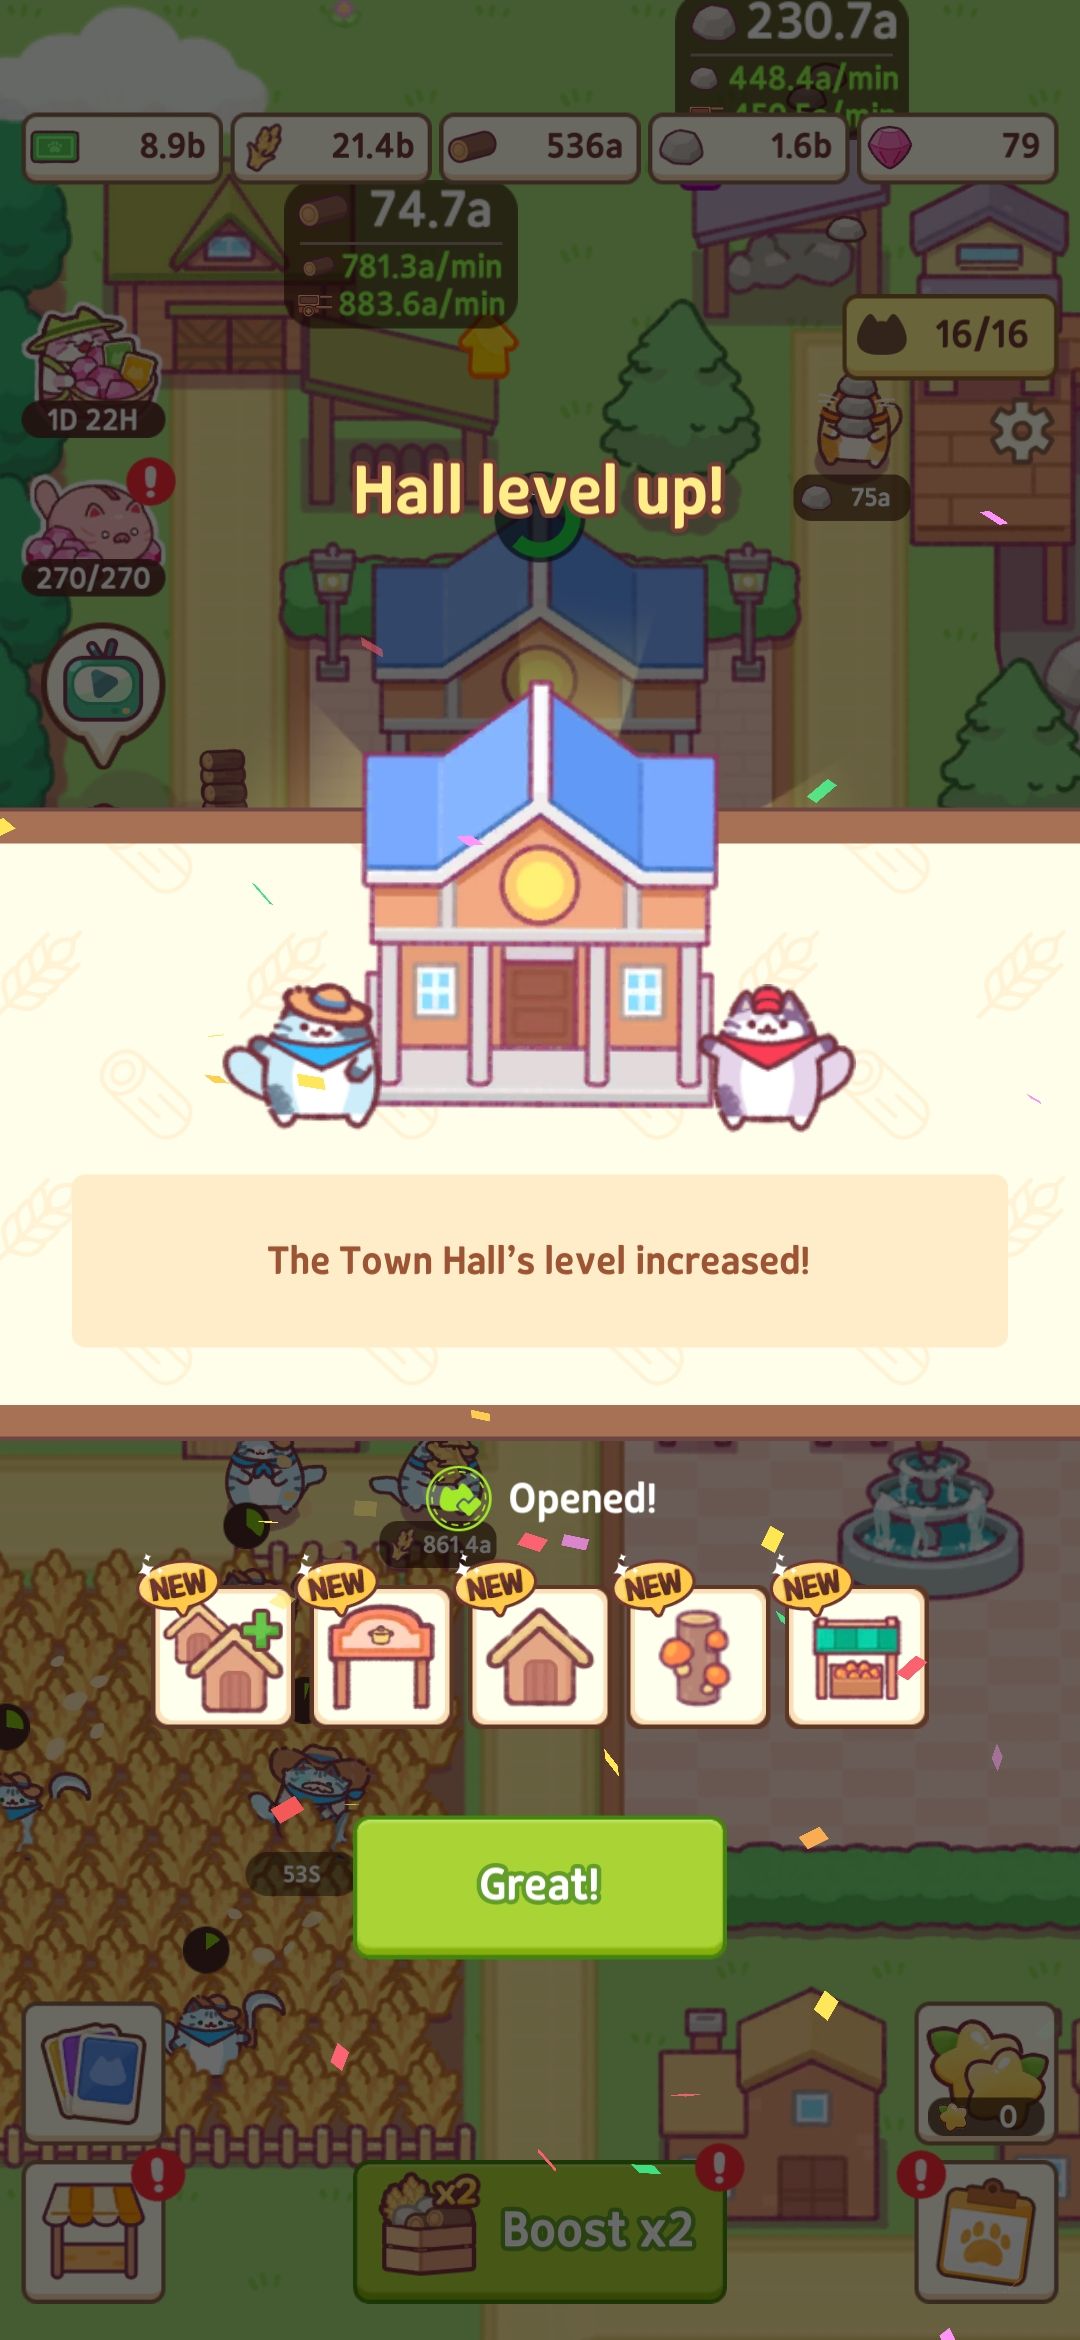 |
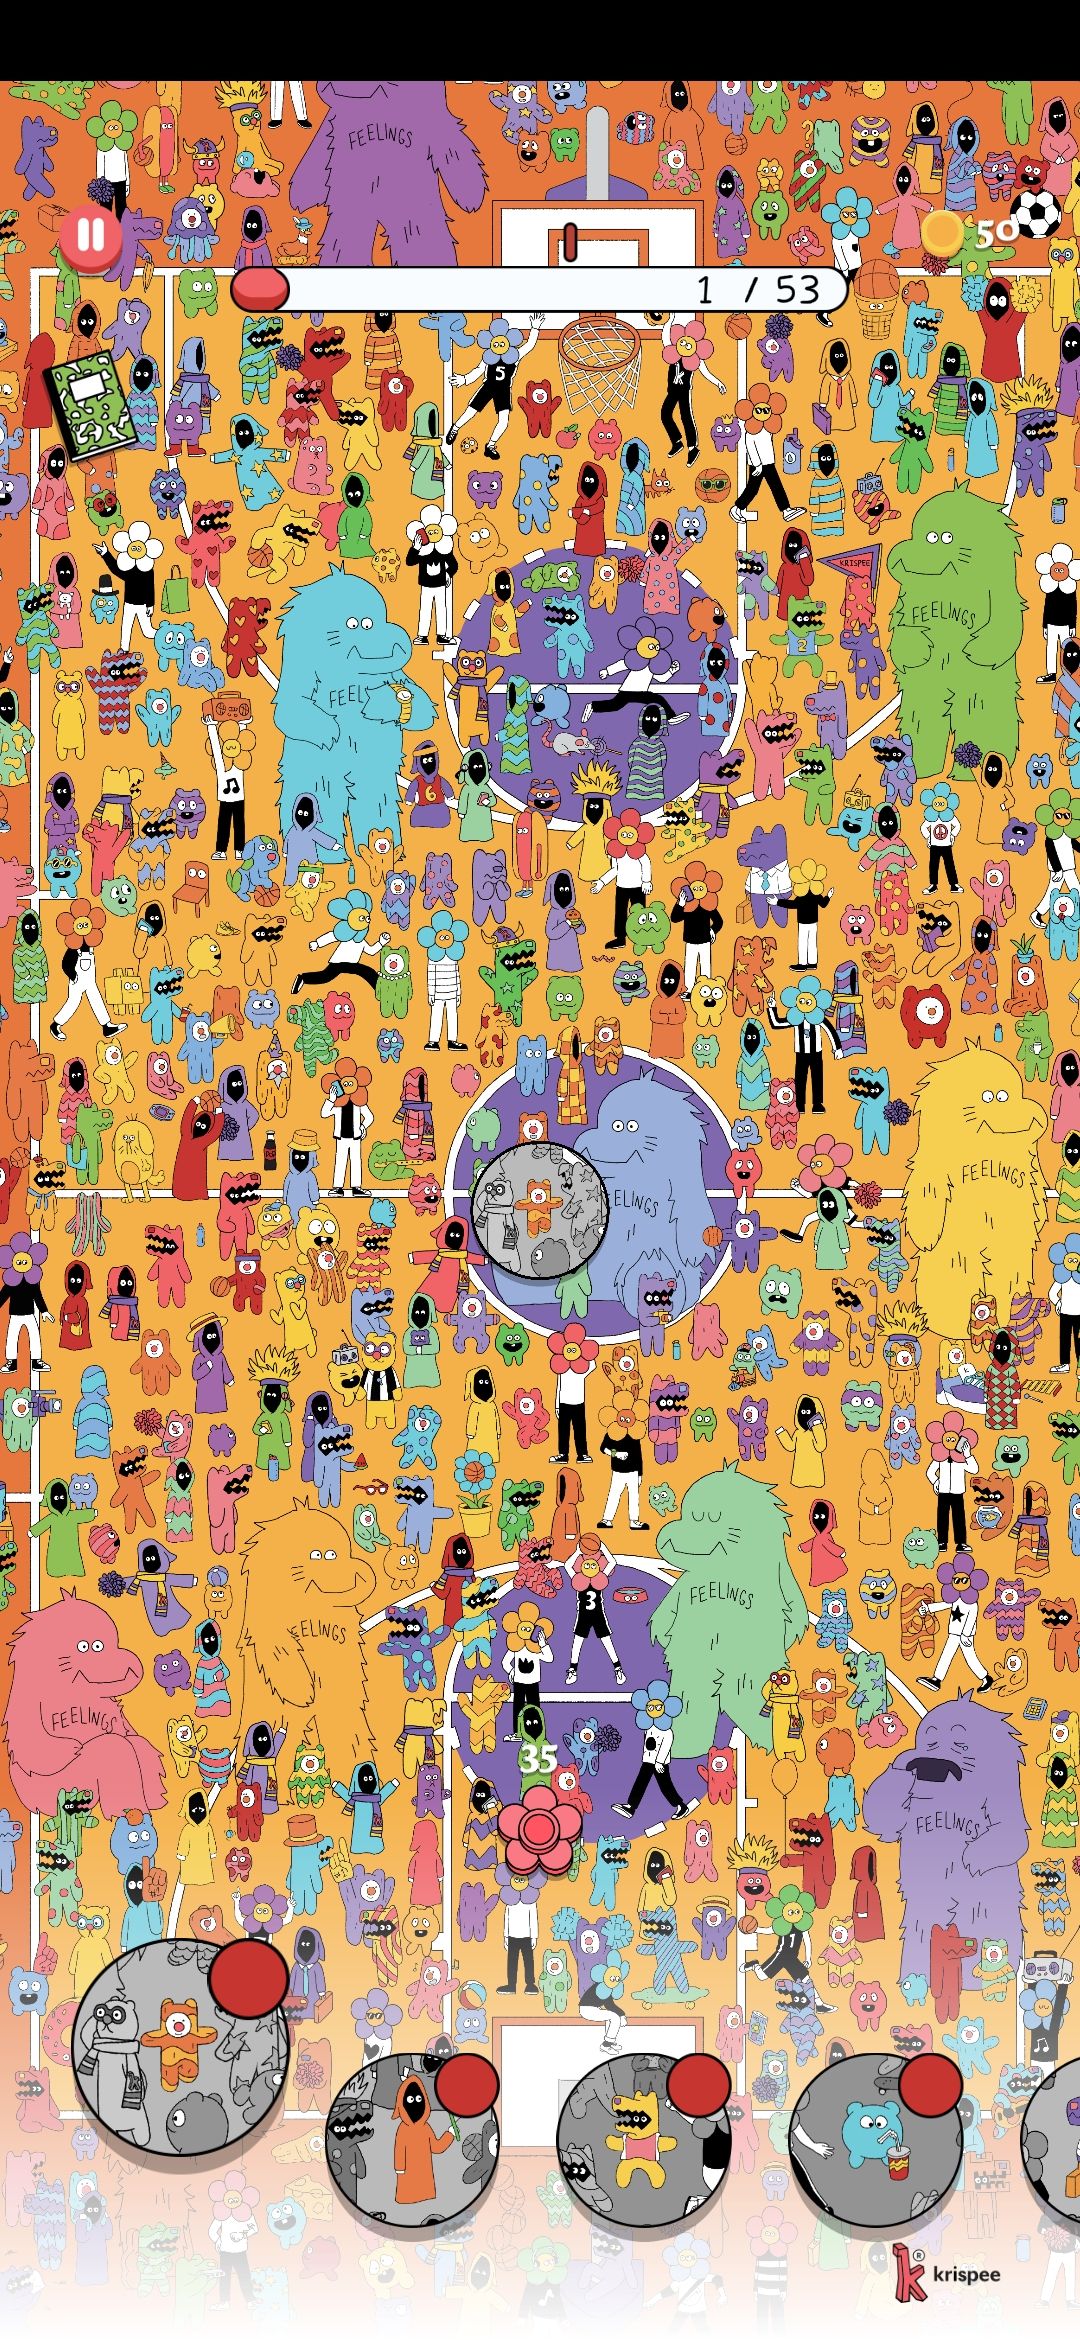
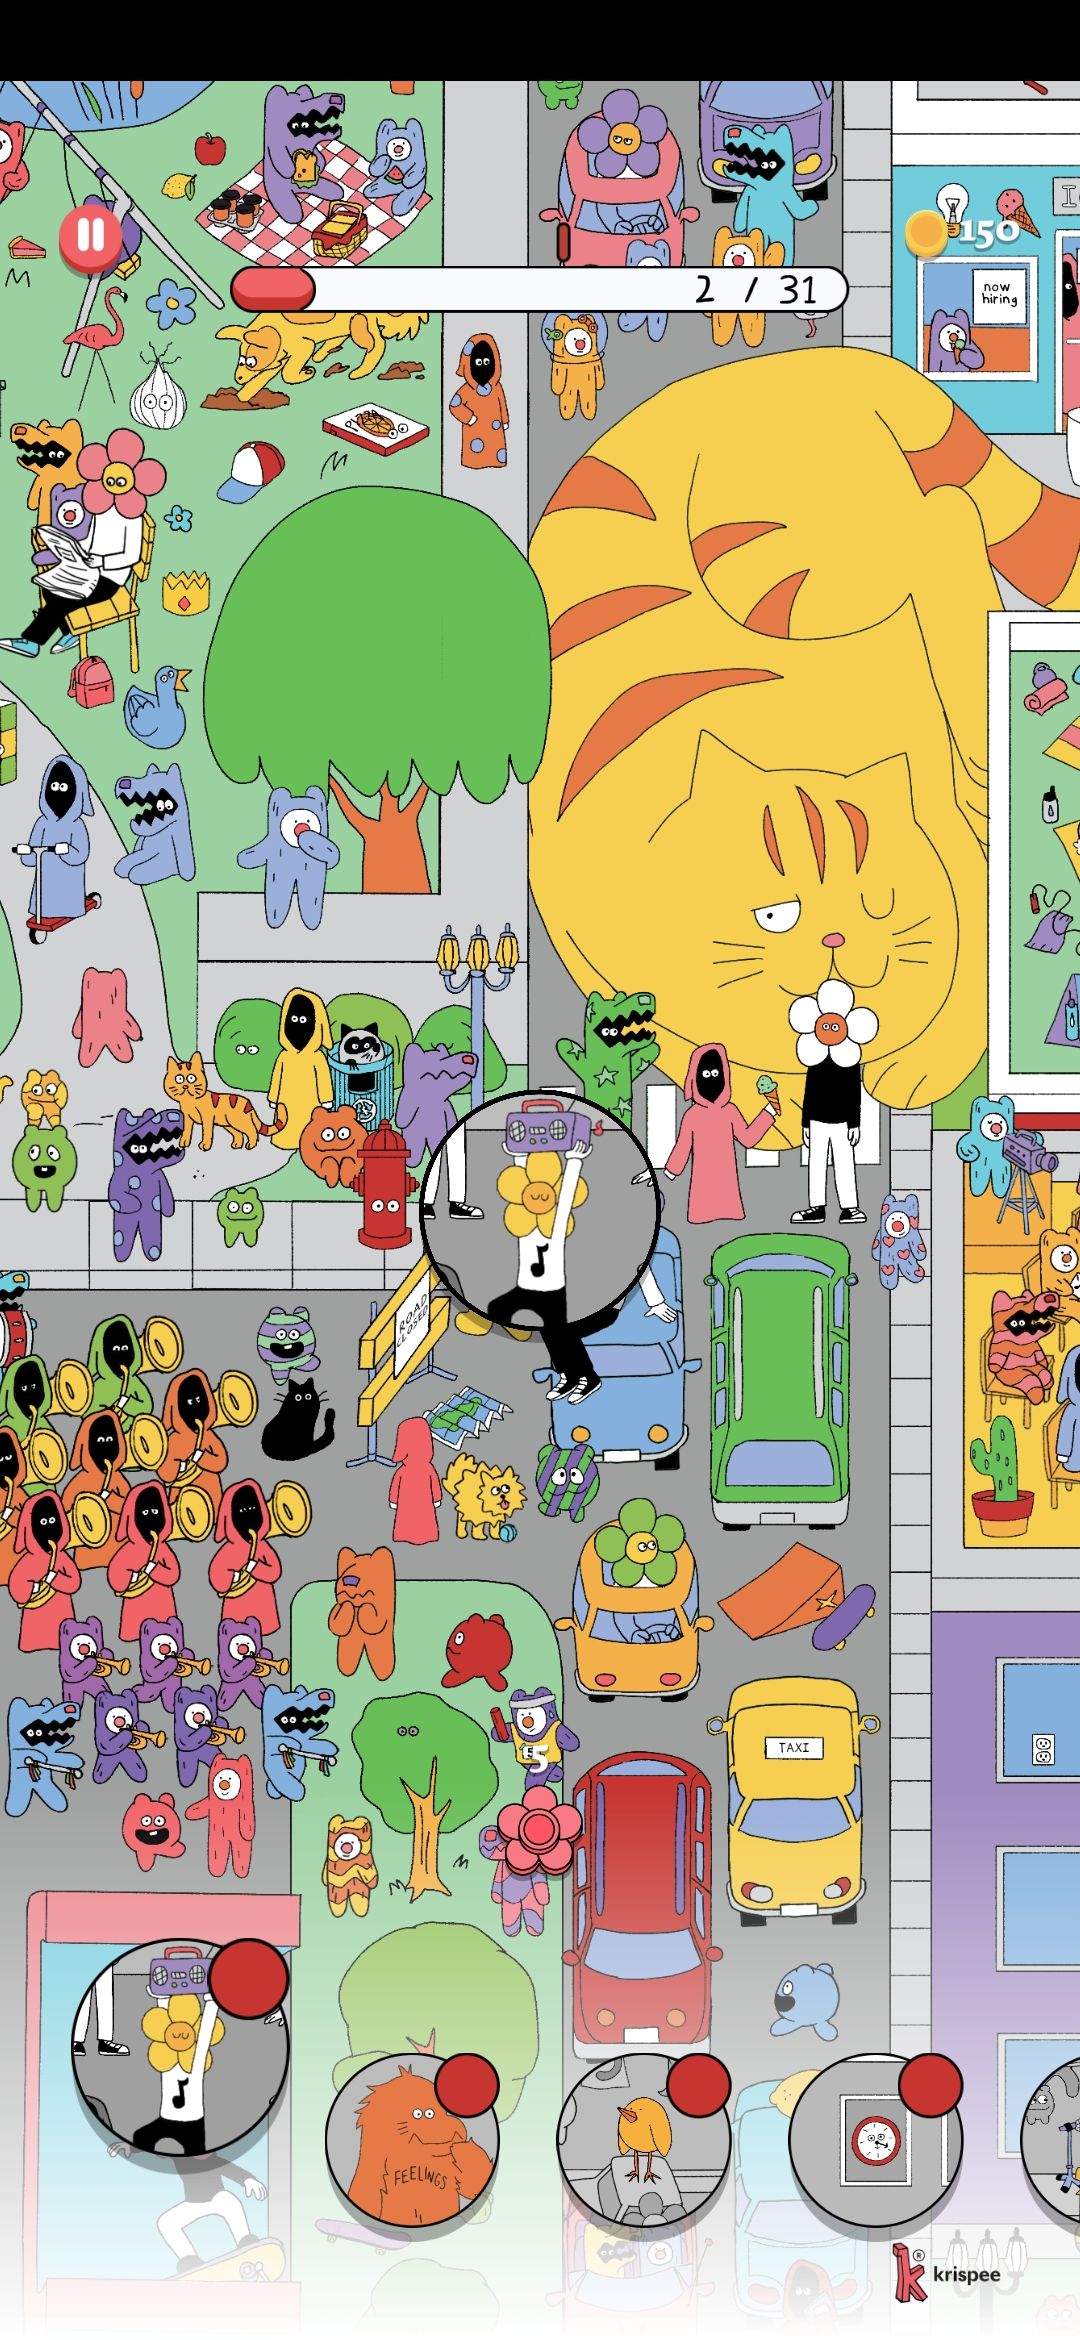
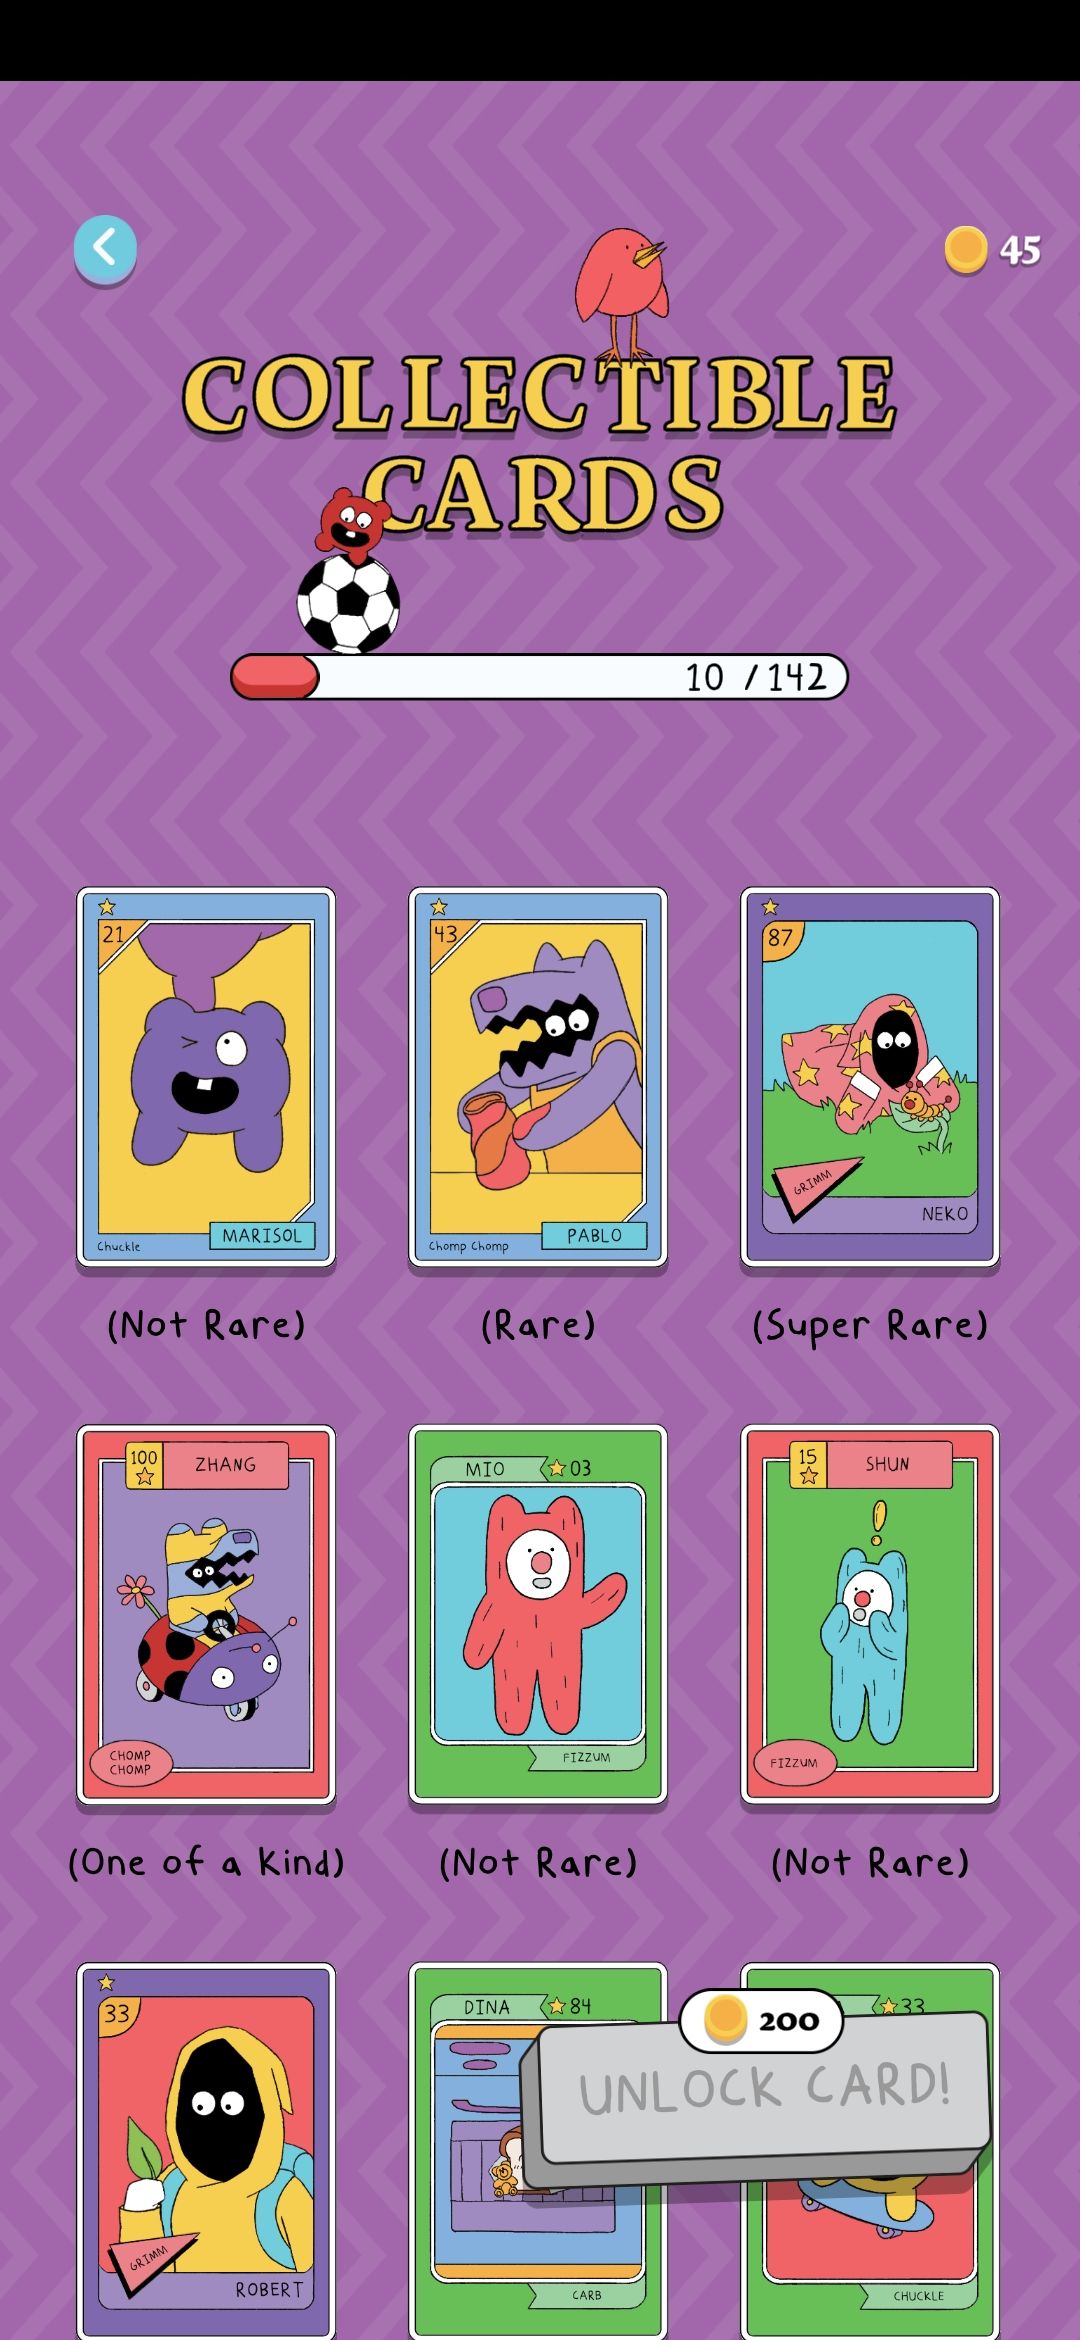
#3: Wonderputt Forever
Another game from Netflix (see previous post), this one is an absurdly beautiful minigolf simulator!
Review
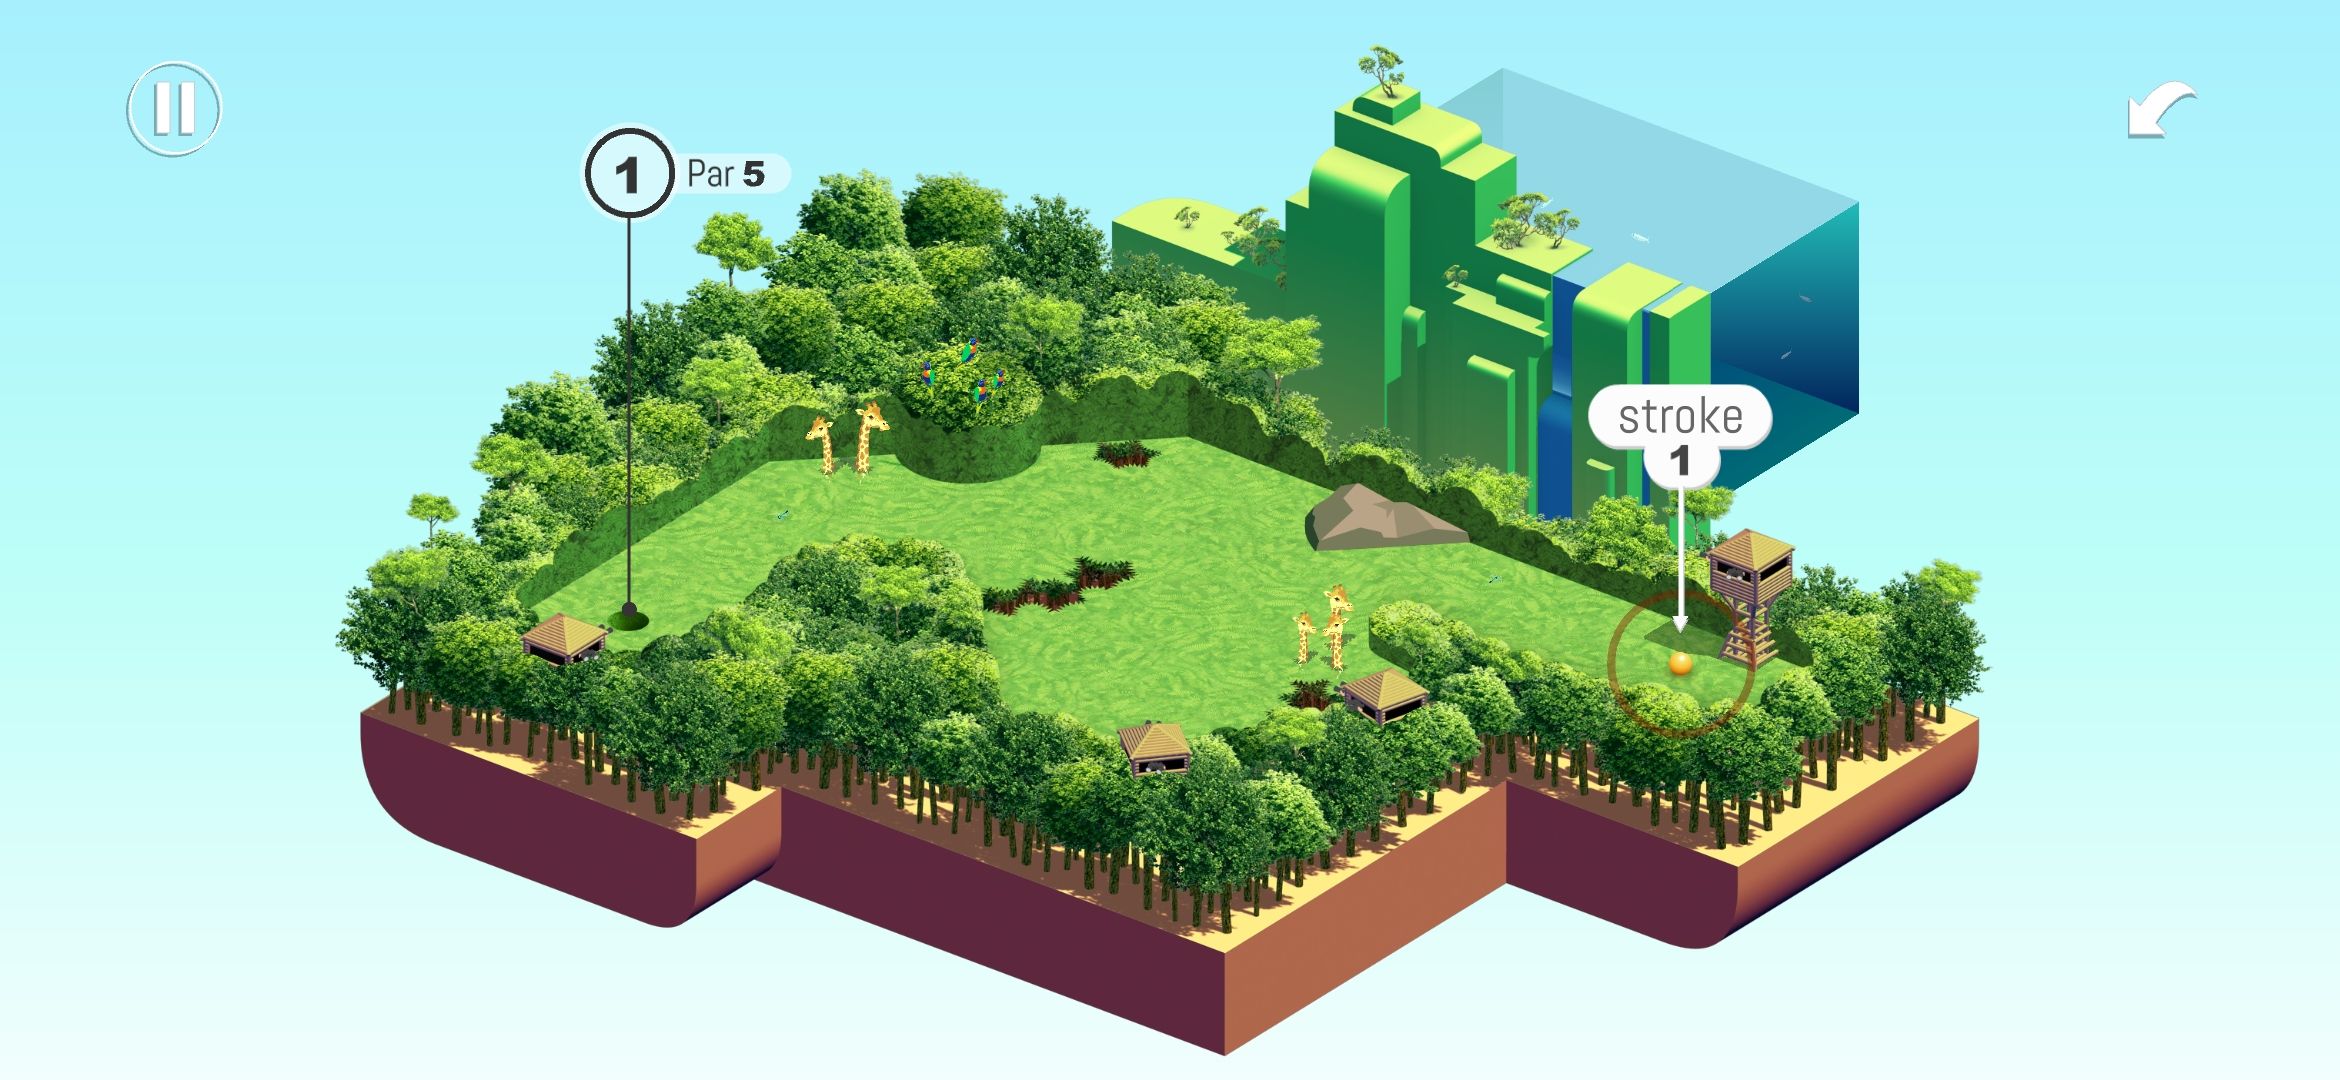
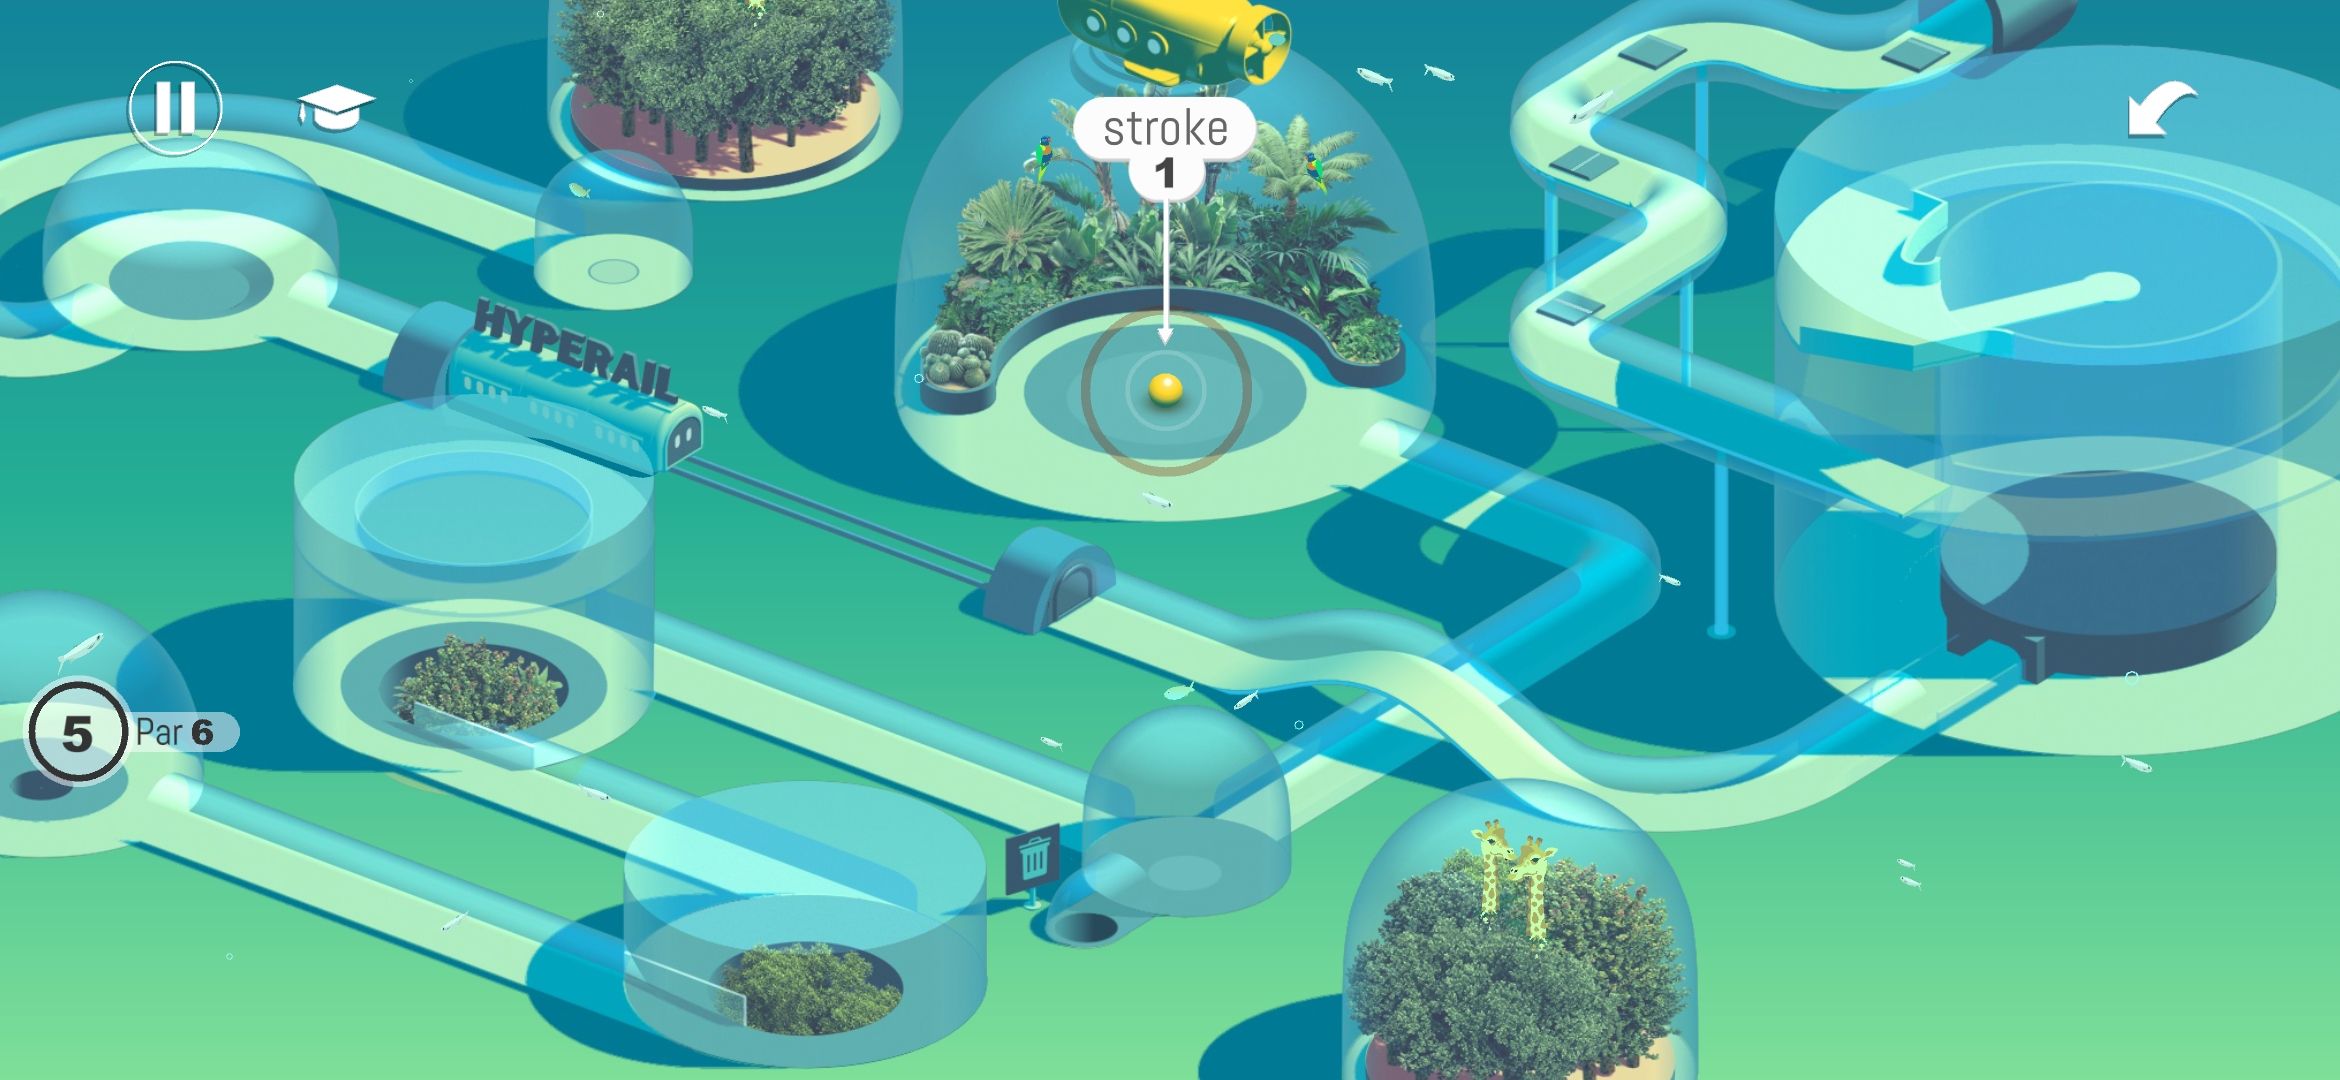
I’ve played a few golf games before, with relaxing things like Desert Golfing always having a place in my heart (I apparently rated that 5/5 over a decade ago!), but Wonderputt Forever is a bit different. Instead of short courses with the usual grass and obstacles, Wonderputt quickly gets… wild.
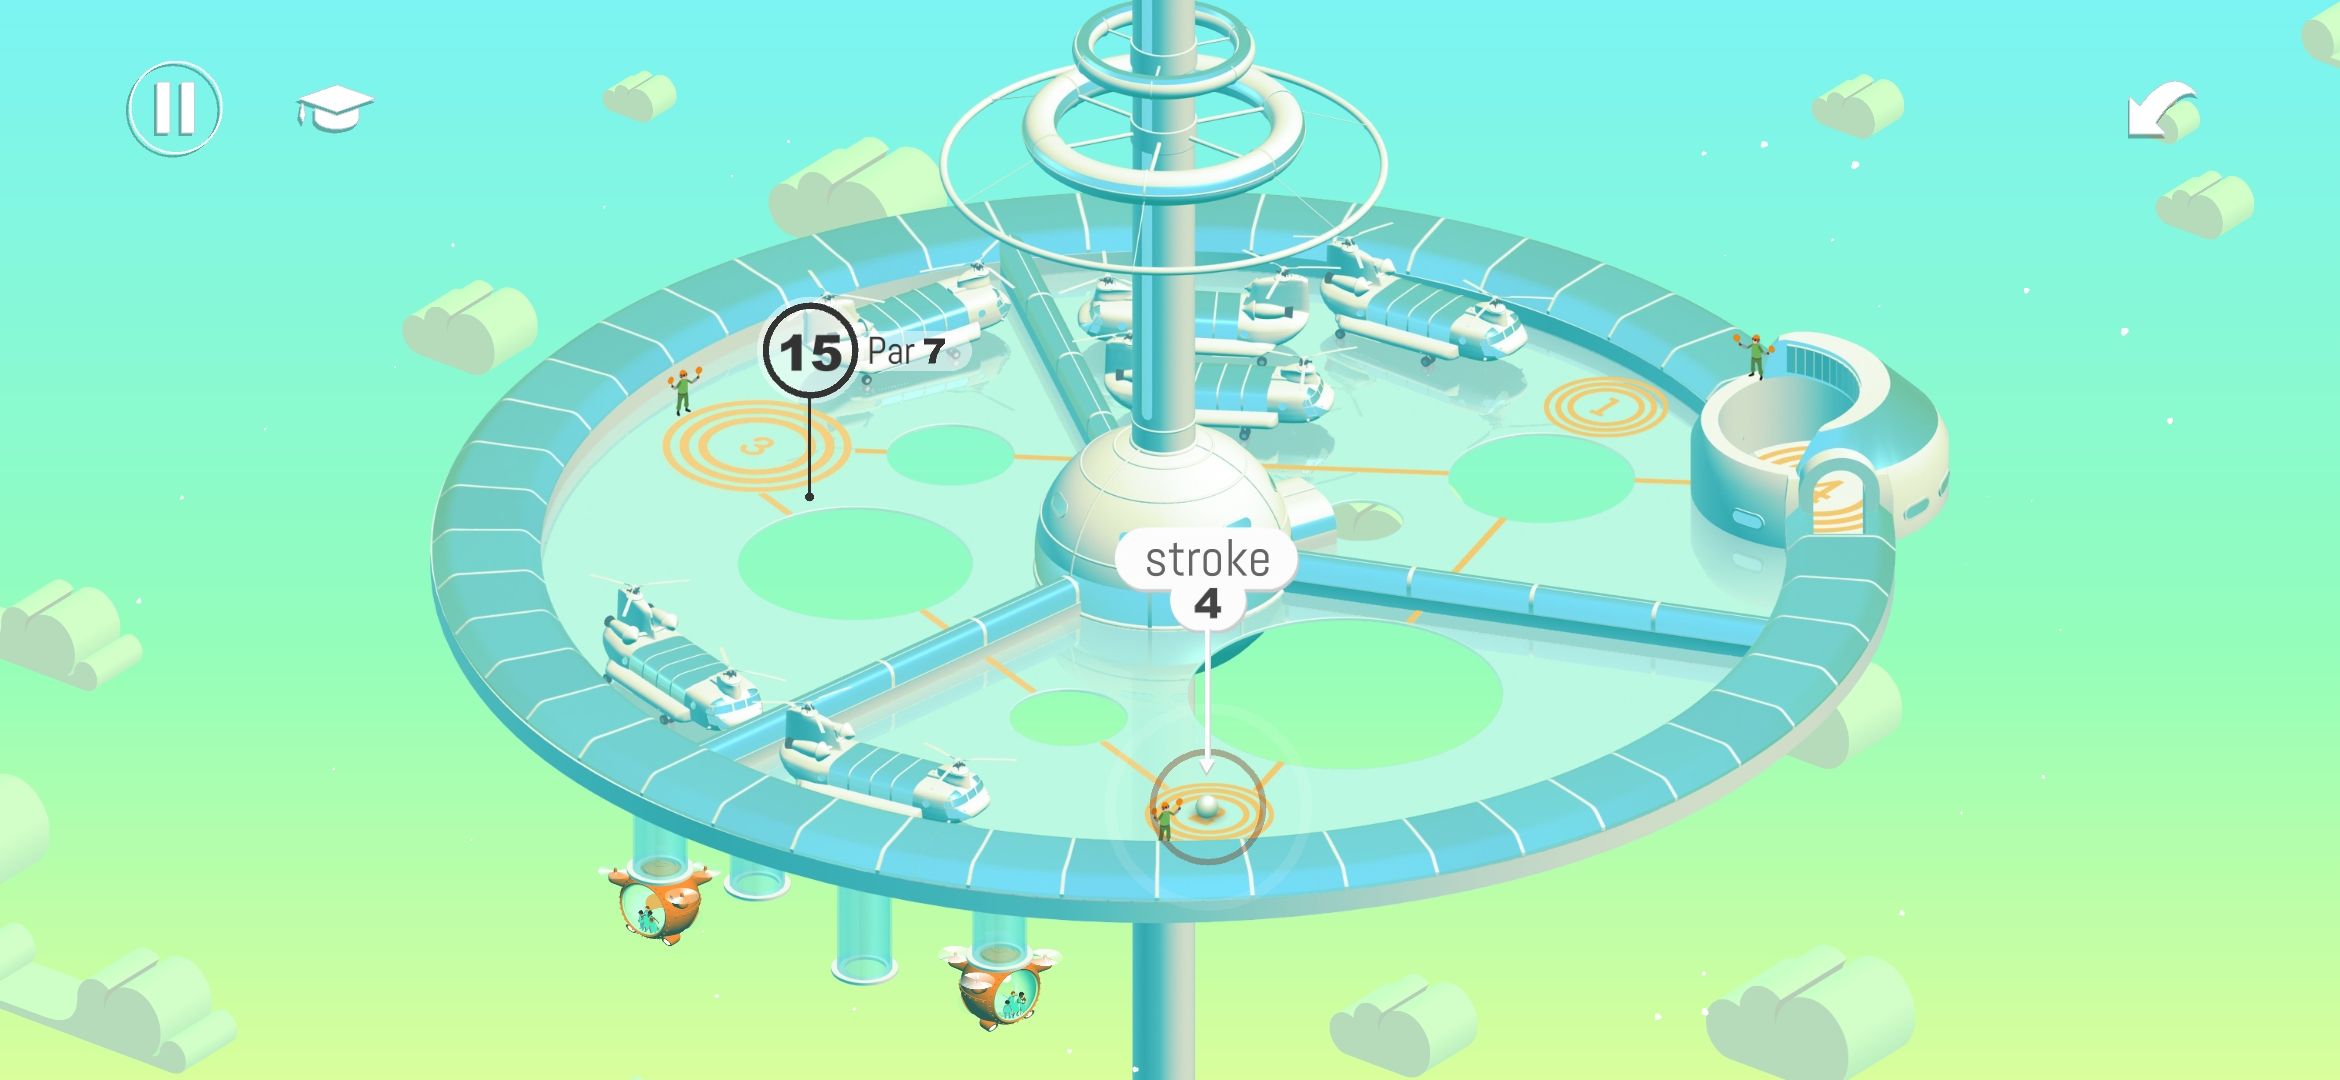
It’s hard to explain in words how drastically each level differs from the last, and how smoothly each level flows into the next. It reminds me of games like Monument Valley, where the actual gameplay isn’t particularly astounding, but the aesthetic experience is excellent.
There’s 50+ core levels, plus another 50-100 “Geometry Trips” that are more Portal-esque experimental levels. Whilst there’s a par to beat, a time objective, and even an overall points score, most of this information is hidden from you whilst you’re actually playing. Instead, your only goal is getting the ball into the hole, via a very intuitive “drag anywhere on screen to pull back” mechanic.
I’m an hour or so into the game (via many smaller sessions), and have no idea how the “relics” work, what the unlockable “modifiers” do, what the cosmetic options are, and much much more! Instead, I’m just ignoring all the extra functionality to focus on a very pretty mini golf game, and looking forward to one more level.
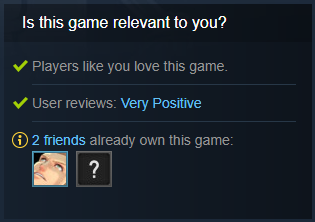
It looks like the game is also available on Steam, with “Very positive” reviews, which seems far more representative than the 2.8 on the Play Store!
I’d definitely recommend giving the trailer a watch, it does a great job of summarising the constantly surprising variety of the levels and gameplay mechanics, whilst keeping the same vibe as the game itself.
Monetisation
None (if you have Netflix)!
Tips
- You can restart a level at any time, and you might as well do this immediately for Par 1 holes.
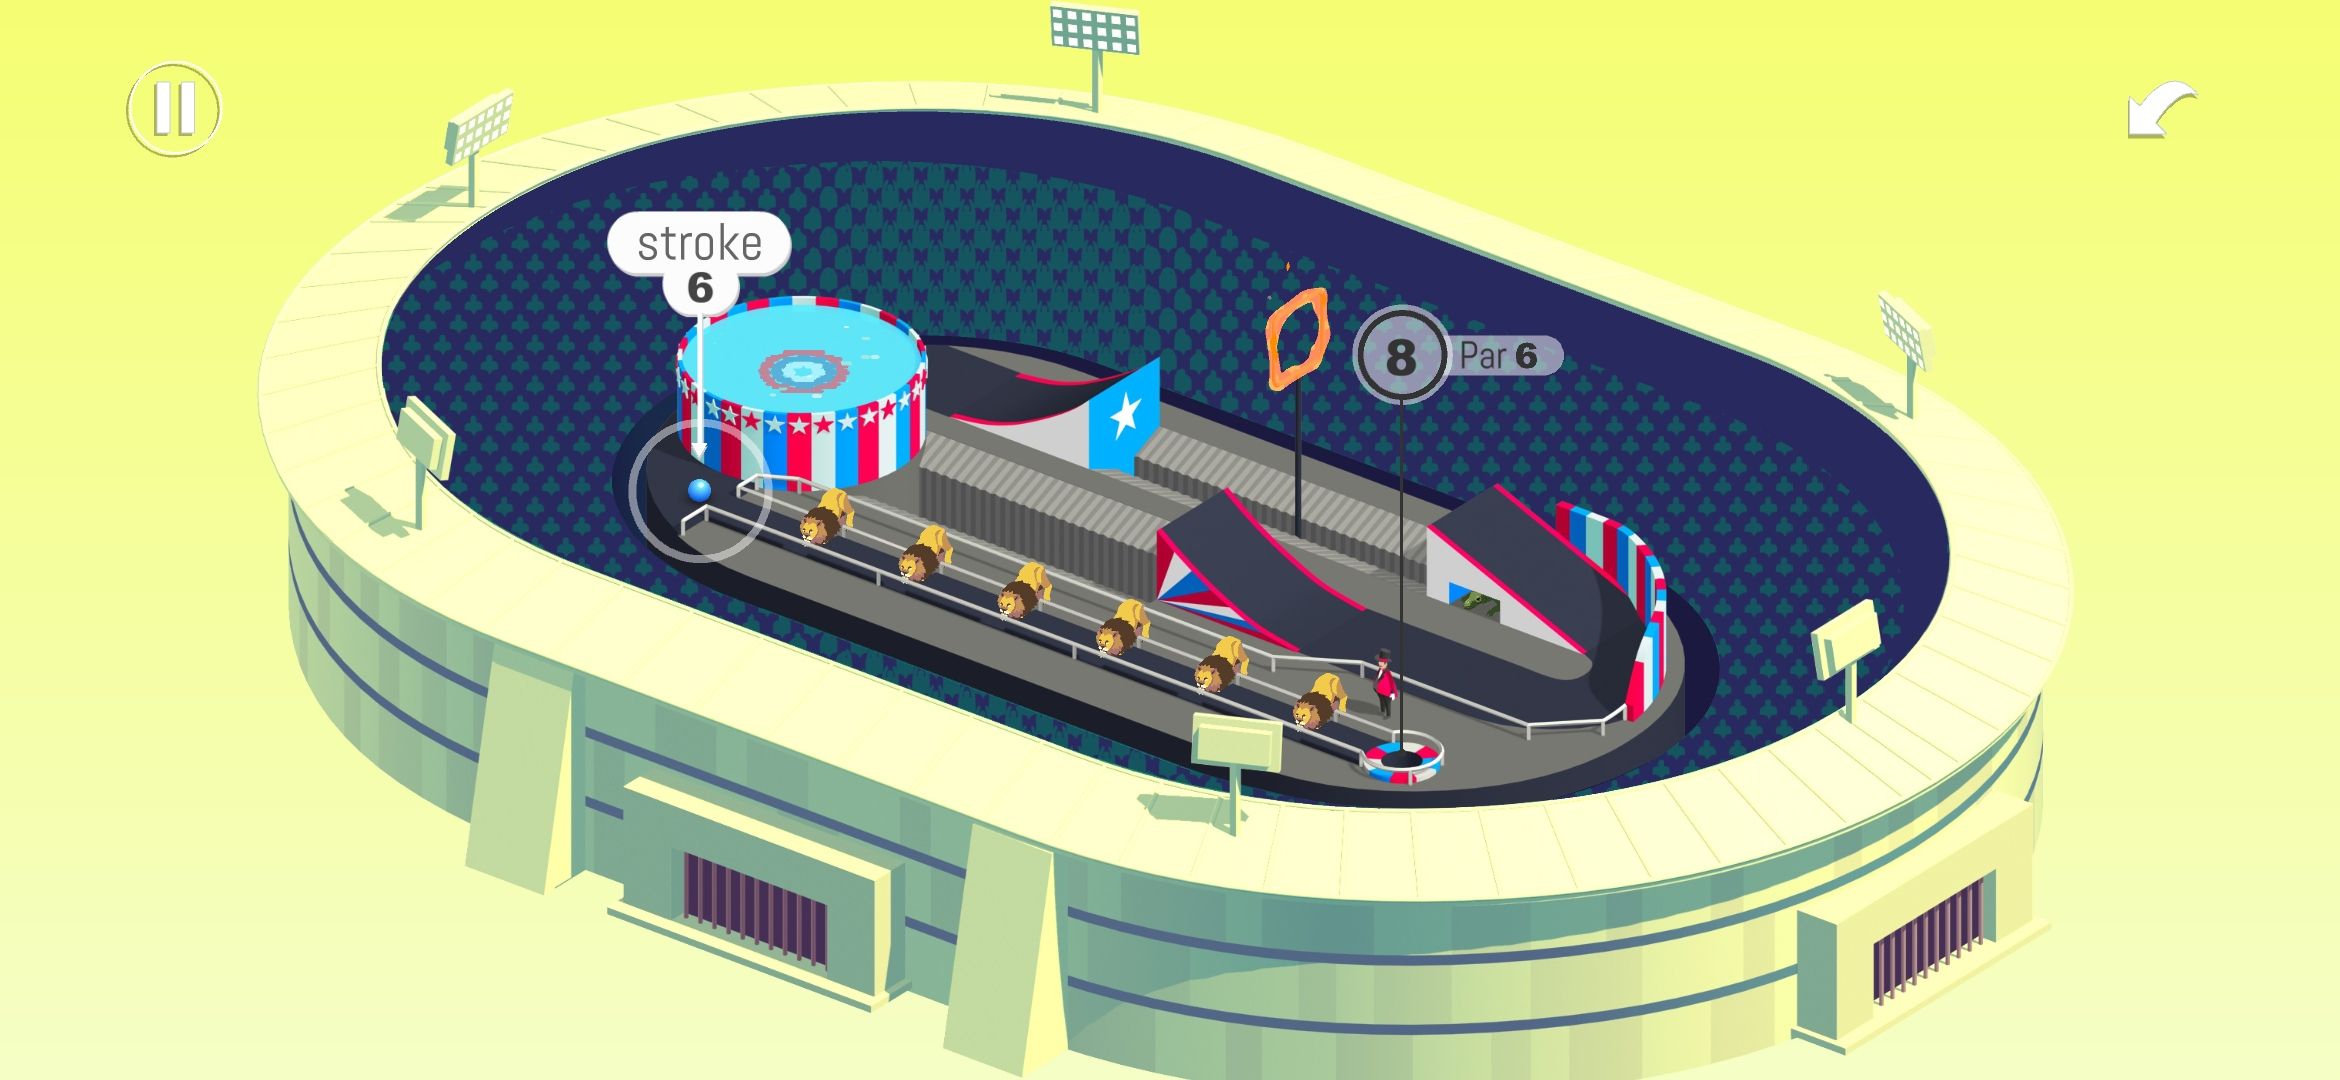
- The game prioritises fun over being an ultra-competitive esport, so there’ll be all kinds of surprises (Animals in cages! Flying balls! Balls changing size!).
Screenshots
All screenshots are from version 0.1.7:
| First level | Domes | Lions | Space station | Unlocks |
|---|---|---|---|---|
 |
 |
 |
 |
 |
#4: Idle Space Soldier
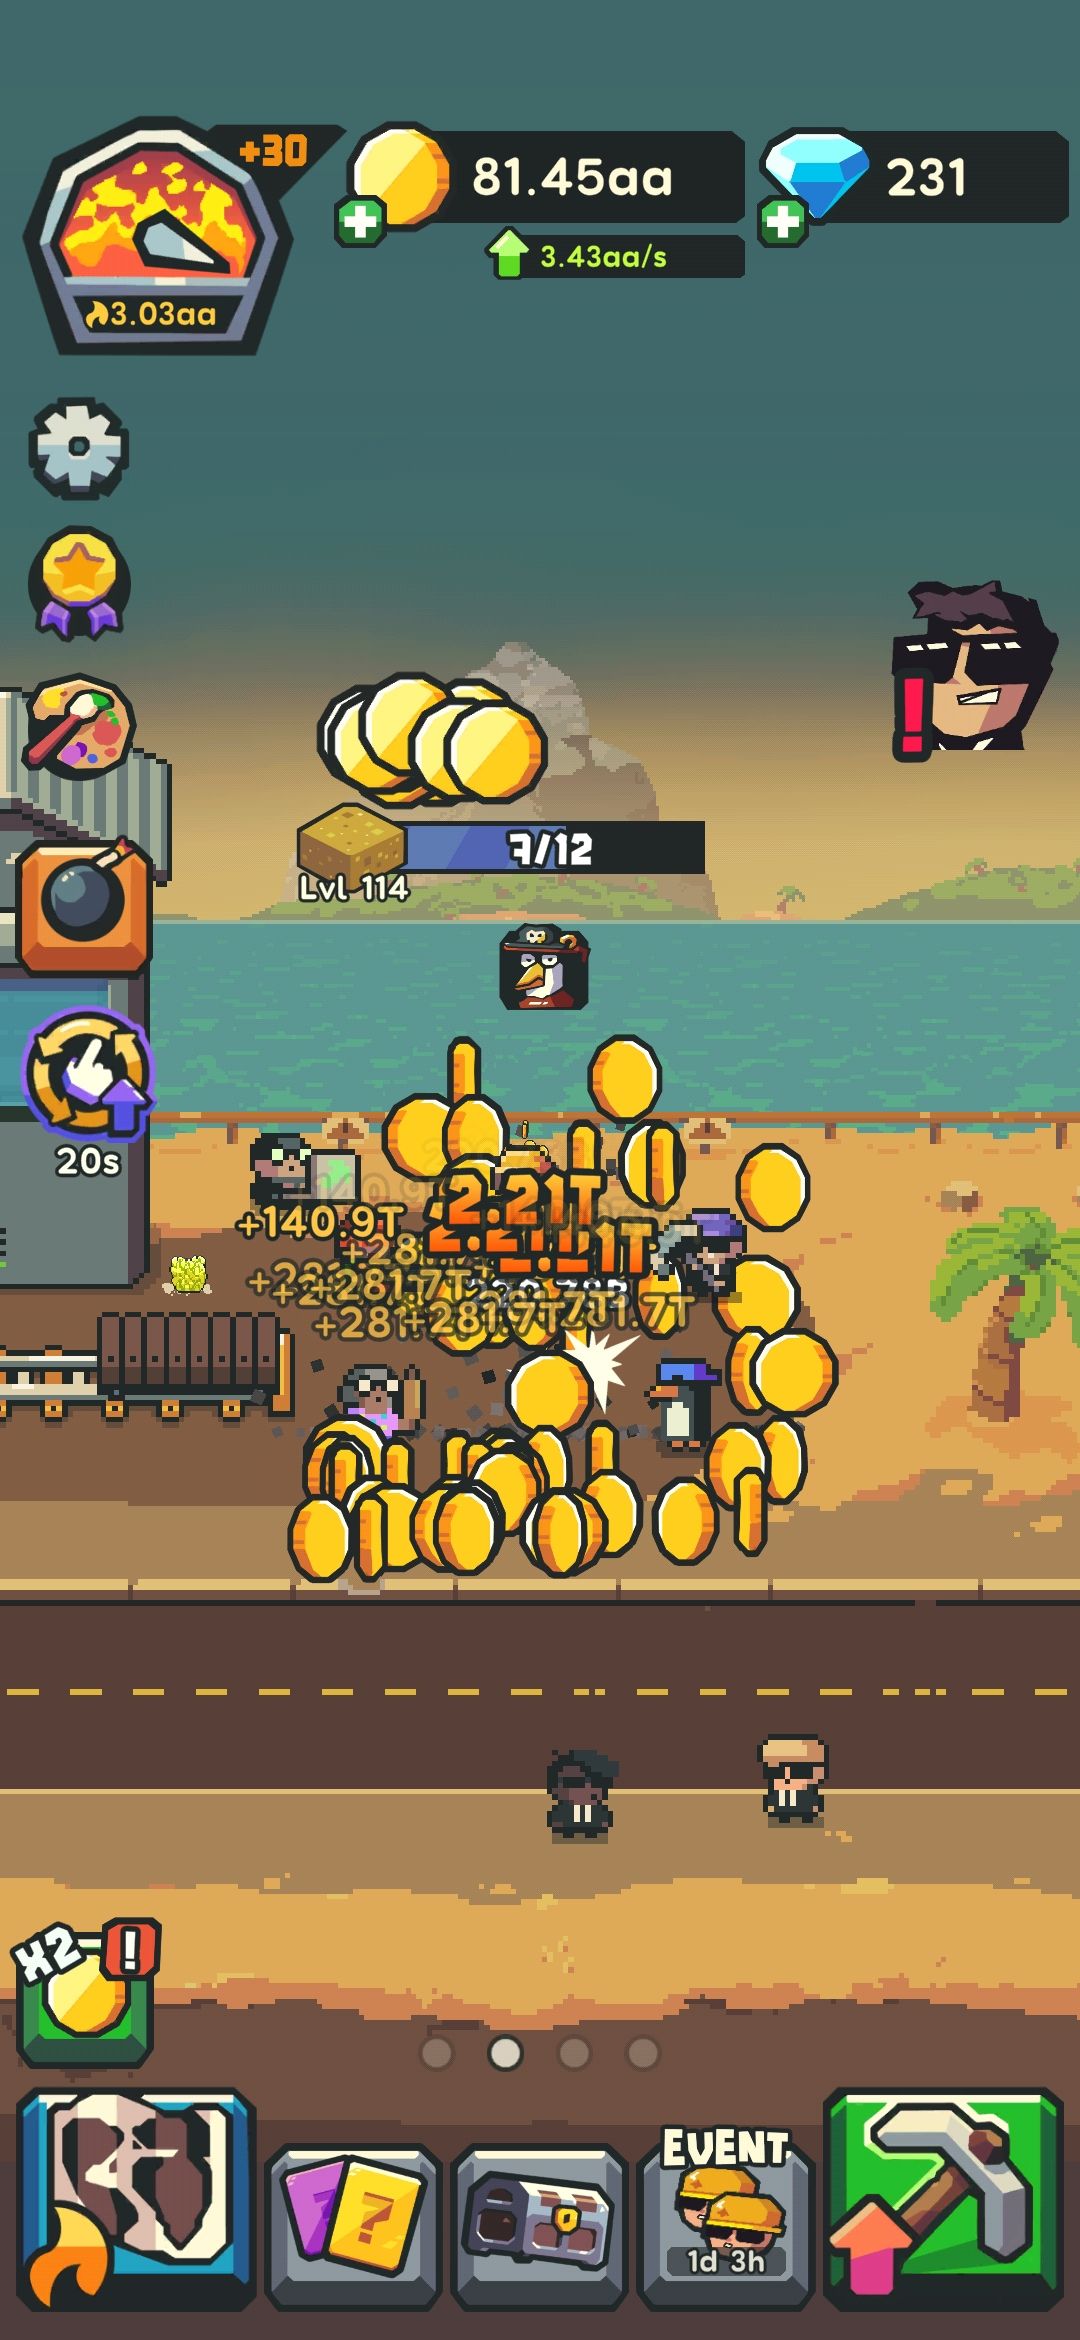
This sidescrolling autoshooter entered early access in late September, and I downloaded mostly for the appearance and setting. It’s a pretty basic incremental, but I’m a big fan of the overall retro-y sci-fi-y aesthetic, it reminds me of old Game Boy Advance games! Whilst it seems a bit bare bones for now, it definitely has potential.
Review
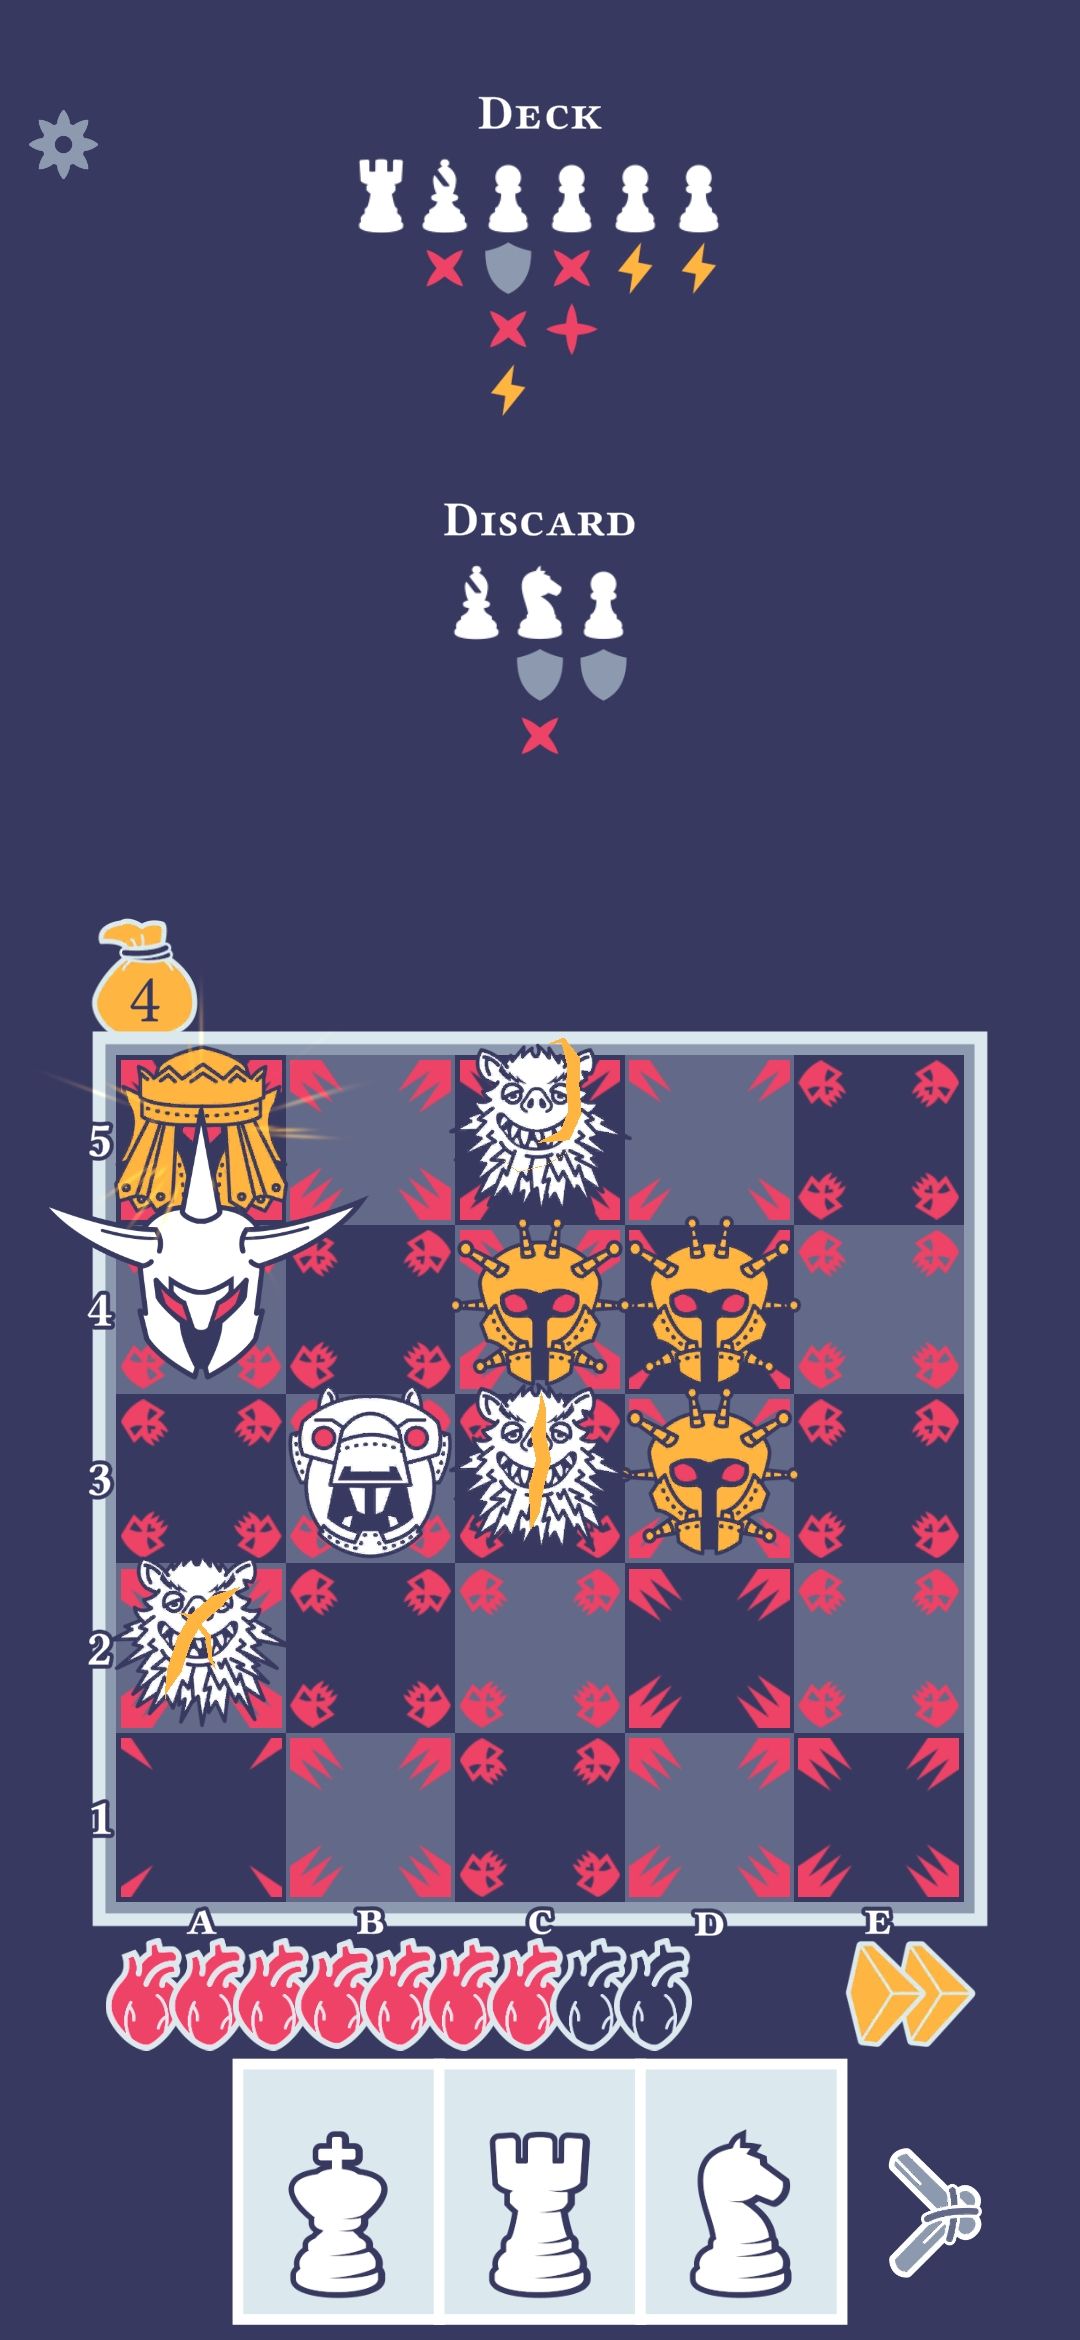
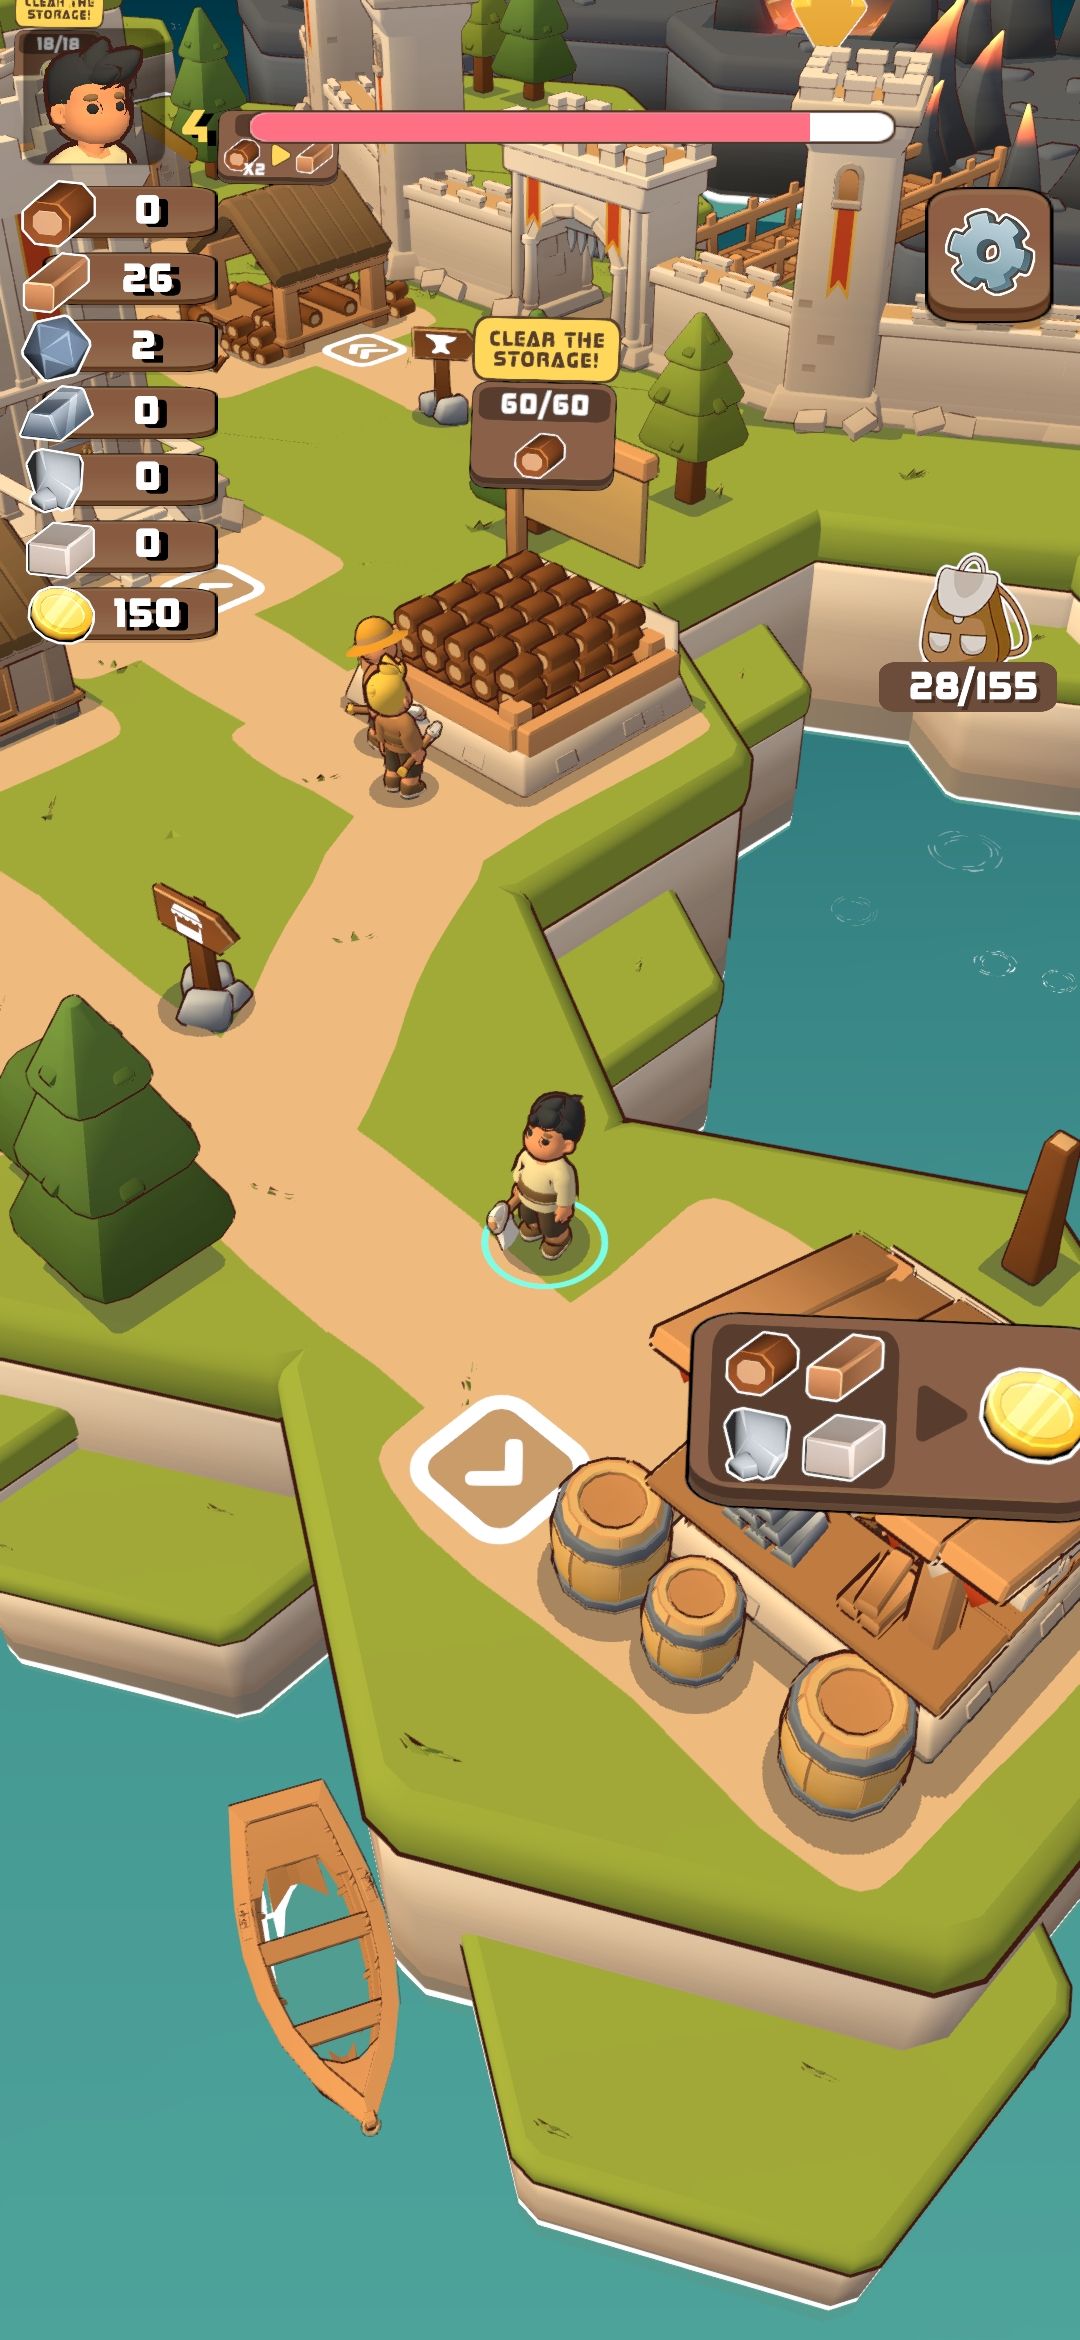
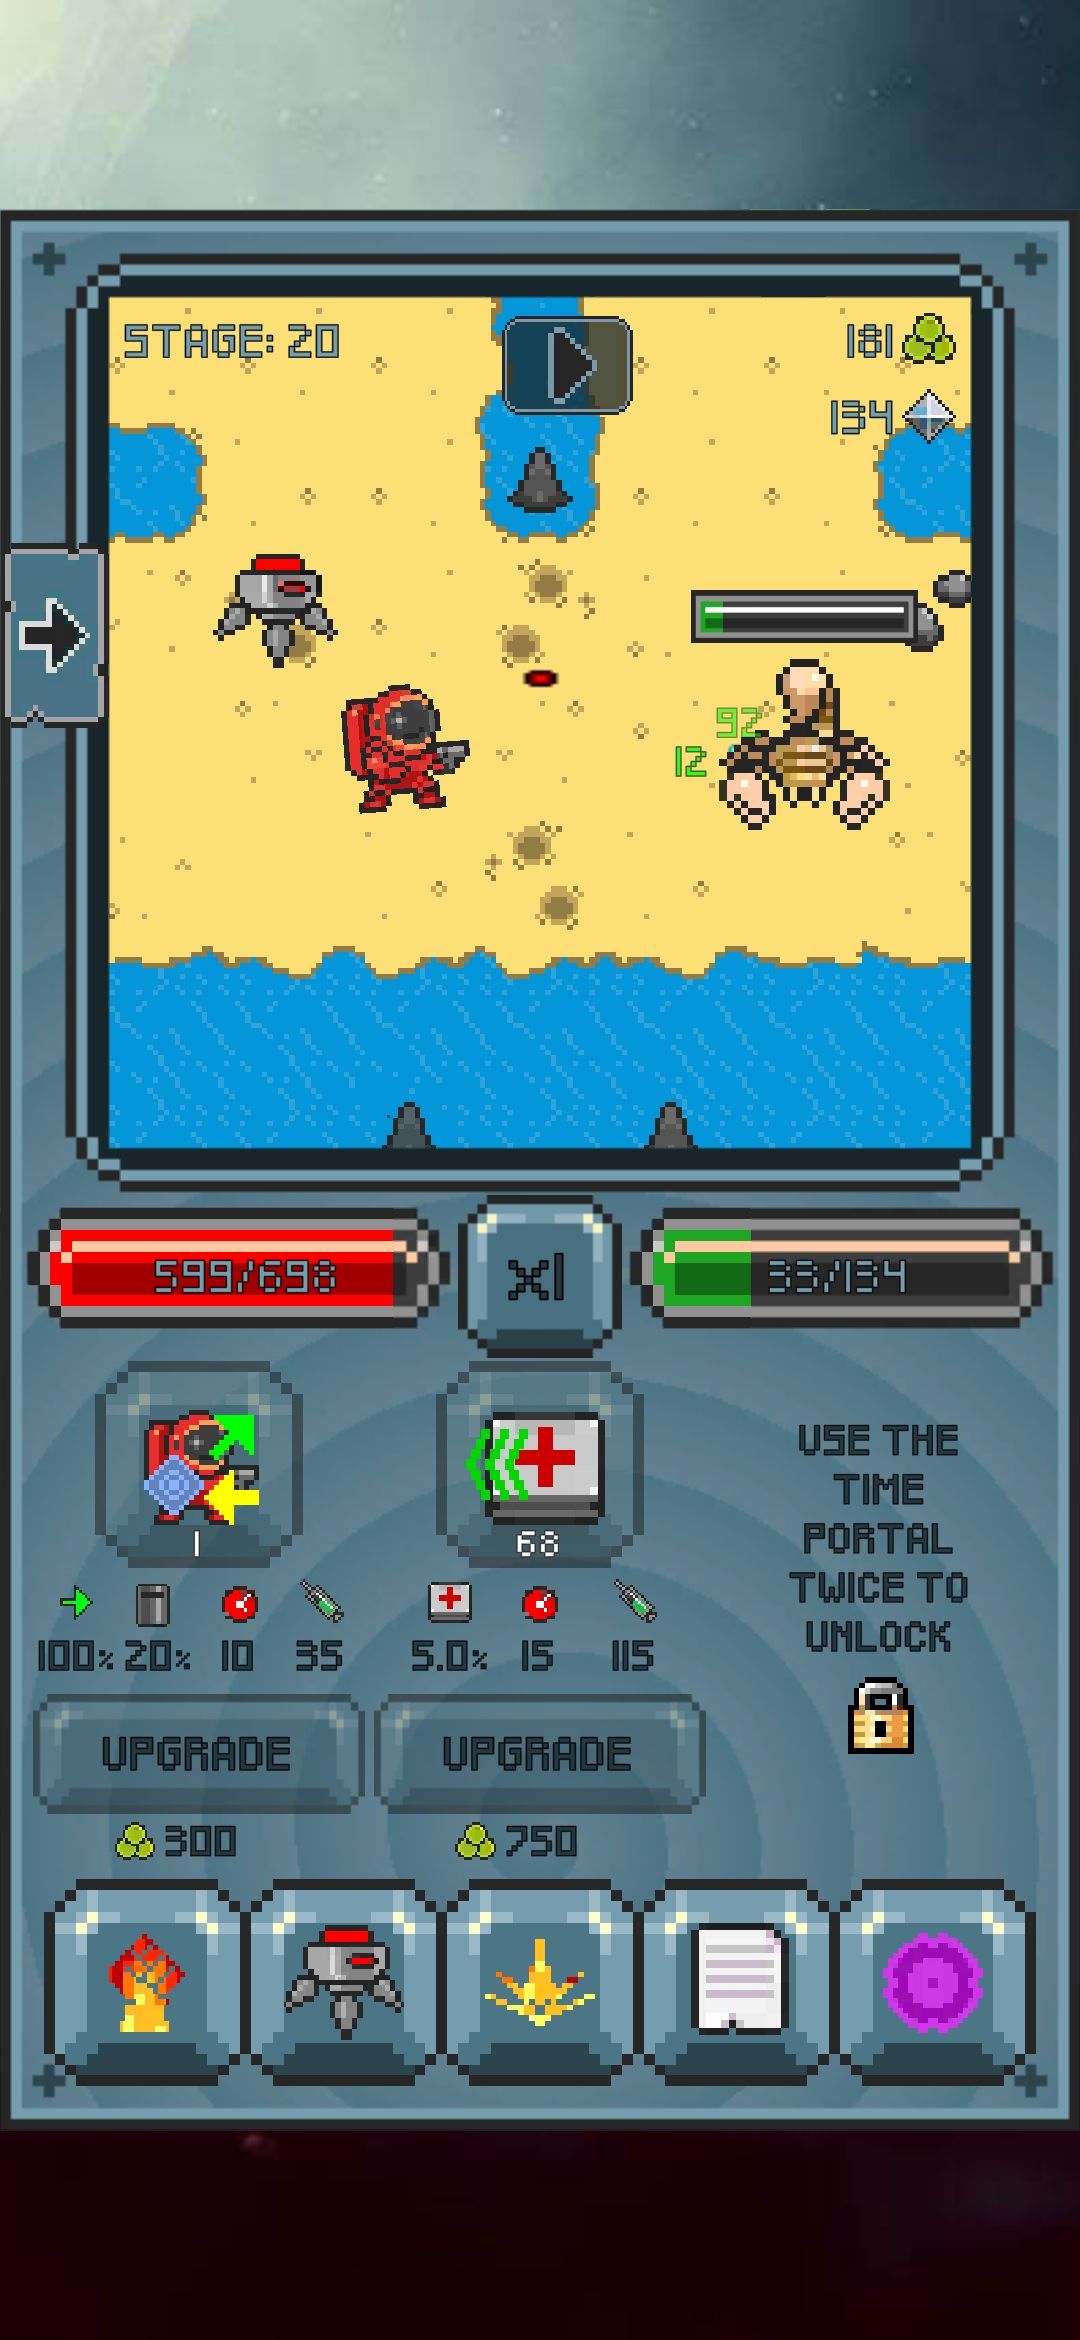
The gameplay is very straightforward. Your space soldier & his drone move to the right shooting enemies, they drop gold that is used to buy upgrades. That’s it! Boss fights happen every 10 levels, and if you die you respawn at the start of that 10-level stretch. There’s no additional mechanics or penalty for dying, it’s just checking you’re upgraded enough.
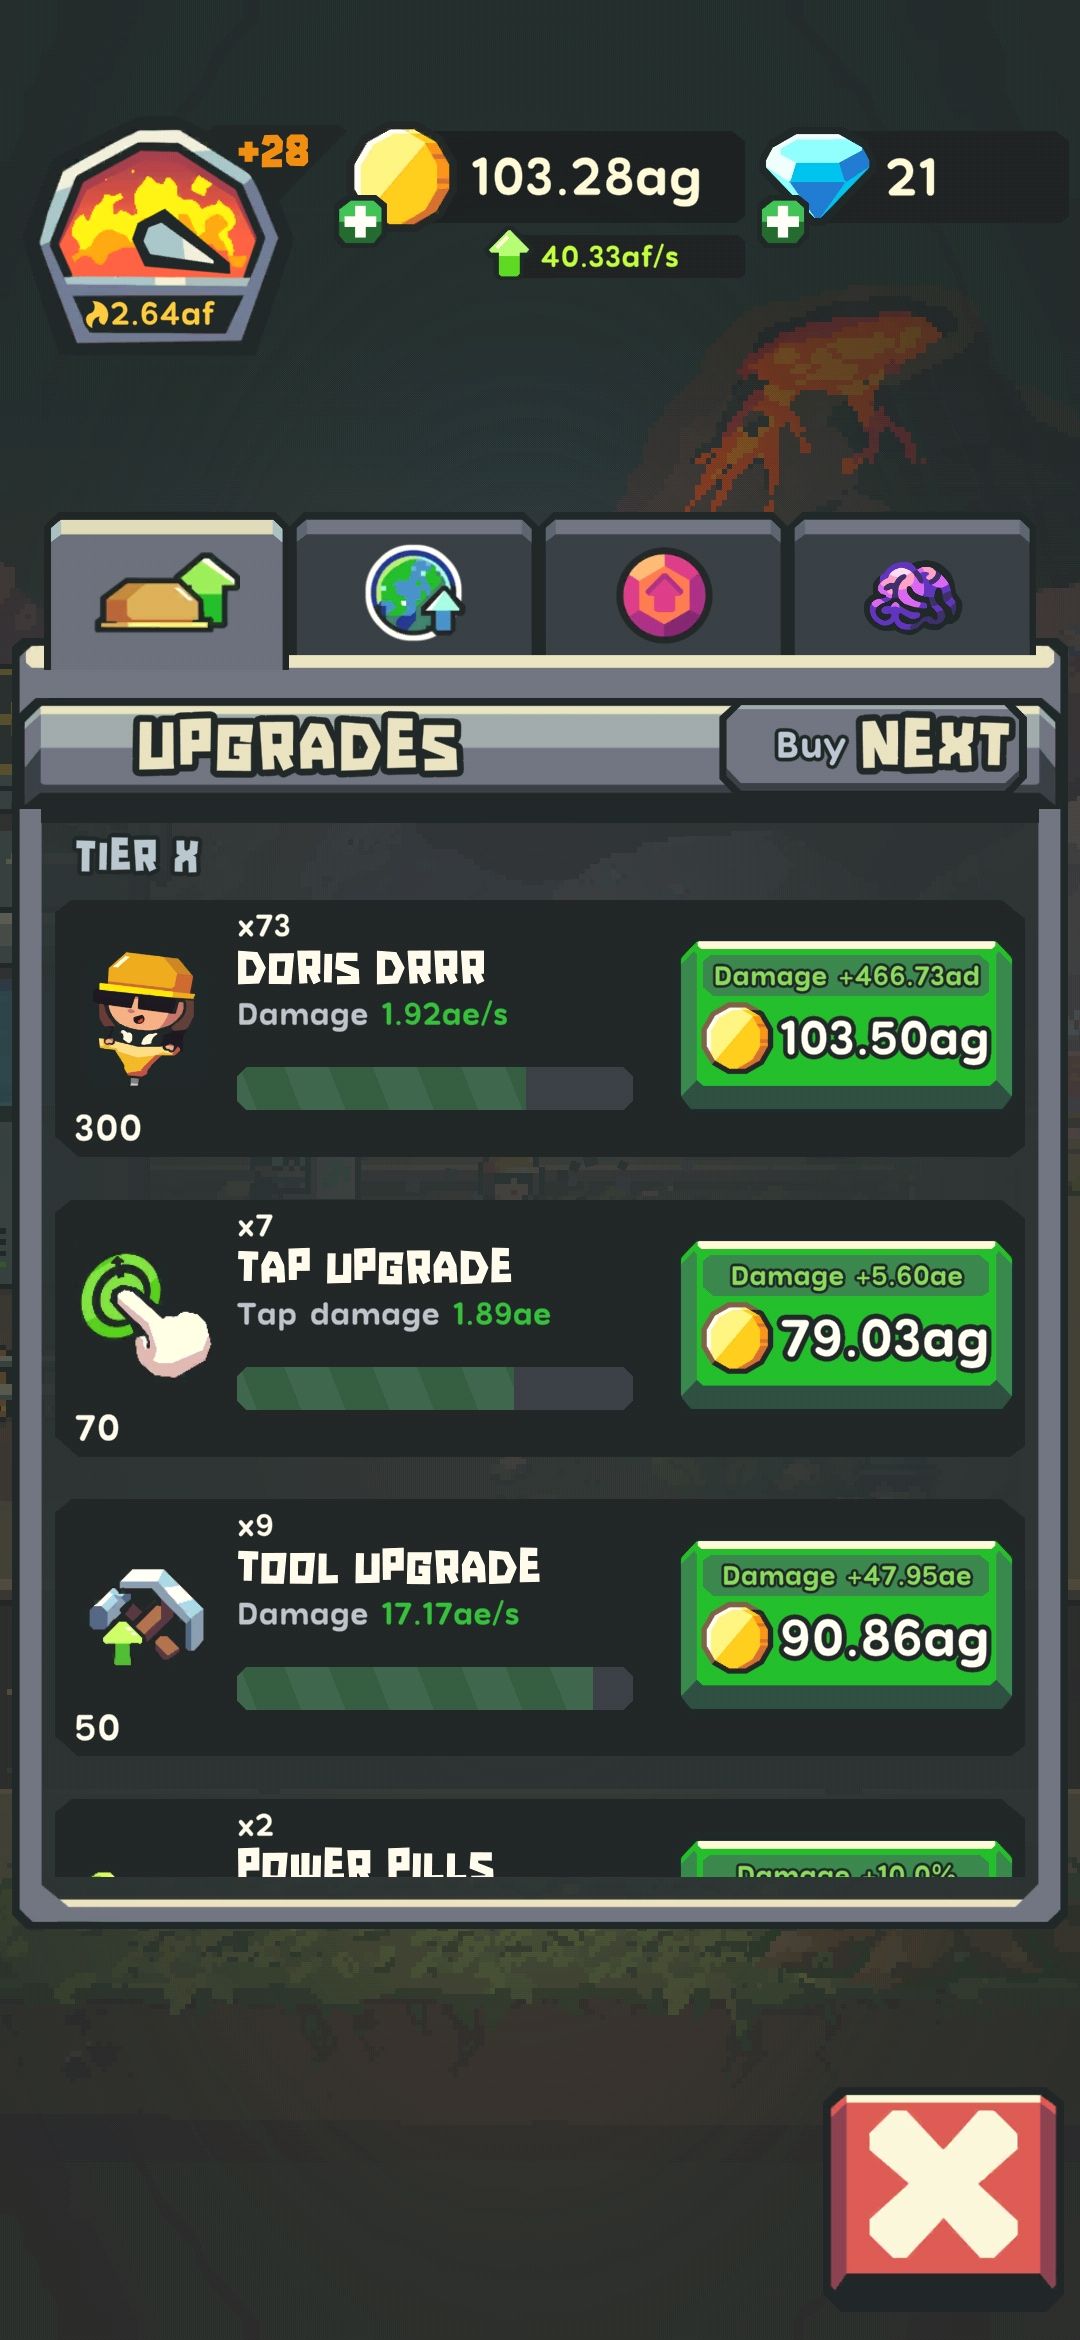
The soldier’s 12 upgrades themselves are pretty typical, things like more blaster damage, dodge chance, critical hit chances. Similarly, the drone’s 6 upgrades are assists like healing ability, chance to drop more loot, and other things you’d expect from a companion.
The game does a good job of telling you what upgrades will actually do, by showing the current value, the next value, and the price to upgrade. Long pressing most things in the game also provides a bit more information, although the game is simple enough to not need this often.
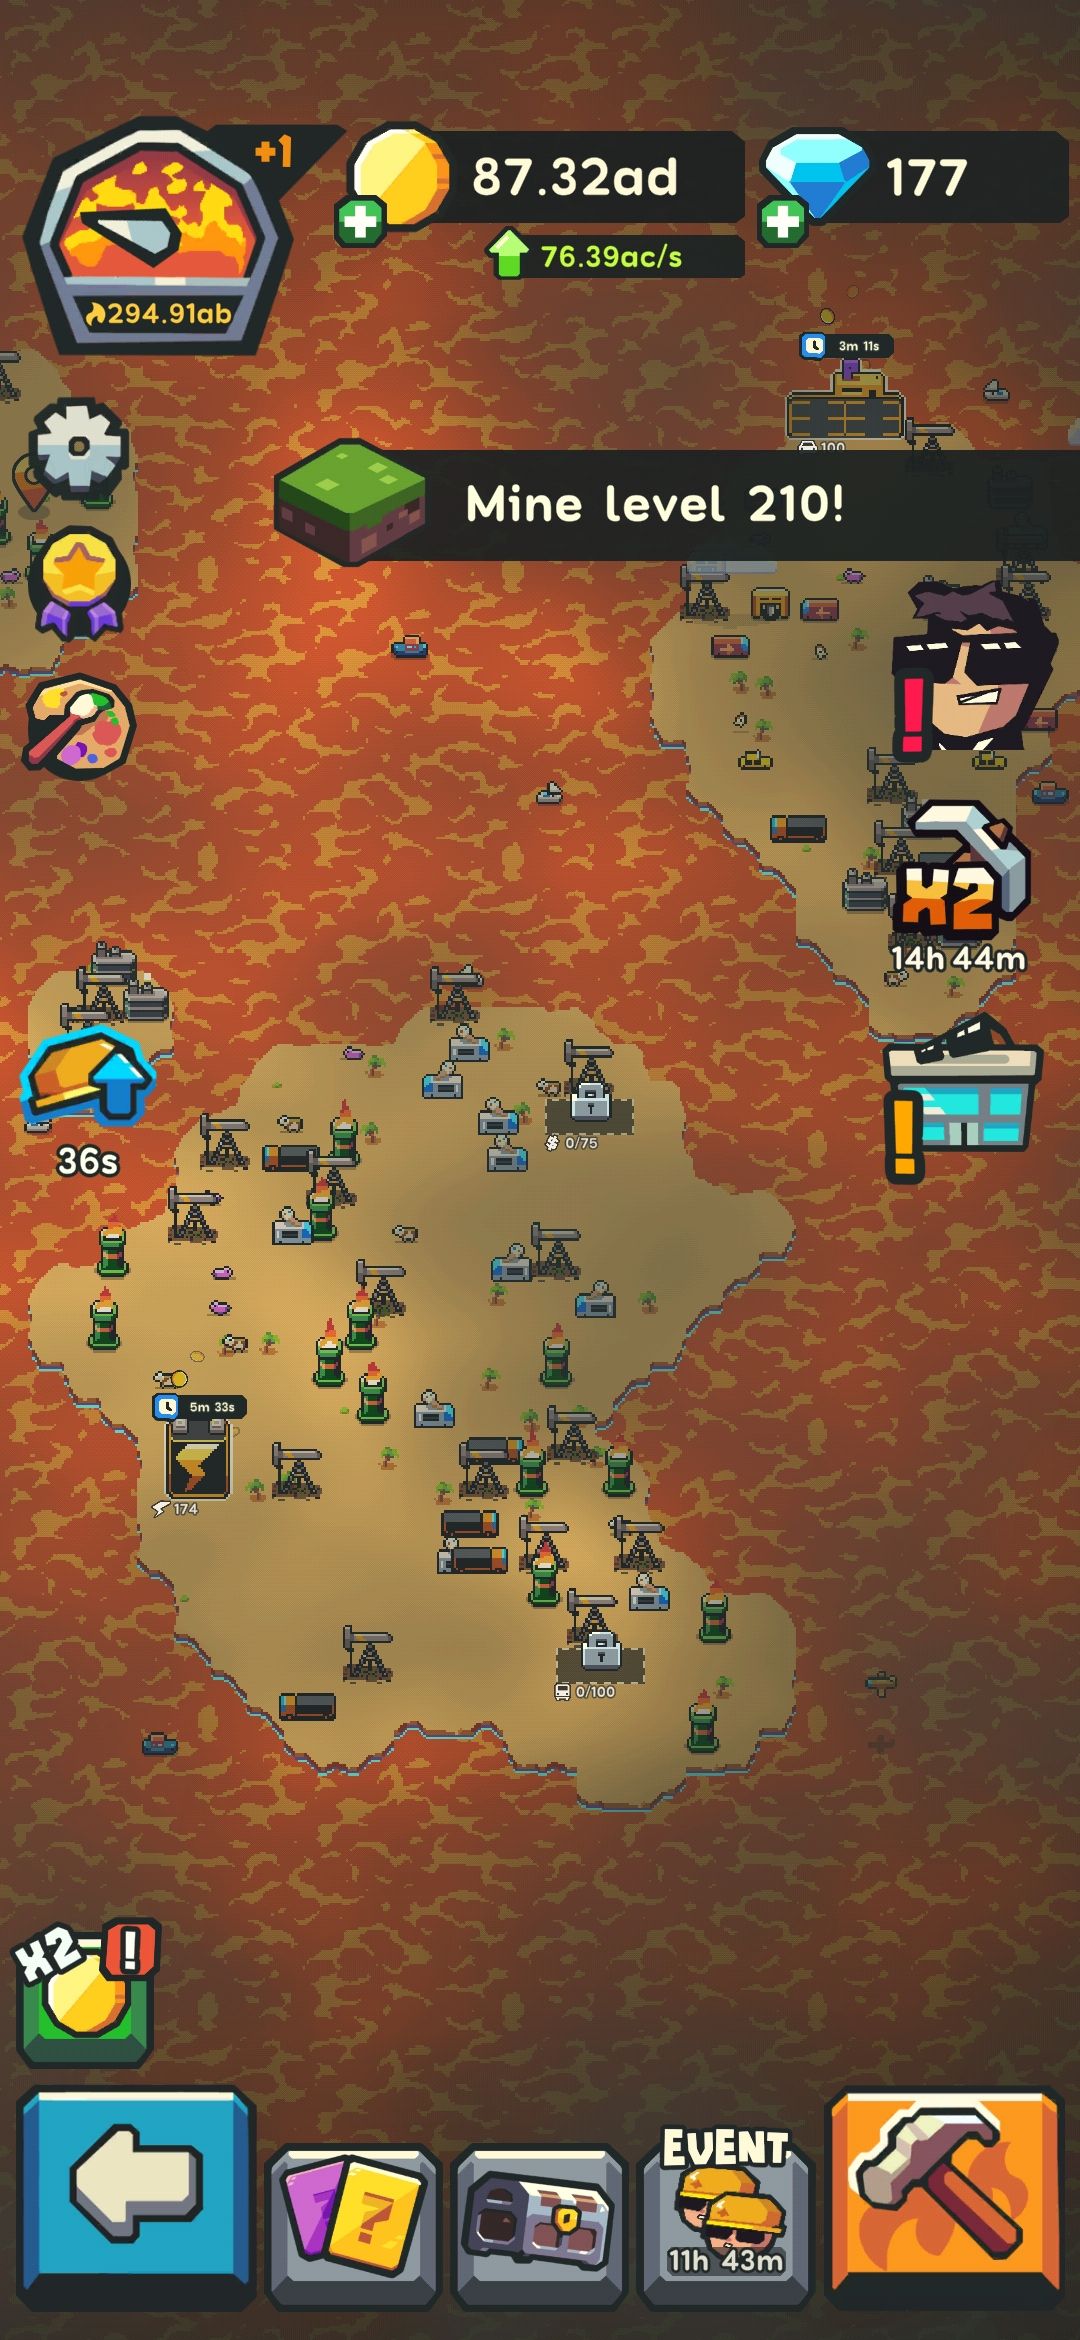
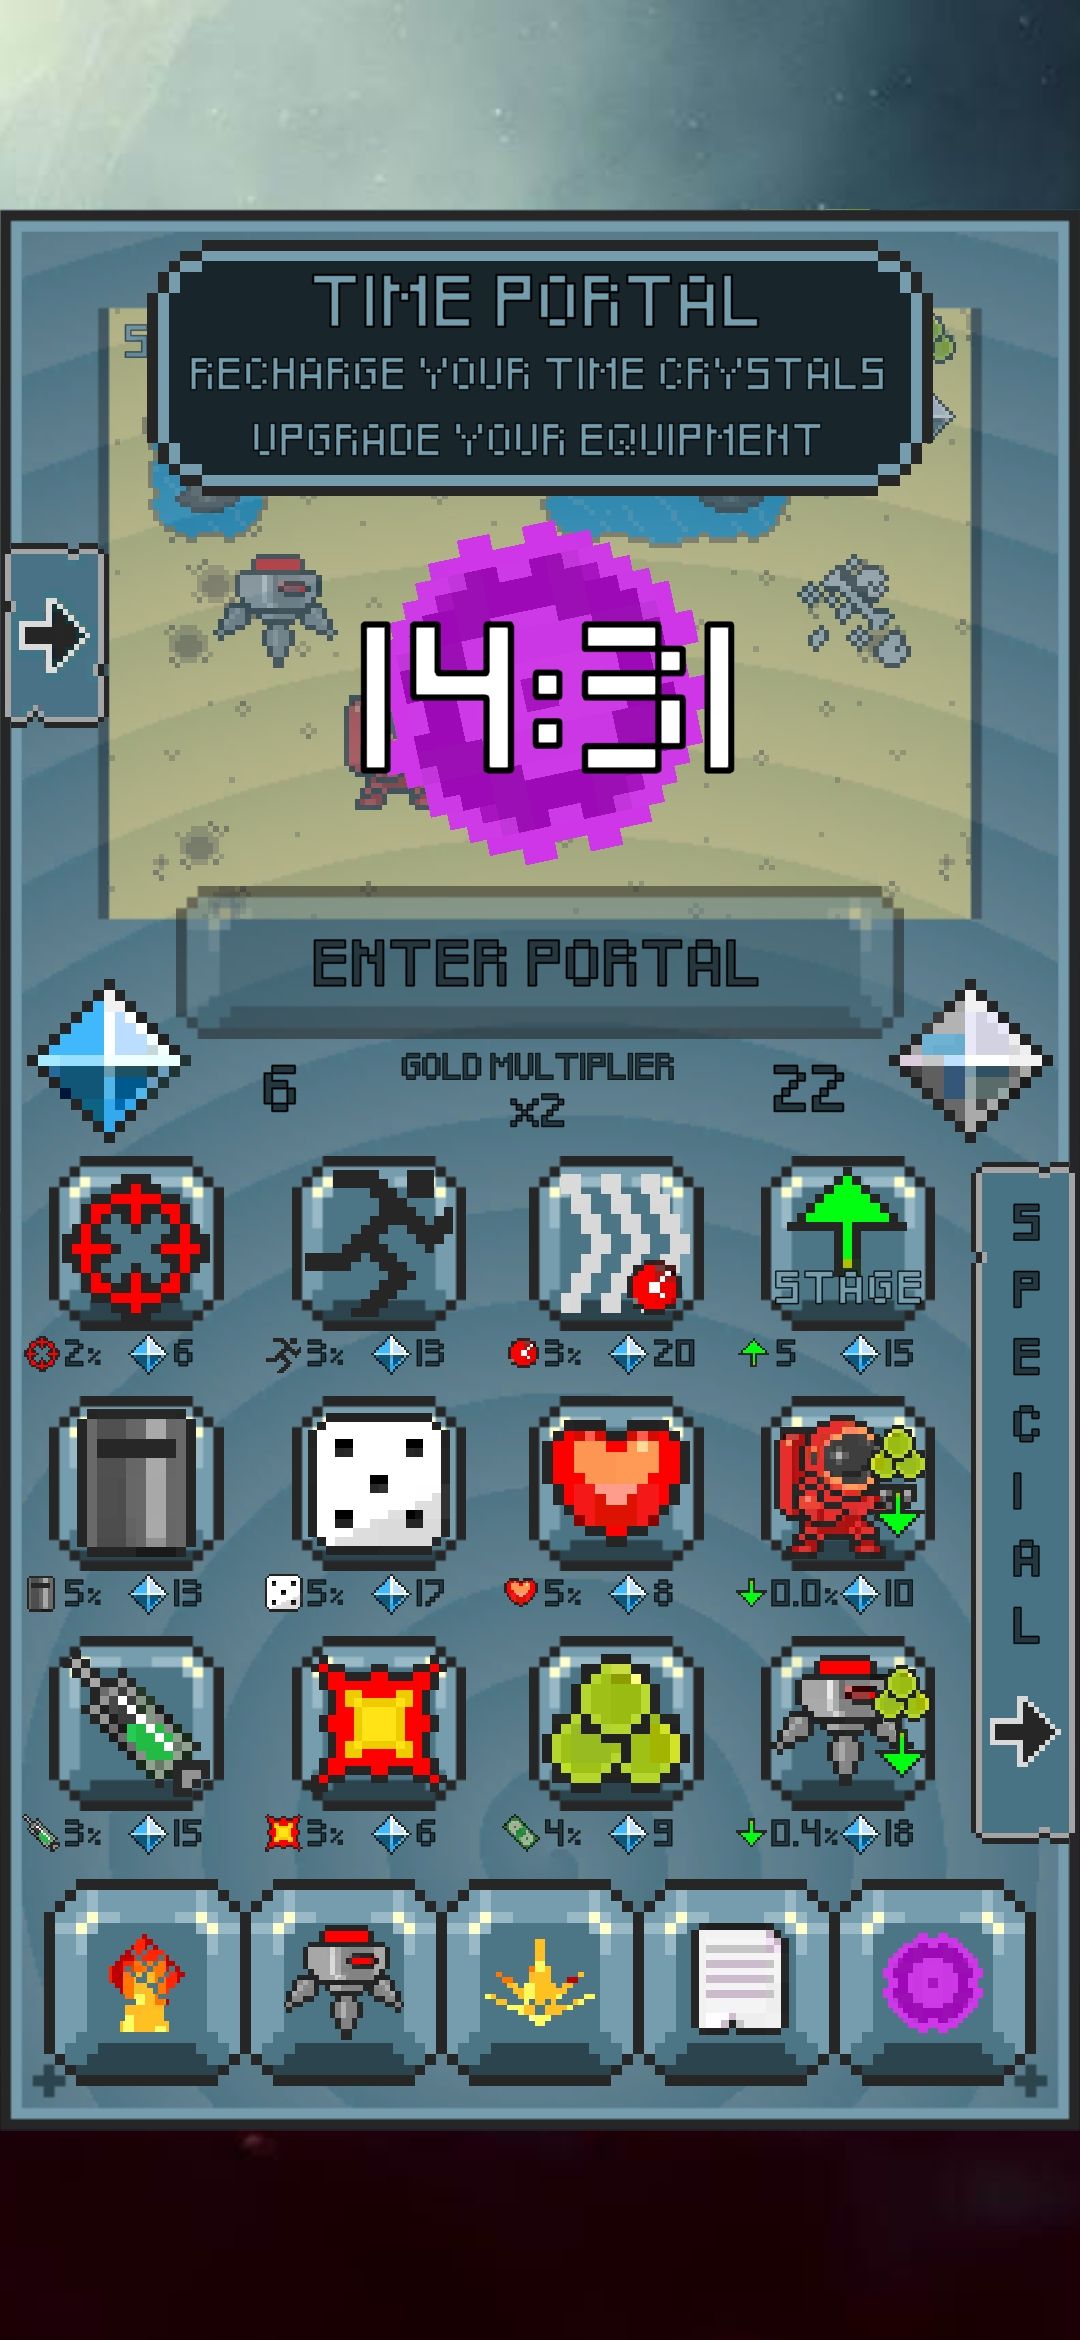
Unfortunately this simple straightforward gameplay is also the game’s downfall. Ultimately everything in the game comes down to minor improvements to various stats, none of which make a significant difference. For example, there are a few extra features like a “boost” that can be used every couple of minutes and “time crystals” that are used after each prestige to purchase perks, but they don’t… really matter.
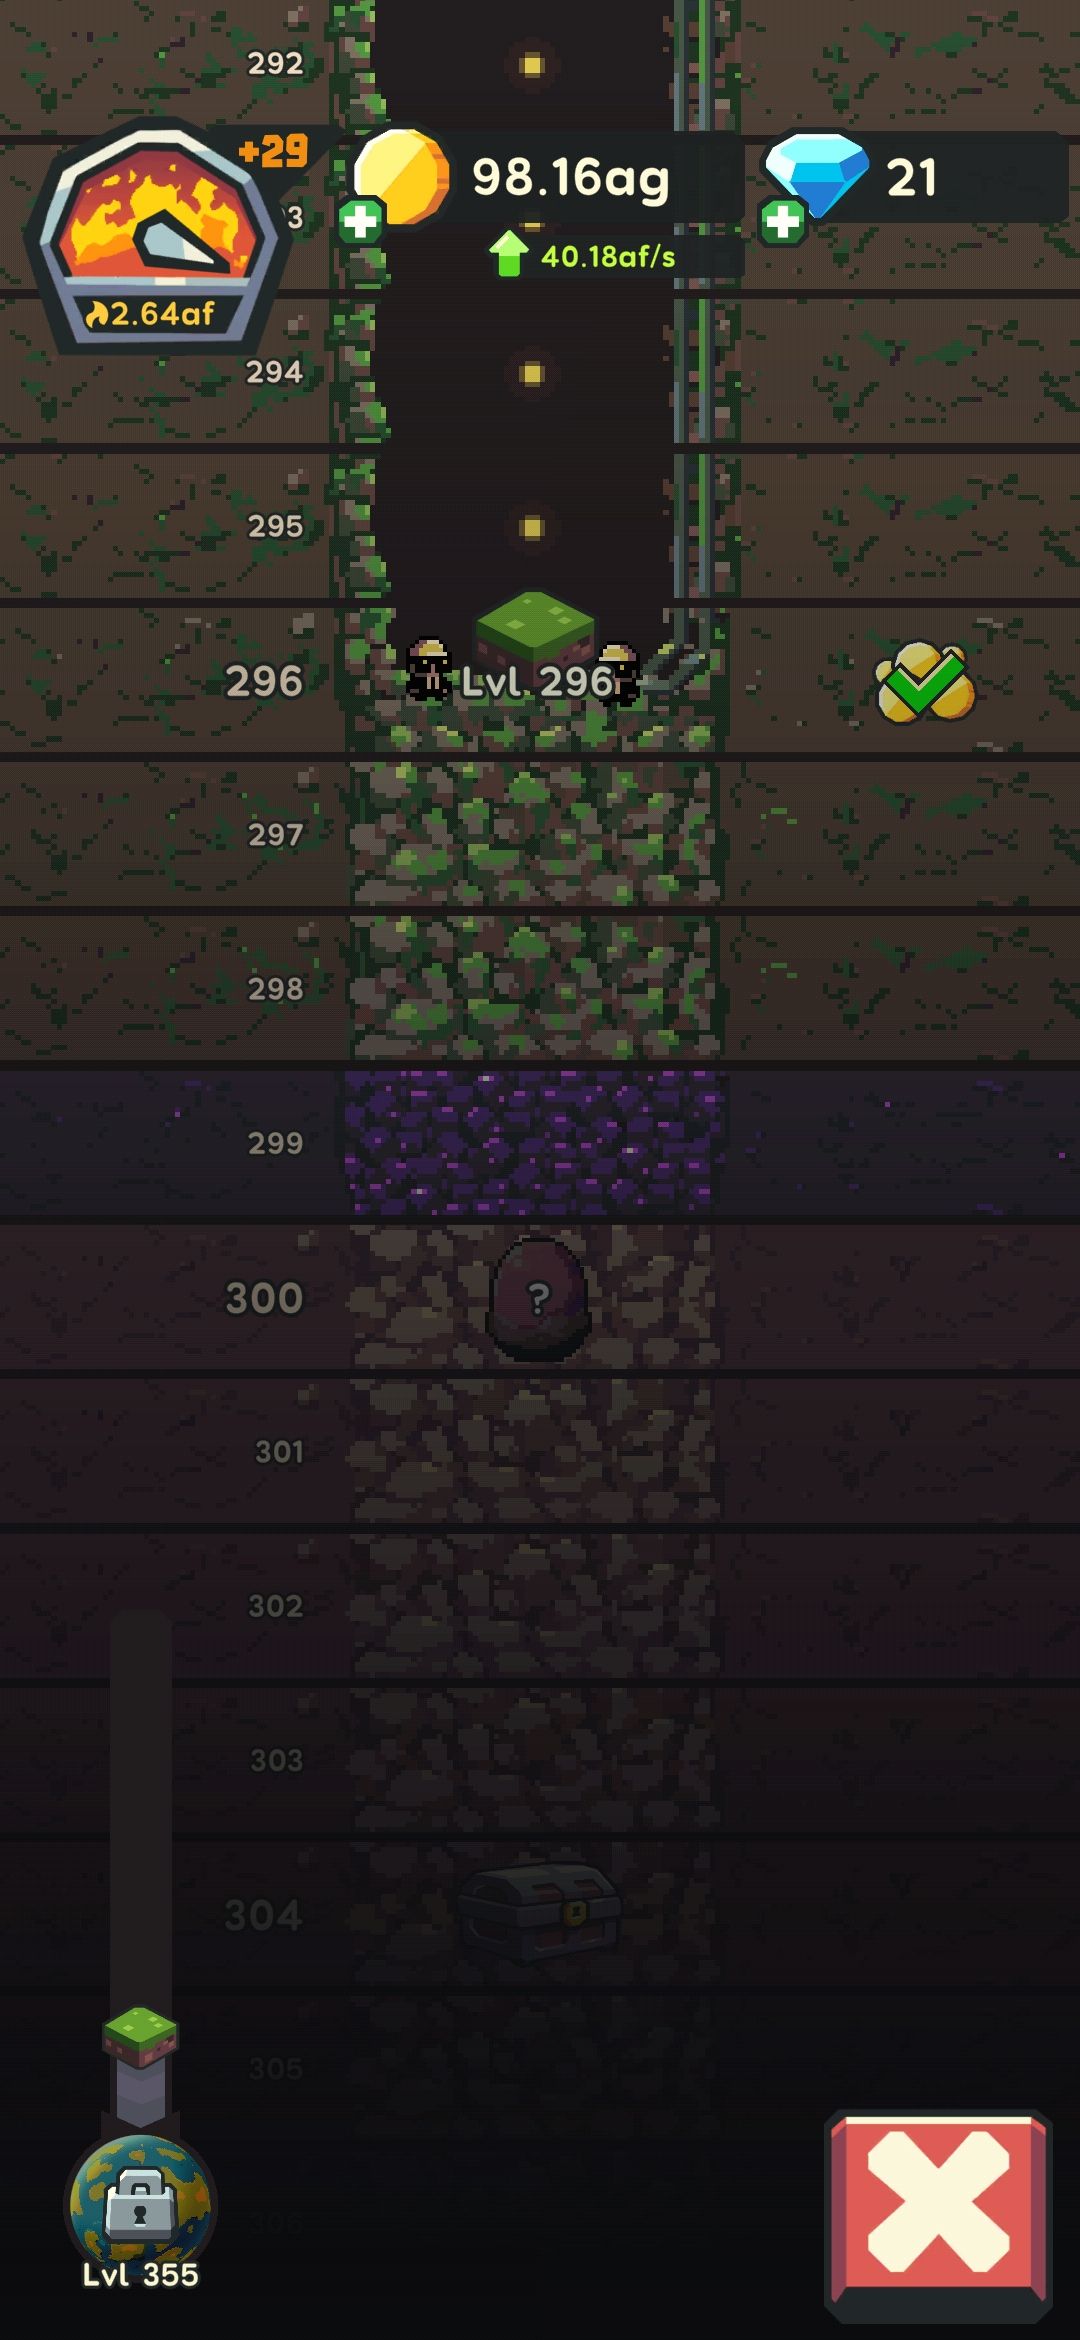
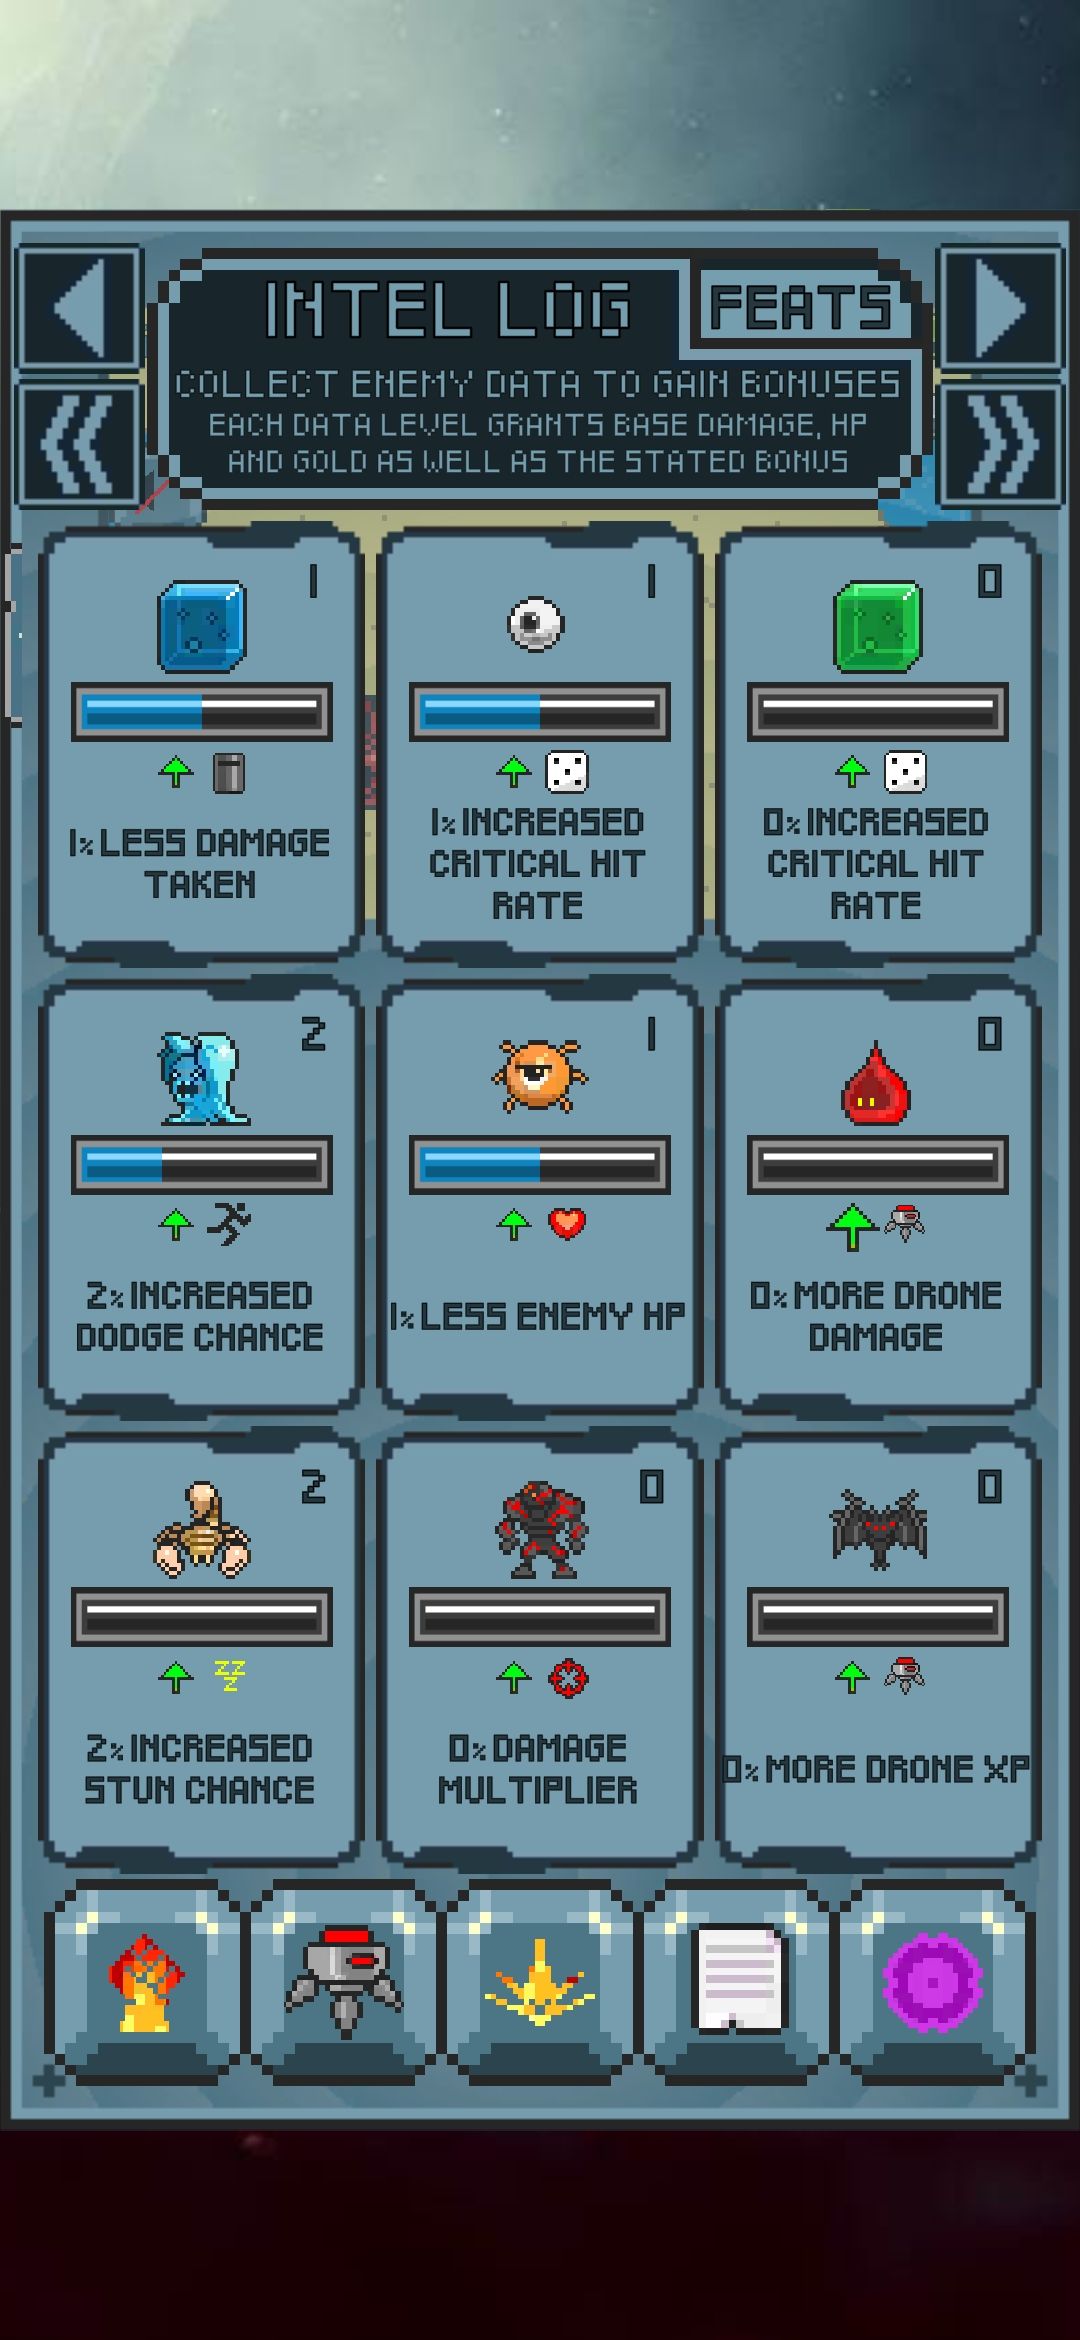
Similarly, an “intel log” and “feat log” providing minor perks as you kill more enemies and progress through the game, but the perks don’t change the gameplay whatsoever. Player upgrades costing 0.1% less, healing 4hp per stage, 2% increased dodge chance? None of these are noticeable.
No matter what you upgrade, you’re still going to be grinding through stages buying hundreds of small upgrades until you are clearly too weak for a boss, then you’ll prestige and begin again. The enemy & environment artwork is nice, but not enough to motivate length gaming sessions.
Finally, it’s a little unfortunate that the game doesn’t scale to screen size, and instead has a large black bar at the bottom and gradient bar at the top. This extra vertical space could be used to avoid only displaying 2-3 upgrades at once!
Monetisation
There’s very little! You can watch an advert to double income for 20 minutes, increase prestige bonuses by 25% and other minor perks, but none of them are at all required.
Tips
- When the game nudges you to prestige (enter the time portal), it’s worth doing! I waited far too long.
- The game’s “tips” screen has additional pages (as do most screens), there’s lots of info hidden in there.
- Idle income seems quite low, so you’re better off leaving the game open.
- There’s a (quite small) Discord where the dev is very active in responding to any feedback.
Screenshots
All screenshots are from version 0.9.8:
| Main game | Prestiging | Intel log |
|---|---|---|
 |
 |
 |