
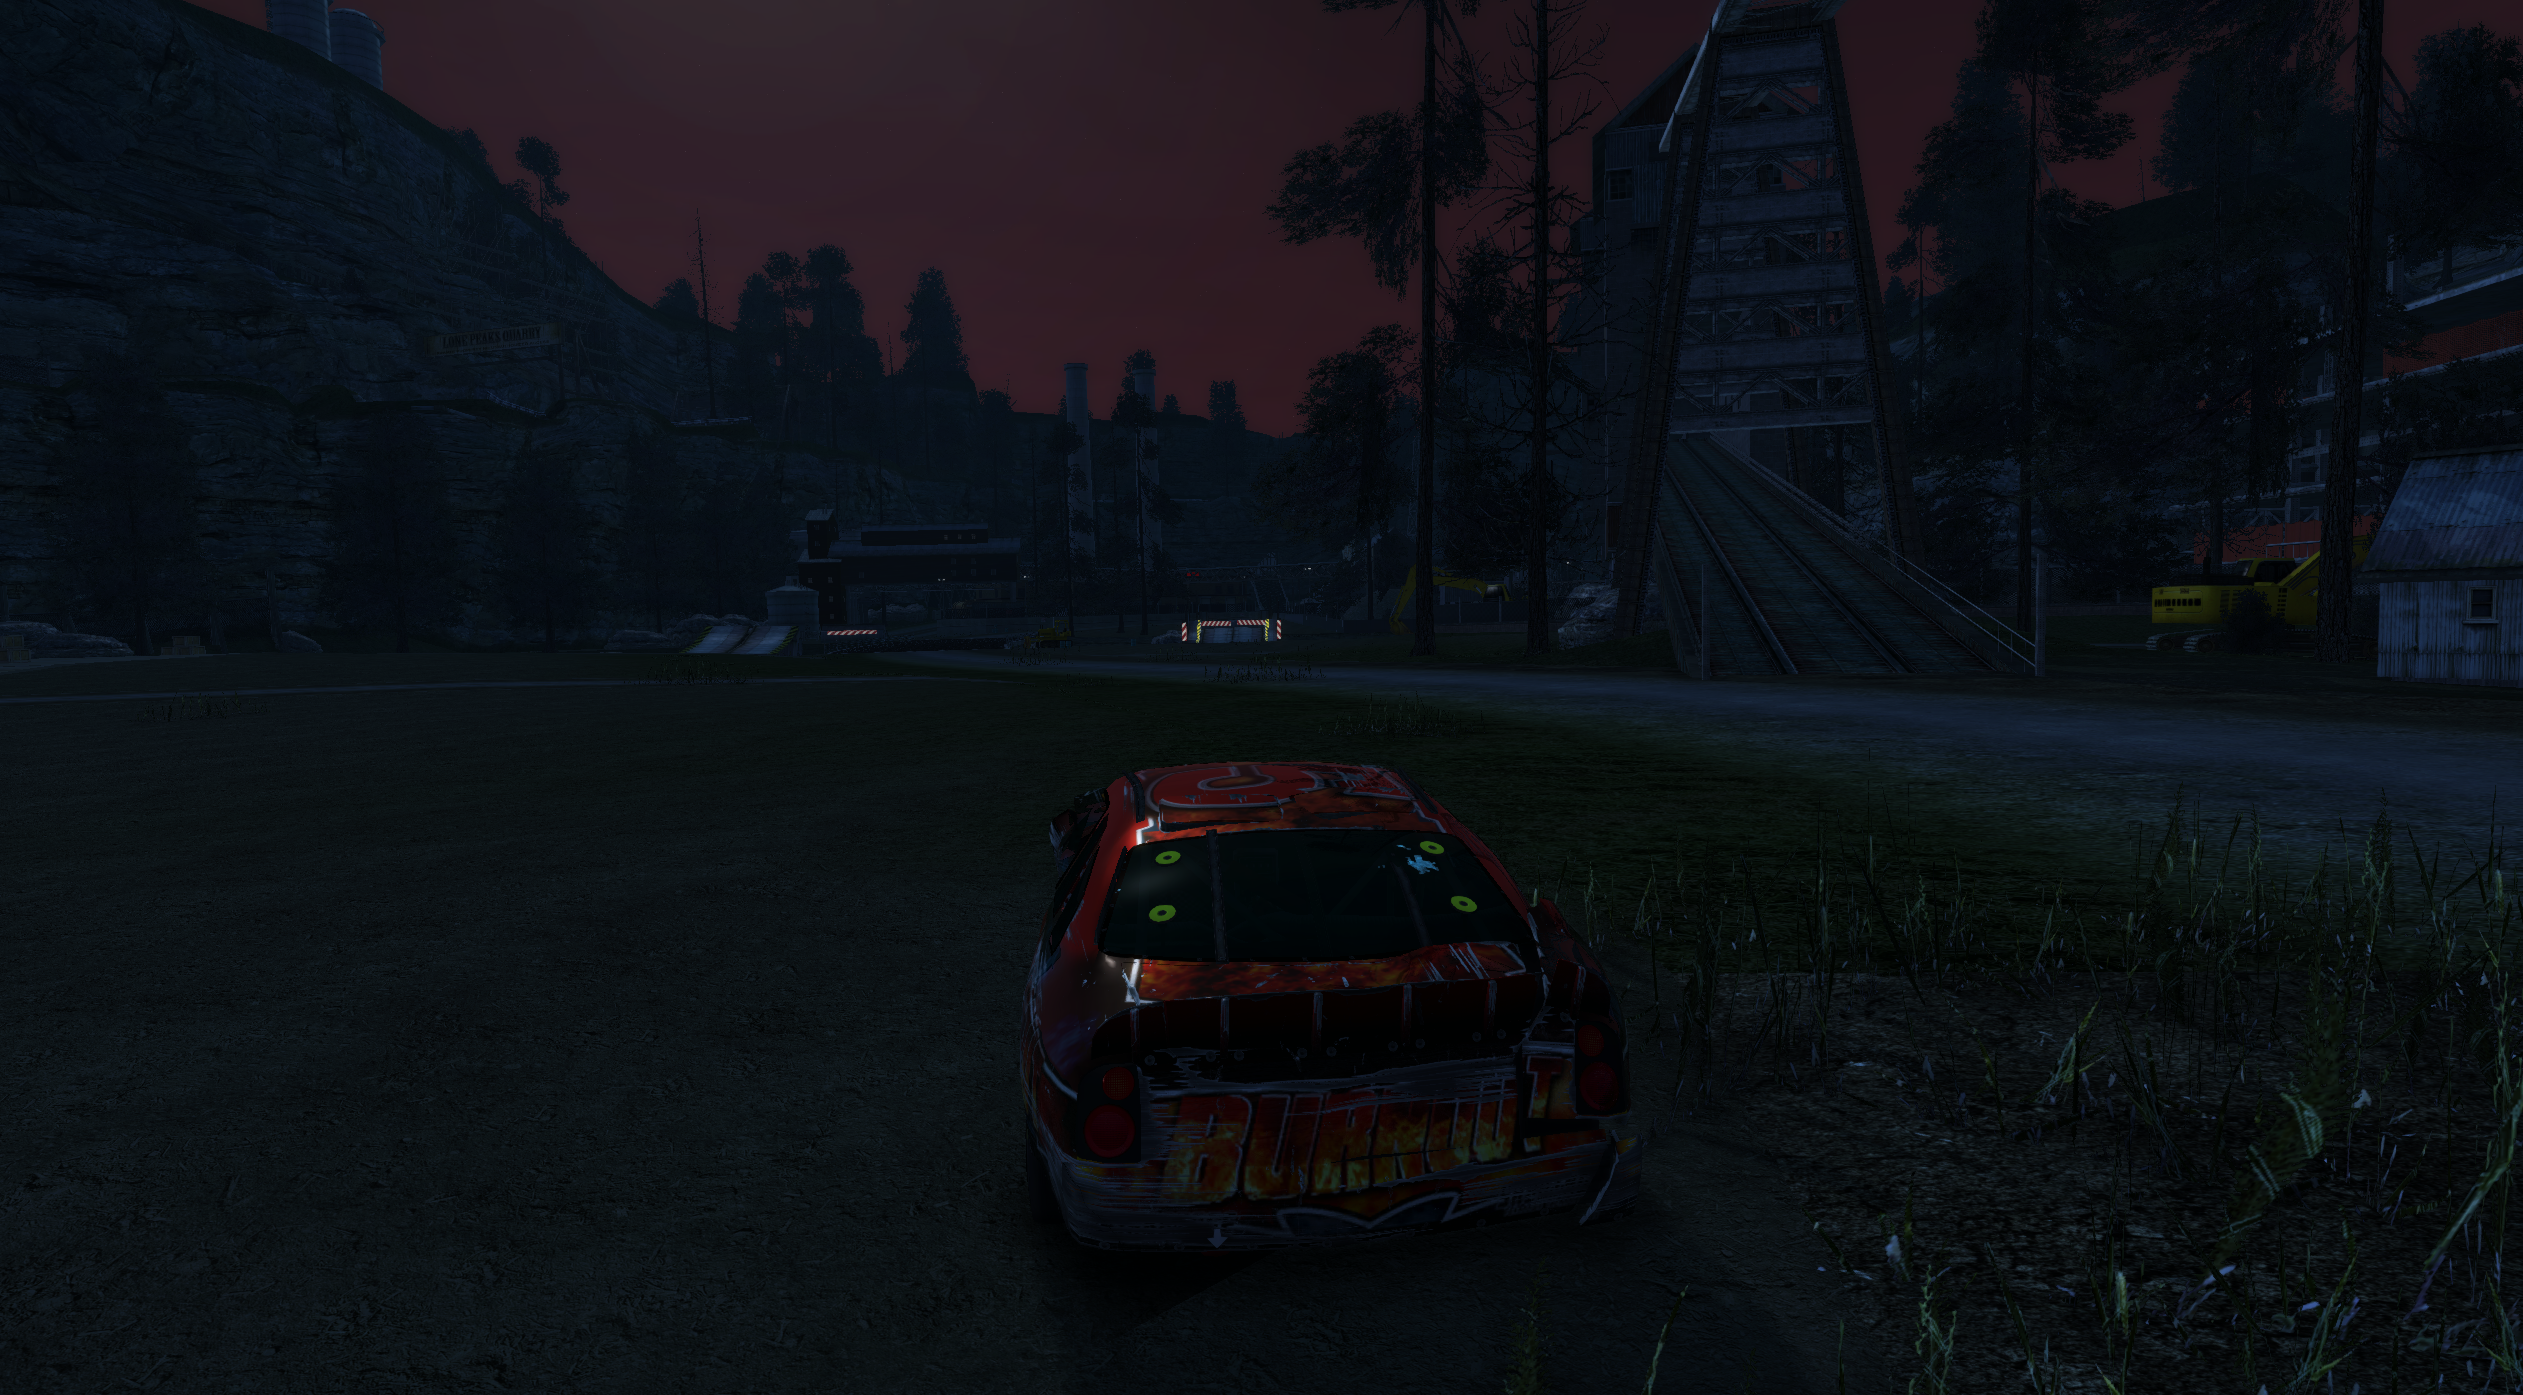
47 tips for Burnout Paradise (Remastered), still fun 15 (or 5) years later! 🚗💨
Okay, so maybe Burnout Paradise isn’t the hot new racing game, but it is an absolute classic with extremely satisfying gameplay. I recently re-completed it after finding it on Xbox / EA Game Pass, here’s a few tips I picked up along the way.
I had vague memories of playing Burnout Paradise for a few hours years ago. However, I’ve got a few (hundred…) hours of Forza Horizon and other games under my sleeve now, making this playthrough much easier than last time. For reference, completing the main game and earning a “Burnout License” took me around 7-8 hours. There are multiple additional licenses for completionists that I’m slowly working towards!
Burnout Paradise originally came out in 2008, but this remastered version released in 2018 with all DLCs included.
Intro
In general, once you’ve got to grips with your preferred cars you should realistically be winning most events first time. They are very repetitive, essentially different start & end points across different game modes.
However, there is an element of luck. Even the best players will be completely blindsided by traffic at the last corner in a race, or not react quickly enough to a crash up ahead. Luckily, the first tip will help with this…
Menus
1. Right on d-pad to restart event
This blew my mind when I discovered it! Pressing right on the d-pad during (or after) an event will let you restart it instantly.
I only recommend using this for when a race or time trial is clearly unwinnable, for all other event types you can probably save the run.
2. Opening the map pauses the game
Pressing select opens a large map, and during races you should absolutely be using this to plan your route! Luckily, the game pauses whilst looking at the map, so I usually plan out the next few corners then pause again.
Overworld
3. End events in dense areas
For events that don’t have a fixed path (e.g. all except races & burning routes), where possible you should aim to finish in an area where you have plenty of events to complete (e.g. the city). This will reduce your downtime between events.
4. Drive through all repair shops
Whenever you spot a repair shop, drive through it. Finding one quickly can be crucial during Marked Man mode, so unlocking them all early is helpful.
5. Drive through all intersections
Events are unlocked and added to the map by just driving over the intersection where they can be started. As such, unlocking all the events early is useful for planning your time.
The easiest way to do this is to try taking new routes when navigating to events in free roam.
6. Be curious for hidden areas
The yellow “crash” barriers aren’t just for shortcuts, they can also hide massive areas. These are totally unpredictable, and what seems like a large empty area on the map might actually be full of billboards and jumps. Here’s one example, found by taking a random detour into a tunnel hidden by a crash barrier:
7. There is a whole other island!
I completely missed this until quite a few hours into the game, but there’s a separate island in the south east of the map, accessible over a bridge! It has additional events, lots of overlapping intricate stunt jumps, and plenty of secret areas.
These events count towards your license, yet the game forgets to even mention it exists until you happen to drive over the bridge.
Even now, with my Burnout license, I’ve only visited the island twice, and all the events are uncompleted.

8. Take down new cars carefully
When you complete enough events, a new car will be added to the free roam game. However, they spawn relatively rarely, especially if you’re being efficient and spending all your time in events.
When they do spawn, be careful when hunting them down. Crashing will usually make them despawn, so it’s safer to let them get a little bit ahead instead of throwing yourself into a wall. It’s also worth prioritising catching these cars over starting the next event.
Progression
9. Reduce downtime with a versatile car
Assuming you have a versatile “Aggression” style car, it can probably win all events. As such, when you’ve finished an event you might as well just start whichever is nearest.
This tactic works well up until you start running out of events to complete.
10. Upgrading license resets events
Whenever you earn a new license, all previously completed events can be completed again. This lets you speed through wins by repeating any past events you found easy.
11. Post-credits completionist licenses
Despite the game playing the credits when you earn your Burnout license, you’re actually only around 30-40% through the game! There are quite a few additional licenses that get progressively harder and harder, eventually even getting above 100% completion.
Driving
12. Takedowns are crucial
Learning how to takedown other cars is perhaps the most important skill you can learn. Doing it instinctively whilst also handling a tricky corner will get you free boost whilst also slowing down the crashing rival (and anyone else who collides with them).
13. A takedown can save you
If you and a rival are driving straight into a wall, so long as they are slightly ahead, they will crash first and the game will “save” you.
You can exploit this, by taking down a rival immediately before a junction you’re unsure how to handle. The takedown animation will play, and the game will automatically steer you through the junction and even make you briefly invincible!
14. Do not crash
Crashing loses a LOT of time. Rivals overtaking you, or taking a less direct route, is almost always the better option instead of crashing.
If you are ahead, especially when driving the faster cars, there’s no need to drive with full aggression and constantly boosting. Just drive safely, avoid obstacles, and get the easy win.
15. Don’t push your luck with traffic
Traffic is easier to crash into than you might expect. Whilst rivals can be pushed around (and will push you back), even a slight nudge into a parked car can ruin your run, so it’s safest to just avoid them completely.
This even stretches to a side-on barge whilst overtaking which feels easily survivable, yet if the crash cutscene plays it doesn’t matter how big the initial crash was. Avoid traffic.
16. You can crash into crashed rivals
A rival has exploded in front of you, great! Except… their destroyed vehicle might roll into your lane and take you out, then they’ll end up respawning before you. Oops.
Avoid crashed / rolling rivals, they’re even more dangerous whilst crashing.
Cars
17. Drive whatever you want
Unlike a lot of other driving games, it doesn’t matter (to the game) which car you use. Want to try and use a crazy fast but fragile car to survive a marked man event? Go for it, good luck!
Only burning route events require the specific car, everything else is entirely up to you. You will unlock the same cars regardless of which car you use to win races.
18. Types of boost
There are 3 types of boost, with all cars (except the Boost Specials) only able to use one:
- Speed: Can only be used when fully charged, similar to earlier Burnout games. Very powerful boost, but can only really be used on long straights. These cars are fast and easy to handle, but fragile.
- Stunt: Can boost whenever, the cars are also usually very fast and easy to drive but also fragile. Boost is refilled extra when performing drifts, jumps, and other stunts.
- Aggression: Similar to stunt, but taking down cars and breaking street furniture earns you additional boost, eventually holding up to 3x as much. This lets aggression cars boost almost forever, with the downside of typically being heavier and slower.
Personally I find speed boost cars pointless, and use stunt boost for stunt runs and aggression for everything else. You don’t need to be the fastest if you can take out all opponents!
19. A faster car isn’t necessarily better
Your rivals in a race will be balanced based on your car. If you pick the fastest car you own, the rivals will be fast too, and it will be hard to keep up! As such, you’re better off picking a car that you like the handling of and can drive well.
20. There is no best car
Similarly, there is no car that is best for all events. I personally found “Spur” my favourite, since it handles well, can boost pretty much forever, is fast, and can also handle a bit of a beating.
The “Carson GT Nighthawk” (Legendary car) is a lot of people’s favourite due to the very responsive handling and strength. However, for me it’s a bit too quick, making road rage events too fast-paced, and I miss the ability to use my boost whenever I want.
Try out a few different cars, and find your favourite.
21. Car unlock order
Cars are unlocked through completing a certain number of events, or by completing specific objectives. I won’t include a full list of them here, since the Burnout wiki has done a great job of documenting them!
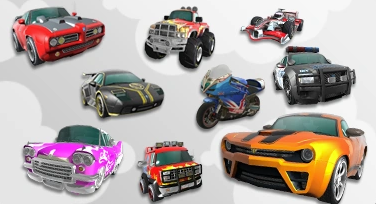
Special vehicle packs
When I first opened the game, I was pretty confused by all the DLCs included in the remastered edition. Tiny cars, legendary cars, motorbikes!? Here’s a brief overview.
22. Bikes
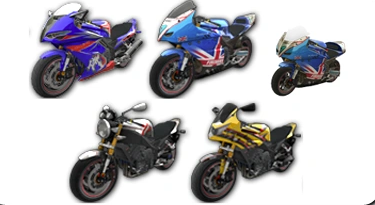
Motorbikes drive very differently to the normal cars, and crash extremely easily. Whilst you can perform a wheelie or lean forward with them, there’s no boost or handbrake turn.
Progression with them is totally separate from the main game, you’ll be working towards a “Rider License” by completing all the events.
Whilst technically all the bikes have different speeds and strengths, I found them all ridiculously fast and fragile!
23. Legendary cars
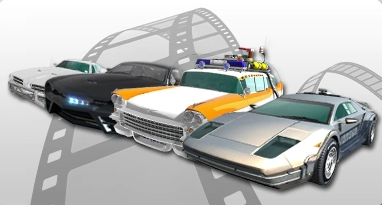
This is a small collection of 4 cars, each of which is pretty powerful and usually has a unique ability. They’re also all pretty obvious homages to famous cars!
- “Jansen P12 88 Special” from Back to the Future: Has the ability to leave flame trails behind the wheels, and (slightly) hover off the ground.
- “Hunter Cavalry Bootlegger” from The Dukes of Hazzard: Has the famous car’s horn.
- “Hunter Manhattan Spirit” from Ghostbusters: Has the famous car’s lights and sirens.
- “Carson GT Nighthawk” from Knight Rider: Has the famous car’s lights, sound, and spoiler.
24. Boost special cars
There are 2 cars that exist purely to show off unique boost mechanics:
- “Carson Extreme Hot Rod”: Once you start to boost you can’t stop!
- “Montgomery Hawker Mech”: Can switch between all 3 boost types instantly, also changing the driving style.
25. Toy cars
The toy car pack is very silly. They are just smaller versions of existing cars, and are very disorientating to drive. They can perform all events, although they are pretty tricky to control!
26. Police cars
The 33 police cars are literally just reskins of cars from the main game with identical stats. Early on, they can be a good way to drive more powerful cars than you have access to in the main game.
Game modes
Races
27. Fewest turns route is best
I found that corners and complexity were my worst enemies. A slightly less direct route that was very simple usually ended up better for me than one with multiple twists and turns.
Part of this is due to the distraction caused by having to pause more often, plus the disruption to boosts that might occur. Additionally, turning any corner is a risk, since traffic can come out of nowhere and turning isn’t guaranteed.
28. Plan carefully
Since the game is paused during a race, there’s no point rushing. Plan out your route, memorise as much as you can, then off you go!
29. Copy the AI until the end
Alternatively, if you’re unsure of the best route, copying the AI is pretty easy. They’ll drive a pretty optimal route, and will be easy to overtake (or they’ll crash), so following them up until 1 mile before the end is an easy way to win without any planning.
30. Boost mid-turn
If you’re in a car where boosting is always available (and you should be!), an easy way to turn a corner is to handbrake turn, then boost to cancel your momentum.
31. Indicators and signs
Technically the game does have a GPS routing system… but it’s borderline impossible to use. Your car will indicate before turnings the game thinks is the shortest route, and the street signs will flash at the top of the screen.
However, I find it impossible to actually pay attention to these during fast-paced races, and they’re not particularly reliable. The GPS doesn’t include any shortcuts, even obvious ones like cutting corners,
Marked man
32. Off road long paths are best
For Marked man, chase cars will spawn mostly on roads. As such, long sections of closed or dirt roads are the easiest way to reach the destination. For example, the railroads are by far the best way to get around if they’re on your route.
33. Turn at the last minute
The chase cars will somewhat try and predict your turns and cut you off / T-bone you. Counteract this by not trying to hit the apex of a corner, and instead just hugging the wall if possible and sliding round, not giving them the chance.
34. Use every auto shop
No matter how well you drive, the chase cars will get you occasionally. Make sure your route goes past as many auto shops as possible, and use them even if you’ve only been taken down once.
Road rage
35. Direction doesn’t matter
Similar to marked man, it doesn’t matter which direction you drive. As such, you can drive to easy takedown spots, as well as steering towards an autoshop since you’ll probably take some damage.
Driving in any direction for a few seconds will result in target cars pulling alongside and ahead of you.
36. Bully speed / small cars
See a small, fast car zooming past you? Great, aim for them first! They’re weak and easy to take down, and will help you reach the target faster.
37. Bump strong cars from behind
Strong cars, like vans, can generally muscle you out if you try to barge them from the side. Instead, hit them as hard as possible from behind, and they will spin out.
38. Nudge weak cars
If a car is weaker than you, it’s very vulnerable to being pushed from the side. Driving alongside it and aggressively nudging it sideways will usually result in a takedown. It doesn’t matter much which part of the car you get, but the middle or back is more likely to spin the target out of control.
39. Stop when target reached
When you reach your target takedown count, just stop driving. The event will successfully end in a few seconds.
40. Long stretches are ideal
For taking out other cars, long stretches of narrow road are ideal. In these, you can easily drive alongside any car and take them out.
Personally I love the long bridge in the south-west with jumps in the middle. Nudging cars is very easy, and you can safely get 6-7 takedowns by the end of the bridge.
41. Invincibility after takedown
Immediately after performing a takedown, you cannot be harmed. This means if you were about to drive into a wall, you’ll be instantly saved.
You can use this to your advantage by prioritising taking down a car if you’re about to crash, and it might get you out of a bit of damage.
Stunt run
42. Final run is infinitely long
Just because your time has run out doesn’t mean you’re actually out of time! When it reaches 00:00, you can actually keep going until your combo runs out or you crash.
Since boosting or drifting can extend your combo timer, you have far more time than the timer indicates, so don’t feel too rushed.
43. Find your favourite spot
After playing the game for a few hours, you’ll probably have a few areas in mind that are reliable for improving your stunt multiplier by destroying billboards.
Personally I’m a big fan of the main South/North road on the east of the city. It has a few massive jumps as well as multiple billboards, plus it’s nice and wide reducing the risk of unexpected obstacles. As such, I tend to end up here during my stunt runs.
44. Crashing at the end is fine
If you end your run in a crash, the points are still banked! There’s no need to safely come to a stop.
Burning route
45. Plan carefully
These timed routes are genuinely quite challenging, especially if you pick a poor route. As such, it’s worth spending a bit of time planning your complete route at the very start of the race. There are no rivals to follow, so good luck!
46. Showtime
Pressing RB, R1, LB, L1 at the same time in free roam will make your car crash and spawn more traffic. You can use B & steer around a bit to crash into more things.
This mode is completely optional and does not count towards your license, but can be a fun way to spend time! It’s very odd that the game makes no mention of it, when crashing was a key part of games.
47. Road time trials
Every road in the game has a record time that can be beaten. This feature is also optional besides completionist outfits, and in the late game you’ll find yourself beating some of these whilst just driving between events.
Conclusion / minireview
Burnout Paradise is a weird game. The gameplay is great, the event variety is perfect, the open world aspect is fairly well implemented, and yet… something is wrong.
Entire game modes (showtime) are completely forgotten about, whilst the expected main mode (racing) can be completely skipped! It almost feels like a great tech demo that just needs to be turned into an actual game, perhaps with a story, but it was accidentally released.
Similarly, the start of the game is truly bizarre. You’re essentially dumped into the city, and told to go find something to do. There are no suggestions, no nudges, the game doesn’t really seem to care if you play it or not! However, this seems intentional, since despite multiple DLCs… none of them add any structure to the game. They add new features (bikes) and areas (Big Surf Island), but no guidance on why you should actually bother.
Despite all this negativity, the gameplay is so satisfying, the driving such a middle ground between arcade and challenging, that I still want to play it. I want to find all the secret areas, unlock all the cars, complete all the ridiculous completionist objectives, and honestly there’s a decent chance that I will!
Additional resources
In case you’re after additional tips, I highly recommend: